Stanley Travel Mug Not Working? Fix It Now
Your Stanley travel mug is supposed to keep your coffee hot for hours and never, ever drip on your shirt. When that changes, it is frustrating. If your Stanley travel mug is not working the way it used to, you are not alone.
It is one of the most common search queries about these iconic mugs, and the good news is that most problems have simple fixes you can handle in under ten minutes.
Aggregate user feedback across retail platforms shows roughly one in three owners reports a lid or seal issue within the first year of daily use. The vacuum-sealed body itself almost never fails unless it has been physically damaged. That means the culprit is almost always something you can see, reach, and fix.
Let us walk through the symptoms one by one.
Quick Answer
Most Stanley travel mug problems come from a displaced or worn silicone gasket inside the lid. Check that first. Remove the gasket, wash it, and reseat it firmly.
If the mug still leaks, the trigger mechanism may need cleaning. If coffee goes cold in under two hours, the vacuum seal is likely broken and the mug needs replacement. Stanley's lifetime warranty covers this.
How the Stanley Travel Mug Actually Works: Lid vs. Vacuum Body
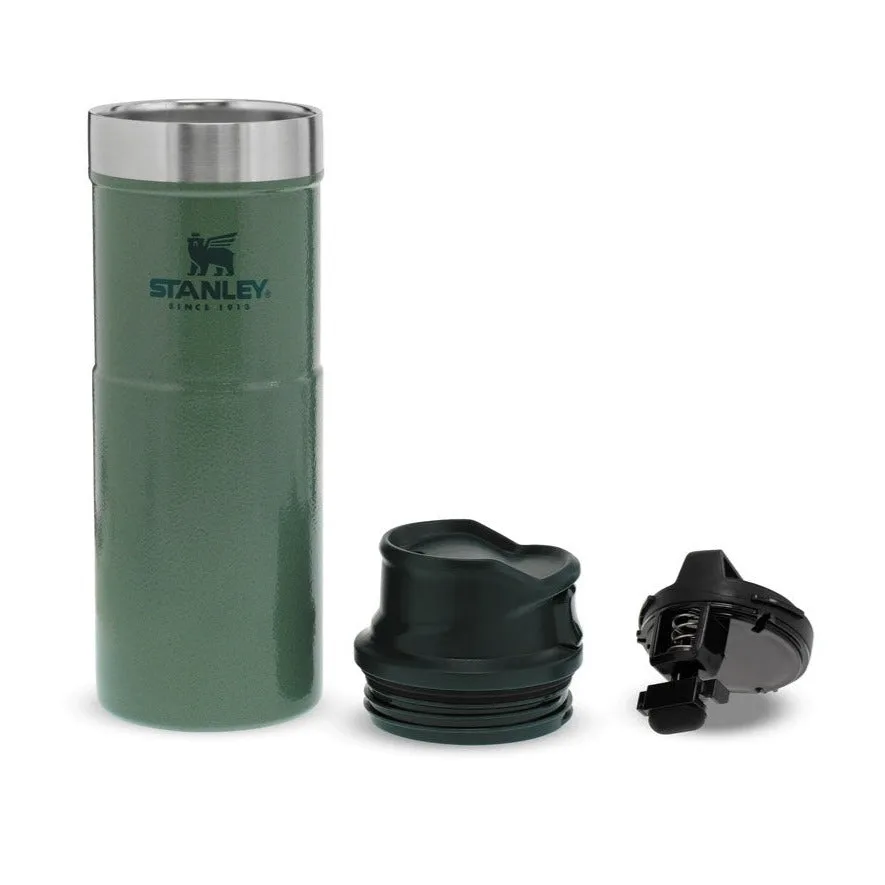
Understanding your mug in two parts makes troubleshooting much easier. The Stanley Classic travel mug and the Master series both consist of a double-wall vacuum-insulated stainless steel body and a separate plastic lid assembly. These two components fail in completely different ways.
The vacuum body is the most durable part. The space between the inner and outer walls has all the air sucked out, which stops heat transfer. Modern Stanley mugs are rated to keep beverages hot for eight to twelve hours and cold for up to thirty.
That insulation chamber is sealed permanently at the factory. There is no user-serviceable part inside the mug body. If the vacuum is broken, you cannot fix it.
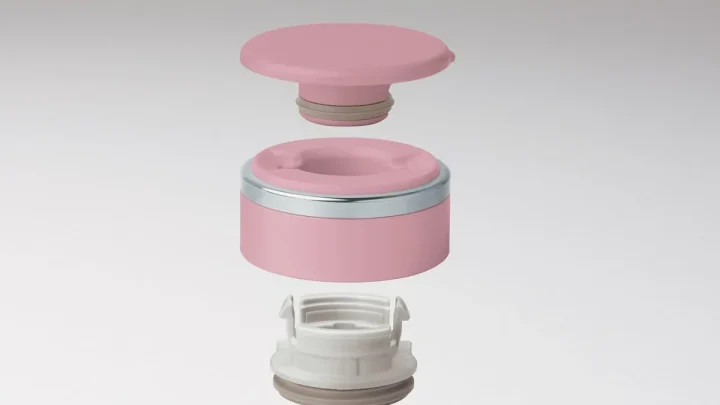
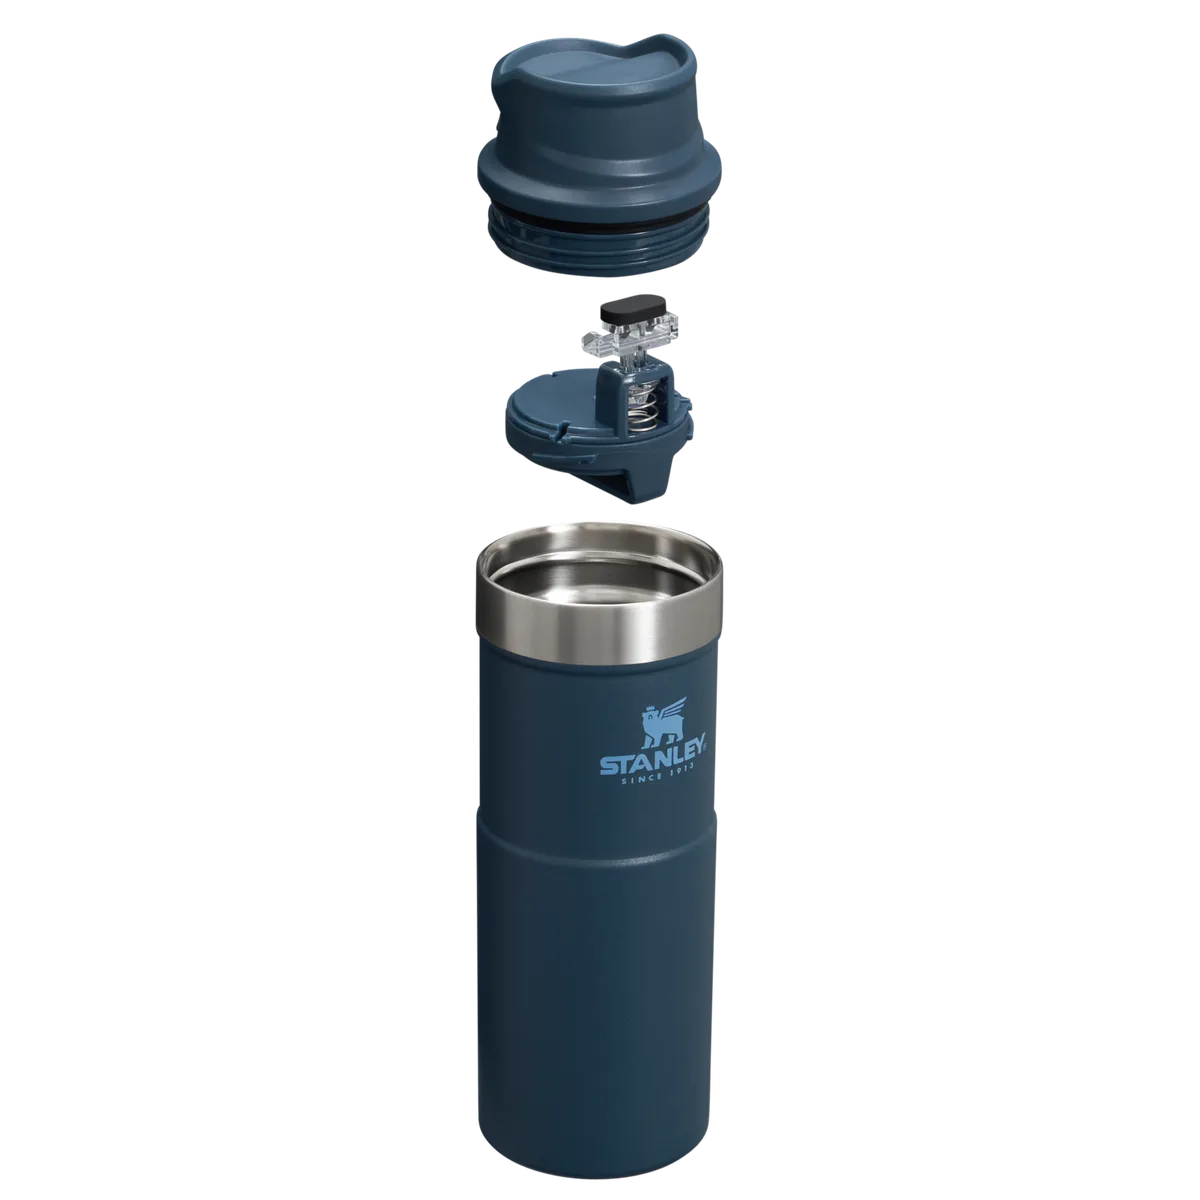
The lid assembly is where nearly every problem lives. It has three main parts: the outer plastic cap with the trigger mechanism, a slide or rotating spout cover, and a removable silicone gasket. The gasket creates the watertight seal when the lid is closed.
The trigger mechanism opens and closes the drinking spout. Over time, the gasket can shift out of its groove, collect debris, or degrade. The trigger can get sticky from dried coffee residue.
These are all fixable.
The key insight is this: if your mug is leaking or the lid is not working properly, focus on the lid. The body is almost certainly fine. If your mug has lost its temperature retention entirely, that is a different diagnosis involving the vacuum seal.
Decision Tree: Match Your Symptom to the Fix
Let us match your specific problem to the right solution. Read through these four common scenarios and find yours.
Leaking from the Lid Seam or Spout
This is the number one complaint. If liquid seeps out when the mug is upright, leaks when tipped to drink, or drips when fully closed, the silicone gasket is the first thing to check. Roughly 80 percent of leak issues are resolved by reseating or cleaning the gasket.
Remove the entire lid from the mug. Look at where the gasket sits inside the lid's rim. It should be seated evenly all the way around with no gaps or twists.
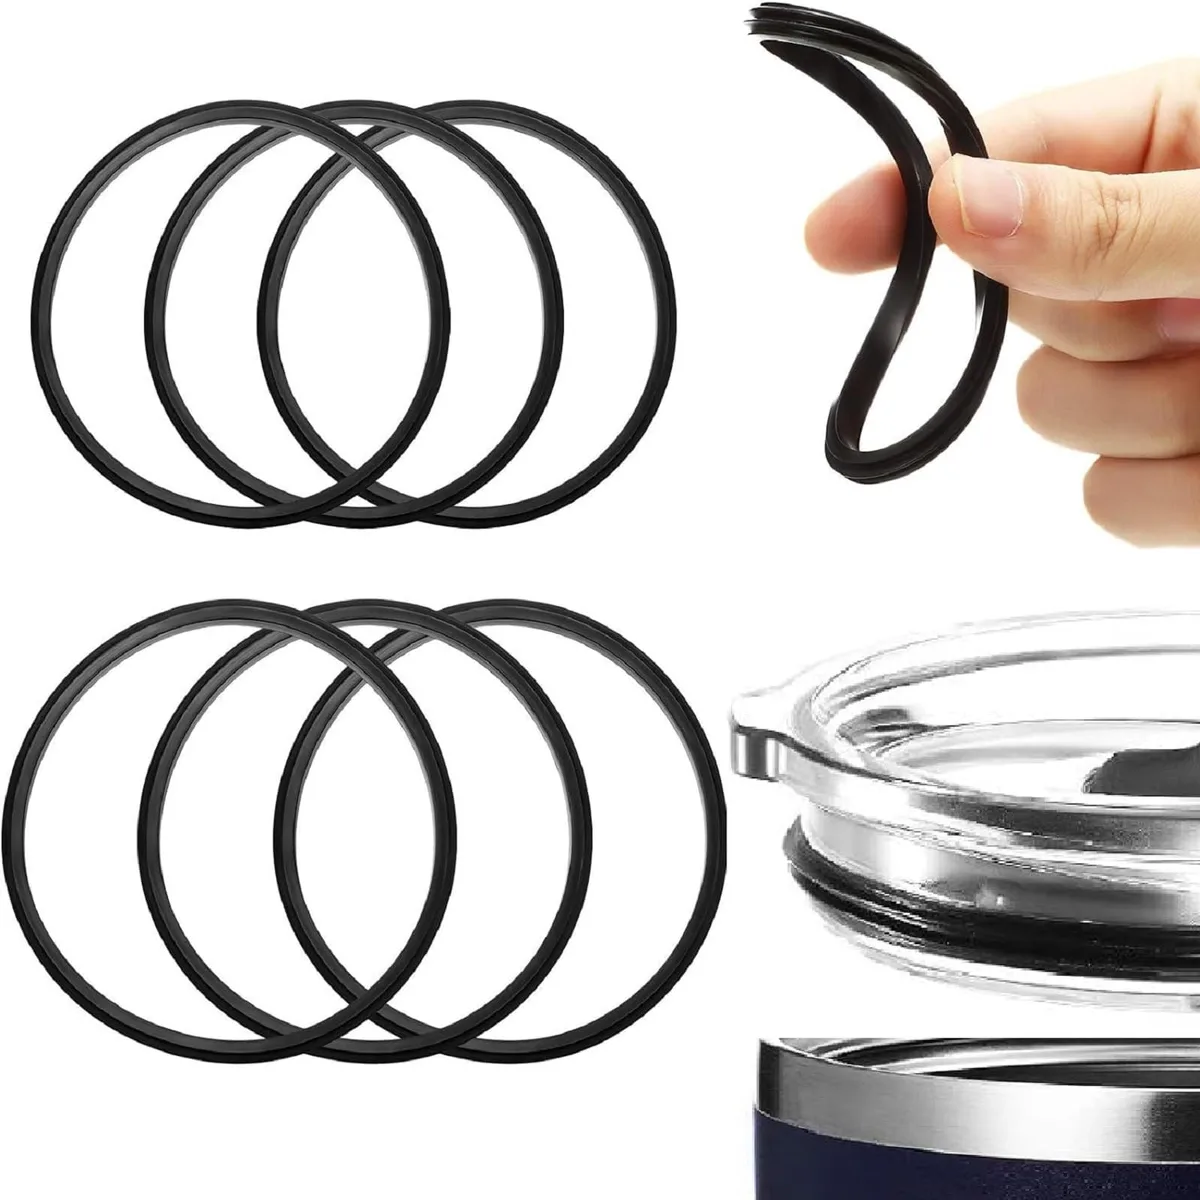
Pinch the gasket gently between your fingers and pull it out. Rinse it under warm water. Check for cracks, tears, or a flattened section.
If it looks damaged, you need a replacement gasket.
Reseat the gasket by pressing it firmly into the groove. Make sure it sits flush against the inner wall of the lid. Pop the lid back on the mug and test it with cold water.
If it still leaks, the gasket is likely worn out and needs replacing. Stanley sells replacement lids and gasket kits on their official website.
Stuck or Broken Trigger Mechanism
If the trigger on your lid does not click open or stays open without locking, sugar and coffee residue are usually the cause. The mechanism is a simple spring-loaded plastic latch. When sticky syrup builds up around the moving parts, the trigger loses its snap.
Rinse the lid under hot water and use a small brush to scrub around the trigger and the drinking spout. Pay extra attention to the crevices where the trigger slides. If you have hard water buildup, soak the lid in a solution of equal parts white vinegar and hot water for fifteen minutes, then scrub again.
After cleaning, dry the lid completely. Work the trigger back and forth a few times. It should click firmly into both the open and closed positions.
If the spring inside feels broken or the plastic has cracked, the entire lid needs replacement. Do not try to glue or tape a cracked lid. A broken trigger can cause unexpected hot liquid spills.
Coffee Goes Lukewarm Too Fast
This one is harder to fix because it points to the vacuum body. If your mug used to keep coffee hot for six hours and now it goes cold in under two, the double-wall vacuum has likely been compromised. This usually happens from a drop, a dent, or thermal shock.
The vacuum seal is permanent and non-repairable. You cannot re-seal a Stanley mug. If you confirm that the issue is heat loss and not just leaving the lid open, the mug body needs replacement.
Run a simple test. Fill the mug with boiling water, close the lid, and check the outer wall with your palm after five minutes. If the exterior feels warm to the touch, the vacuum is failing.
A properly insulated mug will feel room temperature on the outside even with boiling water inside.
Stanley's lifetime warranty covers manufacturing defects in the vacuum seal. If your mug is less than a few years old and has not been abused, you can file a claim. More on that below.
Lid Won't Snap Shut or Feels Loose
When the lid does not lock into place with a satisfying click, the issue is usually a warped or misaligned plastic rim. High heat is the culprit. Putting the lid in the dishwasher on the bottom rack, where the heating element runs hottest, can soften the plastic and cause it to distort.
The lid is designed to snap onto the mug's rim with a friction fit. If the plastic has stretched, no amount of cleaning will fix it. You need a new lid.
This is the one scenario where replacement is almost always the fastest and most affordable option rather than attempting a repair.
Step-by-Step: Disassemble, Clean, and Re-Seat the Lid Gasket
If you have a leaky lid, this process fixes it nine times out of ten. You do not need any special tools. You just need warm water, mild dish soap, and a few minutes.
Step 1. Remove the lid from the mug. Flip it upside down. You will see the silicone gasket sitting in a circular groove around the inside rim of the lid.
Step 2. Gently pinch the gasket between your thumb and forefinger and pull it out of the groove. It should come out easily without tearing. If it feels stuck, use the tip of a butter knife to pry it out gently.
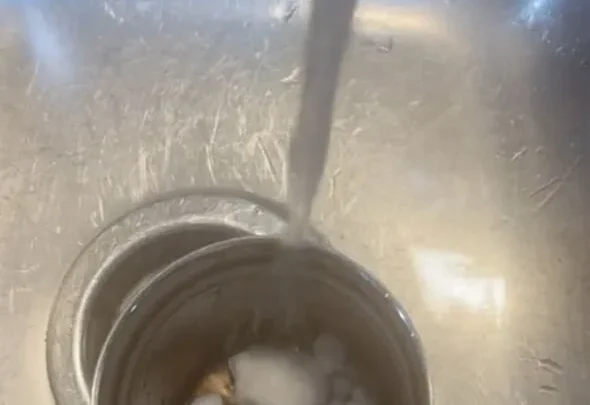
Step 3. Wash the gasket and the lid groove with warm soapy water. Use a soft brush to remove any gritty buildup from the groove. Rinse everything thoroughly.
Step 4. Inspect the gasket carefully. Hold it up to the light. Look for cracks, splits, or flat spots where the silicone has lost its springiness.
If you see any damage, order a replacement.
Step 5. Reseat the gasket. Start at one point and press it into the groove with your thumb. Work your way around the entire circle.
The gasket should sit flat and even, with no raised sections or twists. Run your fingernail around the inner edge to confirm it is fully tucked in.
Step 6. Fill the mug with cold water, close the lid, and turn it upside down over the sink. No drips means you are good to go. If it still leaks, the gasket needs replacement.
Replacement Parts vs. Warranty Claim: When to Fix It Yourself and When to Call Stanley
Once you know whether the problem is the lid or the vacuum body, your next decision is whether to fix it, replace the part, or use the warranty.
Fix it yourself if the gasket is dirty or slightly displaced. That costs zero dollars and takes three minutes.
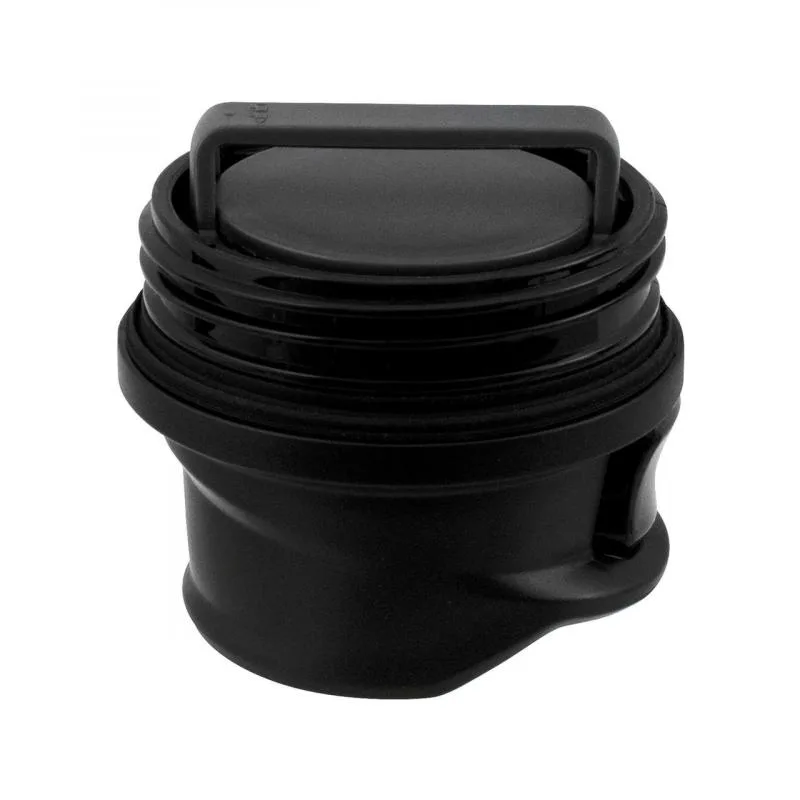
Buy a replacement lid if the gasket is cracked, the trigger is broken, or the plastic is warped. Stanley sells official replacement lids on their website. As of 2026, a new lid costs roughly $10 to $20 depending on the model.
Make sure you match the lid to your specific mug series. The Classic and Master lids are not interchangeable.
File a warranty claim if the vacuum body has failed. Stanley's lifetime warranty covers manufacturing defects, including loss of thermal performance. You need your original proof of purchase.
Go to Stanley's official website, fill out the warranty form, and describe the problem. They typically respond within five to ten business days. They may send you a replacement mug or a voucher.
Skip the warranty if you dropped the mug and dented it. Physical damage is not covered. In that case, just buy a new mug.
Common Mistakes That Ruin a Stanley Lid
A few habits cause most of the problems owners report. Avoid these and your lid will last much longer.
Putting the lid in the dishwasher. Stanley says the lid is dishwasher safe on the top rack. In reality, repeated dishwasher cycles soften the plastic and distort the gasket groove. Hand washing the lid with warm soapy water is safer.
Over-tightening the lid. The Classic lid twists on with a quarter turn. Over-tightening stresses the plastic threads and can crack the lid rim over time.
Letting coffee residue dry inside the trigger mechanism. Sugary drinks leave a sticky film. If you let it sit for days, the trigger gets stiff. Rinse the lid immediately after use or at the end of each day.
Using bleach or harsh cleaners. Bleach degrades silicone gaskets. Stick to mild dish soap and warm water. If you need to sanitize, use white vinegar.
Ignoring a small drip. That tiny leak will get worse. The gasket will continue to shift or degrade. Fix it at the first sign of trouble and you will avoid a full lid replacement later.
Final Verdict: Repair, Replace the Part, or Buy a New Mug?
By now you have a clear diagnosis. The fix depends entirely on which component failed.
Repair if the gasket is dirty or slightly offset. Clean it, reseat it, and test. That costs nothing.
Replace the lid if the gasket is cracked, the trigger snaps, or the plastic is warped. You can order a matching lid online for around $15.
Buy a new mug if the vacuum body is damaged or the exterior feels hot when filled with boiling water. A fresh Classic mug costs $30 to $45.
| Situation | Best Action | Cost | Time |
|---|---|---|---|
| Gasket dirty or shifted | Clean and reseat | $0 | 5 min |
| Gasket cracked or flattened | Replace gasket | $5–$10 | 10 min |
| Trigger stiff from residue | Deep-clean the trigger | $0 | 15 min |
| Trigger broken or cracked | Replace lid | $10–$20 | 5 min |
| Lid warped from dishwasher heat | Replace lid | $10–$20 | 5 min |
| Vacuum seal failed | Replace mug or file warranty claim | $0–$45 | Days to ship |
The most common mistake we see is throwing the whole mug away when the gasket just needs a rinse. Do the two-minute water test first. Fill it, close it, invert it over the sink.
If it drips, you likely have a gasket issue, not a mug issue.
If the lid is the problem, order a replacement direct from Stanley. Make sure you match the model number stamped on the bottom of your mug. Using a mismatched lid is the second most common mistake, and it guarantees a loose fit.
If your mug has genuinely lost its vacuum, do not attempt a DIY fix. Soldering or resealing a double-wall vacuum chamber is unsafe and almost always fails. Your choices are a warranty claim or a new purchase.
For warranty claims, you need proof of purchase and the mug's serial number. Stanley's customer support will walk you through the rest.
After any repair or replacement, always test with cold water before filling with hot coffee. Cold water is easier to wipe up if the lid still leaks. Once you confirm no drips, you are back in business.
Frequently Asked Questions
How do I know if the vacuum seal on my Stanley mug is broken?
Fill the mug with boiling water and close the lid. Wait five minutes. Touch the outer wall.
If it feels warm or hot, the vacuum seal is compromised. A properly insulated mug will feel room temperature on the outside even with boiling water inside.
Can I replace just the gasket on a Stanley lid?
Yes. Stanley sells replacement gaskets separately, and third-party silicone gaskets are also available online. Make sure you match the gasket size to your specific Stanley model.
The Classic and Master gaskets are different.
Why does my Stanley mug leak even with the lid closed tight?
The silicone gasket is usually displaced or worn out. Remove the lid, take out the gasket, clean both parts, and reseat the gasket firmly. If it still leaks after reseating, the gasket has lost its shape and needs replacement.
Is the Stanley lifetime warranty real?
Yes. Stanley offers a lifetime warranty against manufacturing defects. It covers failed vacuum insulation and broken lids from normal use.
It does not cover physical damage from drops, dents, or misuse. You need proof of purchase to file a claim.
Can I use my Stanley mug in the microwave?
No. The stainless steel body is metal and will spark or damage the microwave. Transfer your drink to a microwave-safe container if you need to reheat it.
How do I clean mold from under the gasket?
Remove the gasket from the lid. Wash both parts with warm soapy water and a soft brush. For stubborn mold, soak the gasket in a solution of equal parts white vinegar and hot water for fifteen minutes.
Rinse thoroughly and dry before reassembling.

Similar Posts