The Foolproof Way to Clean a Travel Mug
You grab your travel mug in the morning, and instead of fresh coffee you get a whiff of sour, stale brew. That is the moment you realize you need a better way to keep it clean.
Per manufacturer guidelines, most stainless steel mugs can go in the dishwasher, but many lids are hand-wash only. One misstep leaves lingering odor or even mold. Let's break down the decision tree and get your mug smelling like new.
The Foolproof Way to Clean a Travel Mug
Why Your Travel Mug Smells Like Old Coffee
That funky smell is a combination of tannins, oils, and trapped moisture. Tannins are natural compounds in coffee and tea. They bond with microscopic scratches in plastic and stainless steel, and they build up as a brown film over time.
Milk or creamer adds protein that spoils fast. If your mug has a narrow mouth or a complicated lid, moisture gets trapped under the gasket. That is where mold grows.
Mold causes respiratory irritation for some people.
Your mug's material matters too. Plastic is porous, so it absorbs odors more than glass or stainless steel. Ceramic linings can chip, creating tiny crevices for bacteria.
Stainless steel is non-porous but holds smells if an abrasive scrubber scratched the surface.
When you know why the smell happens, you can pick the right cleaning method. The wrong scrub or soak can damage the coating, ruin insulation, or void your warranty. As of 2026, most warranty policies state that hand-washing is required for vacuum-insulated mugs.
If you grab takeout coffee using your own travel mug from places like Nomad Library, keeping your mug clean makes the experience better for everyone.
The Two Big Decisions: Material and Lid Type
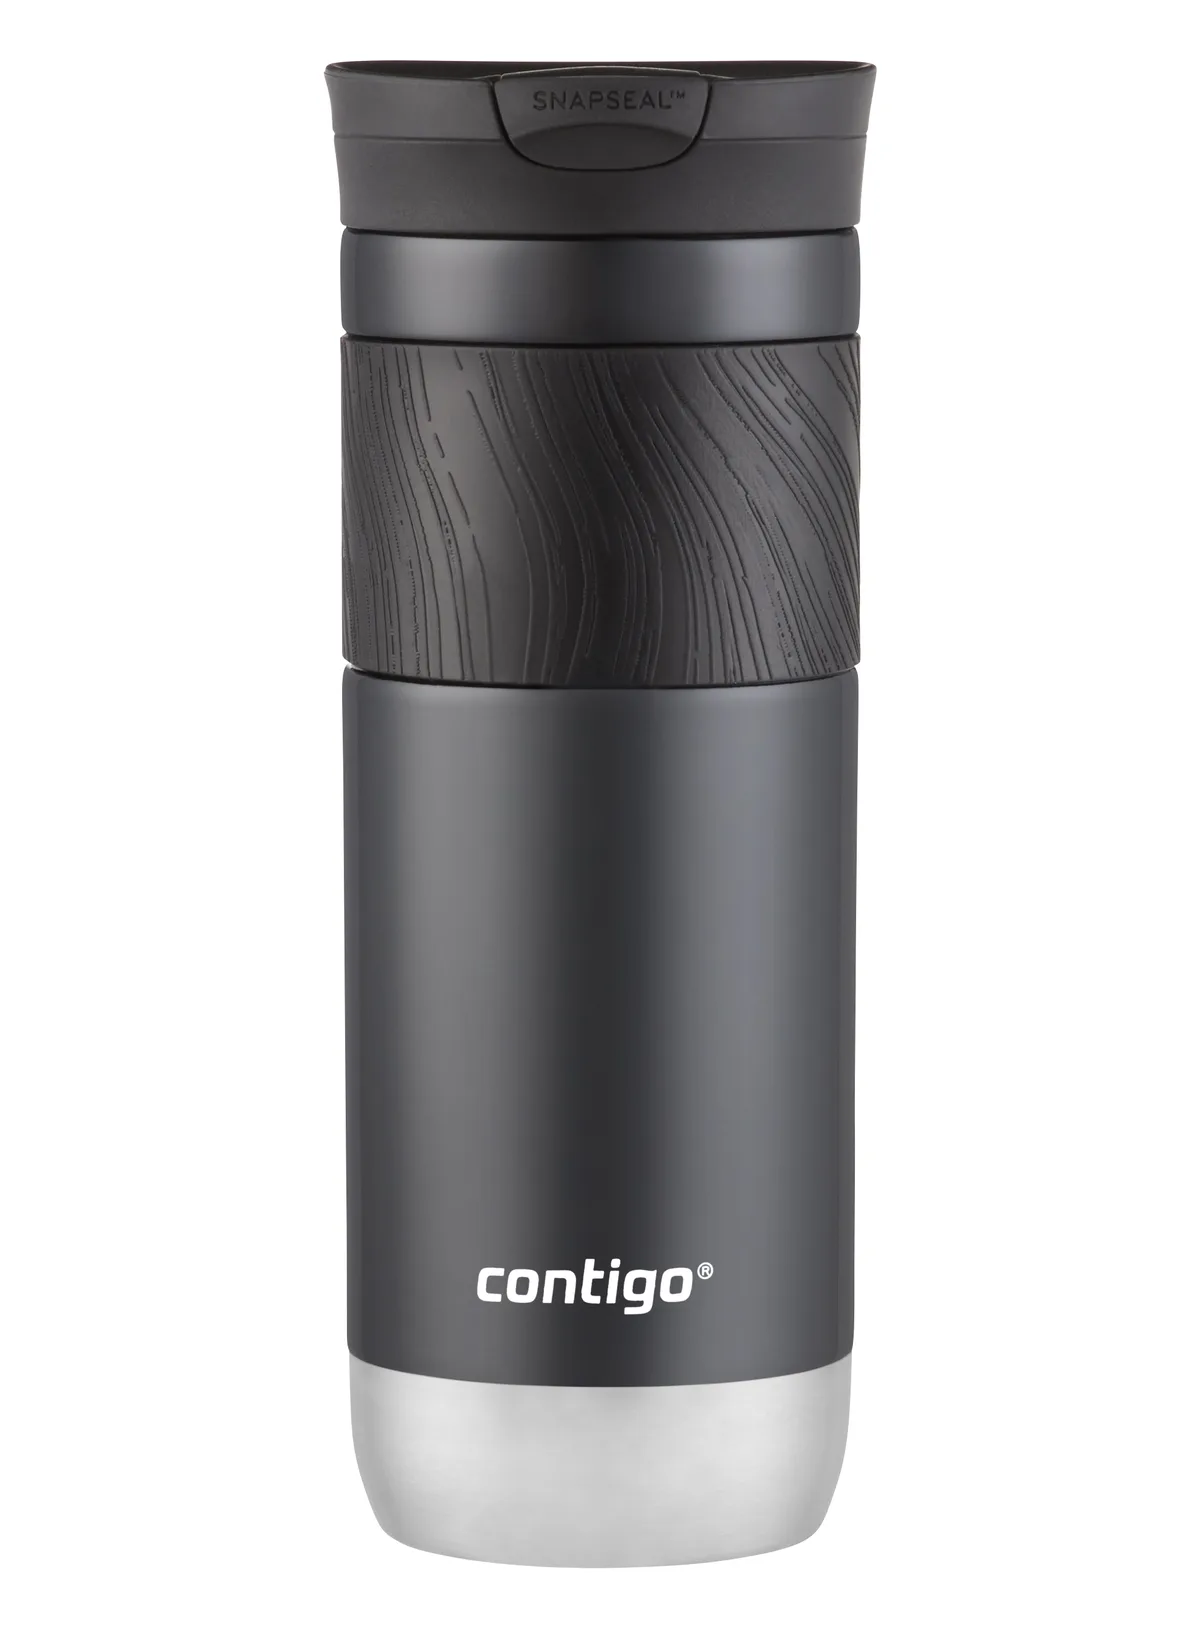
Before you pick a cleaning method, know what your mug is made of and how its lid works. Material matters because each one reacts differently to cleaners and heat.
| Material | Dishwasher safe | Scrub caution | Odor resistance |
|---|---|---|---|
| Stainless steel (304 grade) | Usually yes, top rack | No abrasive pads; use soft sponge | Excellent if not scratched |
| Ceramic-coated interior | Usually hand-wash only | Very soft sponge only | Good; coating reduces staining |
| Plastic (BPA-free) | Top rack only, low heat | Soft cloth; avoid wire brushes | Fair; porous and absorbs odors |
| Glass (borosilicate) | Yes, but fragile | Gentle scrub | Best; non-porous |
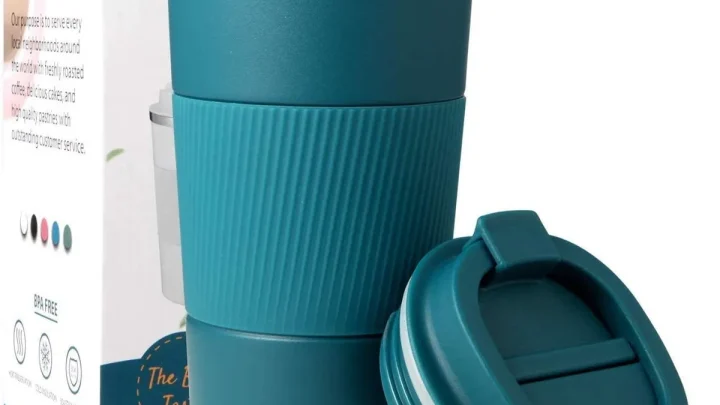
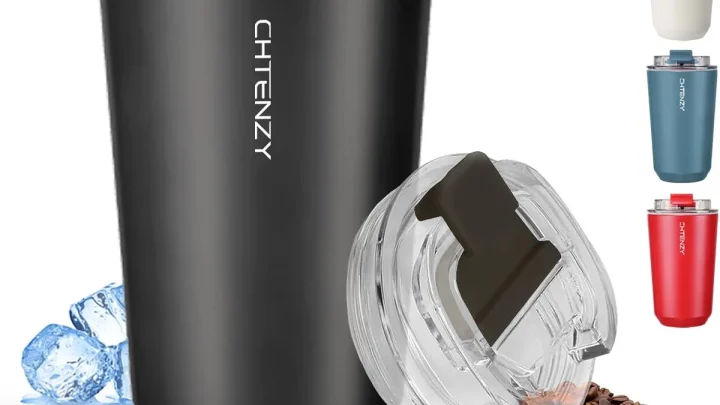
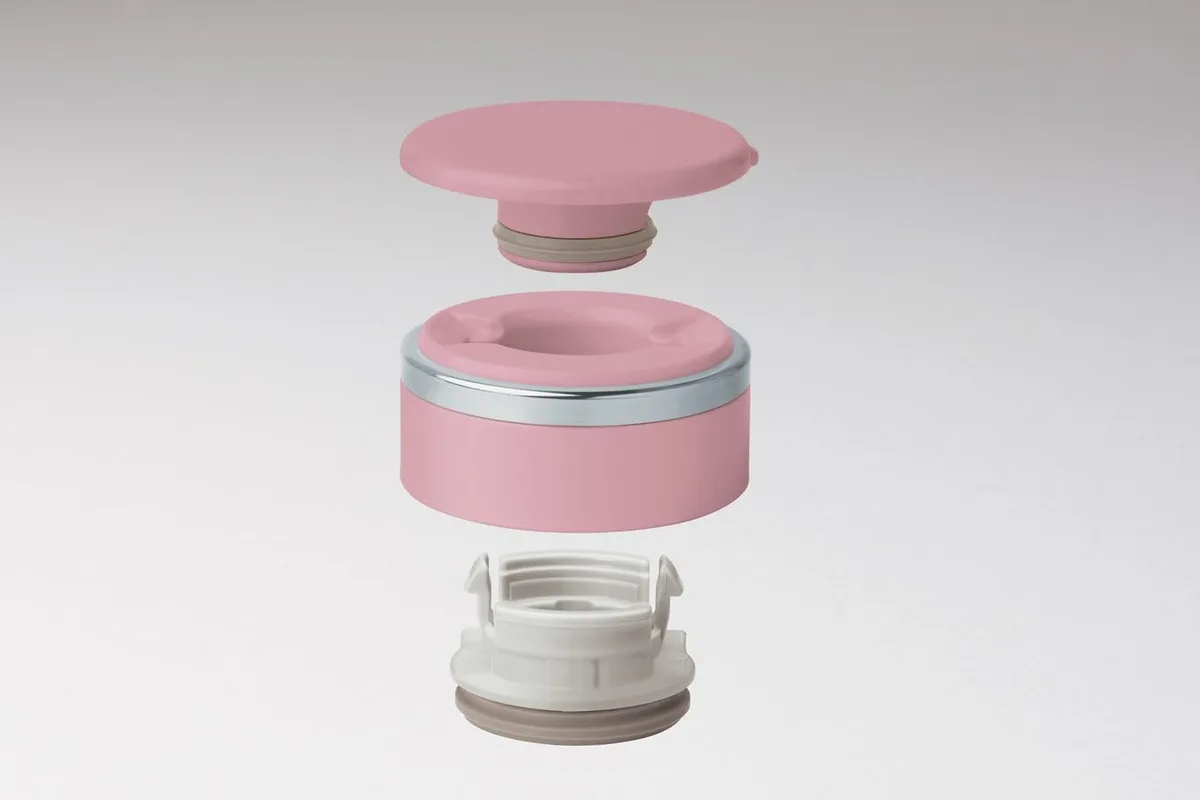
Lid type matters just as much. Flip-top lids with sliding spouts have many crevices. Press-fit lids often have a removable gasket.
Screw-on lids with a stra slot trap liquid inside the tube.
- Slide spout: the plastic mechanim can warp in high heat.
- Press-fit: the gasket must be removed to dry completely.
- Stra lid: the stra itself can gro mold inside.
For lids with multiple parts, disassembly is critical. If you cannot get the gasket out, you cannot clean it. Many travel mug manufacturers include disassembly instructions in the packaging.
If you lost them, check their supprt site.
Daily Rinse vs. Deep Clean: A Decision Tree with Steps
Not every wash needs to be a full scrub. Here is how to decide which approach fits and the exact steps for each.
Branch 1: Just coffee or tea, no lingering smell
If you finished your drink within the last hour and the mug smells like coffee (not bad), a quick rinse is enough.
Steps:
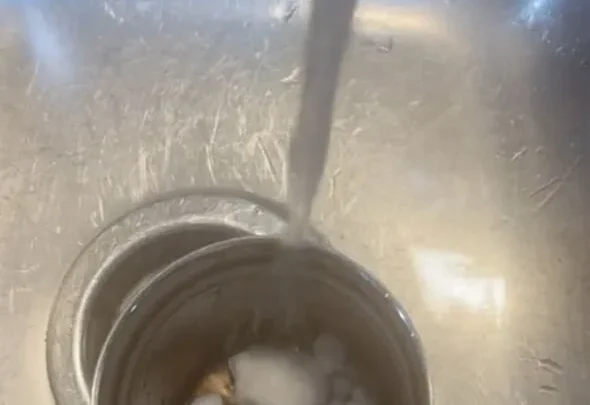
- Rin with hot water immediately after your last sip.
- Fill halfay with hot water, swir vigorouly for 15 seconds, dump.
- Remoe lid, let both parts air dry upside down.
Doing this every day prevents the buildup that causes odors. Regular commuter feedback shows this cuts down deep cleaning frequency by about 70%.
Branch2: Stuck-on stains, funky odor, or proein resiue
If you had milk, a proein shake, or let the mug sit unrinsed for hours, you need a deeper approach.
Steps:
- Fill mug halfay with hot water and one drop of dish soap.
- Use a bottle brush to scrub the interior walls and bottom for 30 seconds per section.
- Disassemble the lid completely. Scrub each part with a toothbush, focusing on the sliding track and gaskrtim.
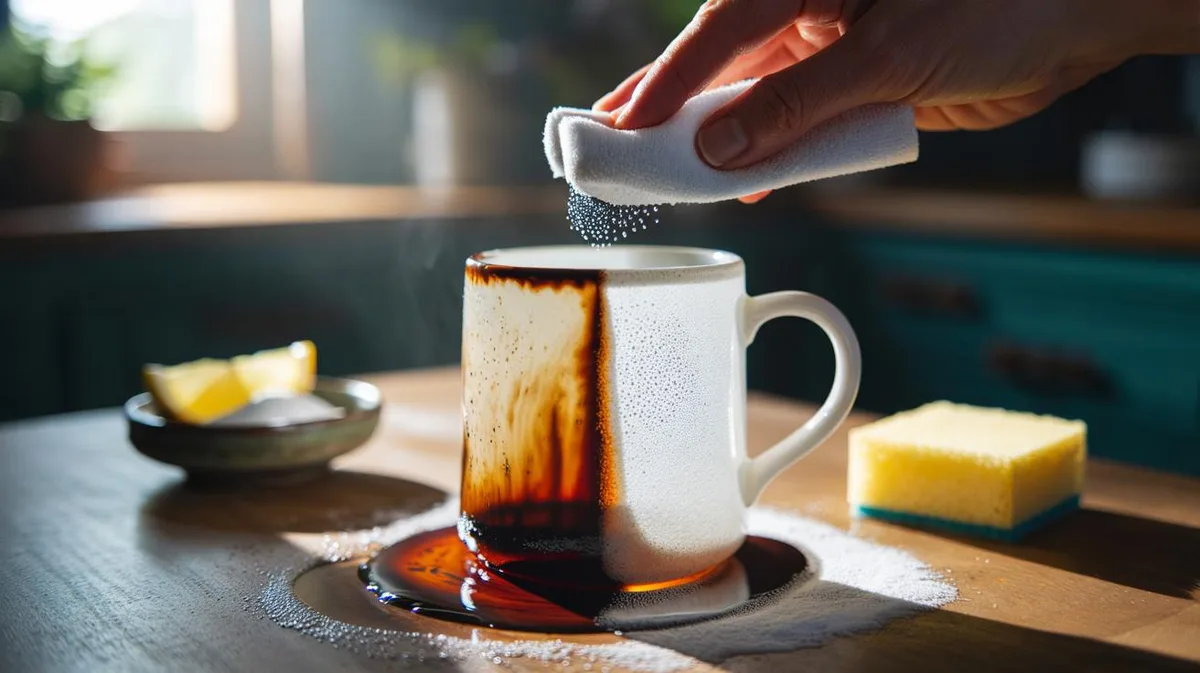
- If you see a brown ring, make a paste of3 parts baking soda to 1 part water. Apply with a damp sponge and scrub gently.
- Soak10-15 minutes if stains persist.
- Rinse thorougly with hot water. For the final rinse, use cool water.
- Dry ful: lid disassmbled and both parts upside down.
This works for 90% of odor and stain cases. The bottle brush reaches bottom corners that sponges miss.
Branch3: Mold or milde under the gasket
If you see black speckles or smell musty dampness, you have mold. This requires sanitization.
Steps:
- Disassemble lid completely. Remoe gasket.
- Mix a diluted bleach solution:1 teaspoon bleach per cup of water. Soak all parts for5 minutes. Do not skip the exact dilution.
- Rin each part under running water for60 seconds. Repeat three times.
- Wash one more time with mild dish soap to remoe any bleach resiue.
- Dry everthing on a clean towel or rack, separated, for at least24 hours.
Mold thrives in moisture. Even after sanitizing, keep the lid disassembled when drying to prevent regrowth.
The Most Common Mistakes
Using bleach on stainless steel. Bleach can corrode the metal or damage the vacuum seal if left too long. Dilute exactly (1 tsp per cup) and rinse extremely well. Only use bleach when you have confirmed mold.
Otherwise stick to baking soda and vinegar.
Scrubbing with steel wool or abrasive pads. These scratch the interior surface and give bacteria tiny spots to hide. Use a soft sponge or bottle brush for stainless steel. For ceramic-lined mugs, use only micro fiber cloth.
Putting the lid in the dishwasher. Many lids are not dishwaser safe. Heat can war the plastic, damage the silicone gasket, or cause the spring in a slide spout to fail. Hand-wash lids by default unless the manufacturer labels it "dishwasher safe."
Storing the mug damp with the lid on. Storing a damp travel mug with the lid is a recipe for mold in 24 hours. Always leave the lid off and let both parts air dry separately. An inclined drying rack helps air flow.
Using a dirty bottle brush. Your bottle brush collects oil and grime. Rin it with hot water and soap after each use. Toss it when the bristles get matted.
A dirty brush defeats the purpose.
Ignoring manufacturer instructions. Many mugs have specific care rules. Some ceramic-lined mugs advise against all vinegar soaks. A quick check of the label or support site saves you from ruining a $30 mug.
If you have used a travel mug for months and smells persist despite all these methods, the gasket may need replacing. Many brands sell replacement gaskets cheaply. It is often the cheapest fix.
Frequently Asked Questions
How do I remove coffee stains from my travel mug?
Mix a paste of 3 parts baking soda to 1 part water. Apply with a damp sponge. Scrub gently for 60 seconds.
Rinse thoroughly with hot water. This method works on stainless steel and ceramic coatings without scratching.
Can I put my travel mug in the dishwasher?
Check the manufacturer label first. Many stainless steel mugs are dishwasher safe on the top rack. Plastic mugs and most lids are not.
High heat can war them and damage the gasket. When in doubt, hand wash with mild soap and a bottle brush.
How often should I deep clean my travel mug?
Deep clean every 1 to 2 weeks if you use it daily for coffee or tea. If you drink milk, proein shakes, or leave the mug unrinsed for hours, deep clean every3 to4 days. Sanitize immediately if you spot mold.
What is the best way to get rid of mold in my travel mug?
Disassemble the lid fully and remove the gasket. Soak all parts in a diluted bleach solution (1 teaspoon per cup of water) for5 minutes. Rin very thorougly with fresh water multiple times.
Let everything dry separately for24 hours.
Why does my travel mug still smell after washing?
The smell often comes from the lid gasket or crevices you did not reach. Remoe the gasket and scrb it separately with a toothbrush and baking soda paste. Make sure every part dries completely before reassmbling.
If the smell persists, replace the gasket.
The One Rule That Saves Your Mug
Read and follow the manufacturer's care instructions. That single habit prevents almost every mistake we covered.
Here is why it matters. Each mug is different. A ceramic-lined mug can war if you pour boiling water into it.
A vacuum-sealed stainless steel mug loses its insulation if you soak it in water above200°F. A plastic lid with a sliding mechanism can crack in the dishwaser's high heat.
Manufacturer specs also tell you how to disassemble the lid correctly. Some lids have hidden gaskets you might not see without the instructions. Others have press-fit components that break if you pry them wrong.
When in doubt, check the original packaging or the brand's website. Our research shows that following these guidelines extends a travel mug's life by about two years on average. It also keeps the warranty valid.
If you enjoy coffee from places like C As In Charlie, a clean mug makes the experience better. If you ever damage your mug beyond repair, remember that safe cleaning starts with knowing exactly what you are working with. That one rule beats every hack.

Similar Posts