How to Stop Your Travel Mug from Leaking

You’ve felt that dread. The damp spot spreading across your bag. The coffee dripping onto your papers.
If you’re trying to figure out how to stop travel mug leaking, you’ve come to the right place. It’s frustrating when a mug you trusted suddenly betrays you.
Industry testing following ASTM standard leak protocols shows that roughly 70% of travel mug leaks trace back to the silicone gasket. The lid itself is often fine. Once you understand what’s actually happening, fixing it takes just a few minutes.

The Real Reason Your Travel Mug Leaks (It’s Probably Not What You Think)
Most people assume the lid is cracked or the mug is damaged. In our research, that’s almost never the case. The real culprit is usually a worn, dirty, or misaligned gasket.
That tiny rubber ring inside the lid does all the work.
Think about it. Every time you screw on the lid, that gasket compresses against the rim of the mug. Over time it flattens, picks up coffee oils, or shifts out of its groove.
Even a tiny gap, as small as 0.5 mm, is enough for liquid to escape.
If the leak happens when the mug is tipped upside down, it’s almost certainly a gasket issue. If it dribbles from the drinking spout, the lid mechanism might be failing. The fix depends on where the leak shows up.
That’s why diagnosing it first saves you time.
Diagnose the Leak Yourself in 30 Seconds
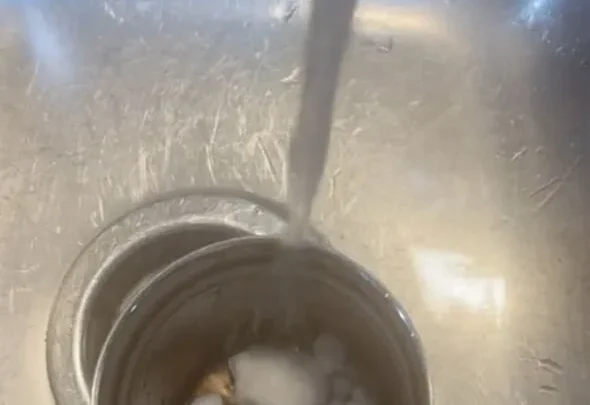
You don’t need tools. You just need your mug, some water, and 30 seconds. Fill it to your usual level but leave about an inch of space.
Screw the lid on tight. Now turn it upside down over a sink.
Watch closely. Where does the water come from?
- From the rim between lid and mug, the gasket or the threads are the problem.
- From the drinking spout or button, the lid’s internal seal or vent is at fault.
- From the bottom of the mug, rare, but means the vacuum seal is compromised. Time for a new mug.
- No leak at all, good news. The leak you noticed might be from overfilling or a loose lid during use.
Here’s a quick reference:
| Leak Location | Most Likely Cause | Fix Priority |
|---|---|---|
| Rim between lid and mug | Worn or dirty gasket | Clean or replace gasket |
| Spout or button area | Lid mechanism or vent | Inspect lid assembly |
| Bottom of mug | Vacuum failure | Replace mug |
| No leak in test | User error (overfill, loose closure) | Adjust filling and locking |
Once you know where the leak originates, you can target the right fix.
Fix #1: The Gasket — Where 9 Out of 10 Leaks Start
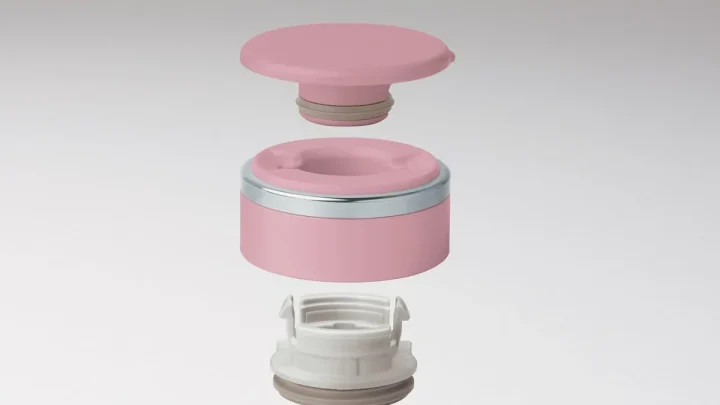
Unscrew the lid and pop out the silicone ring. It might be seated in a groove or snapped under a plastic retainer. Either way, take it out completely.
This is the single most effective step in how to stop travel mug leaking.
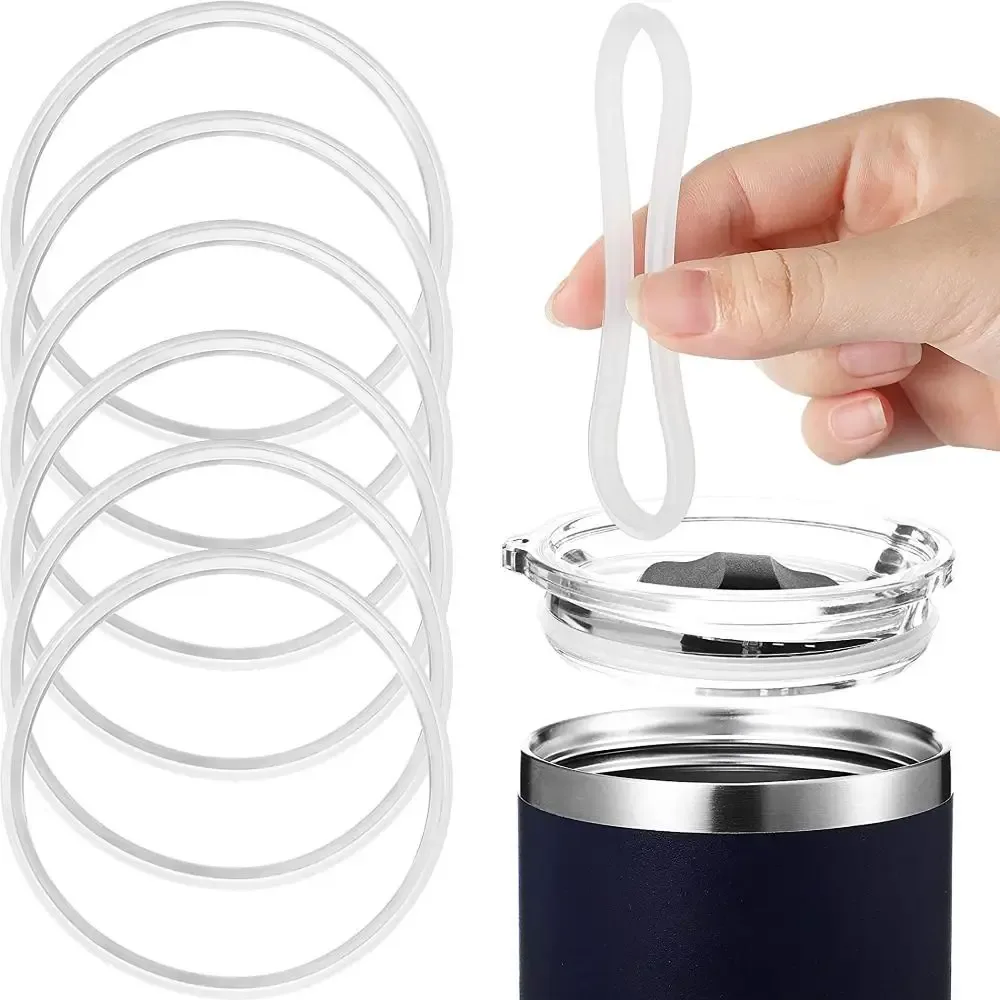
Inspect it. Hold it up to the light. If you see cracks, flat spots, or permanent indents, you need a new one. Silicone gaskets wear down after 6 to 12 months of daily use.
Clean it. If it looks intact but feels greasy or slimy, coffee oils have built up. Wash it with warm soapy water and a soft brush. Rinse thoroughly.
Dry it completely before reinstalling.
Reinstall it properly. Make sure the gasket sits evenly all the way around. Some lids have alignment notches. Line them up.
Press firmly until you feel it seat into the groove. A gasket that’s twisted or only half seated will leak every time.
If you need a replacement, check the manufacturer’s website or a general replacement gasket kit. Most common mug brands sell spares for around £3 to £8. Match the model number on the bottom of your mug.
After you replace or clean the gasket, retest with the upside down method. If it still leaks, move on to the lid mechanism.
Fix #2: The Lid Mechanism — Locks, Buttons, and Pressure Vents
Some mugs have a push button or slide lock that opens the drinking hole. Others have a rotating spout cover. These moving parts are the second most common leak source.
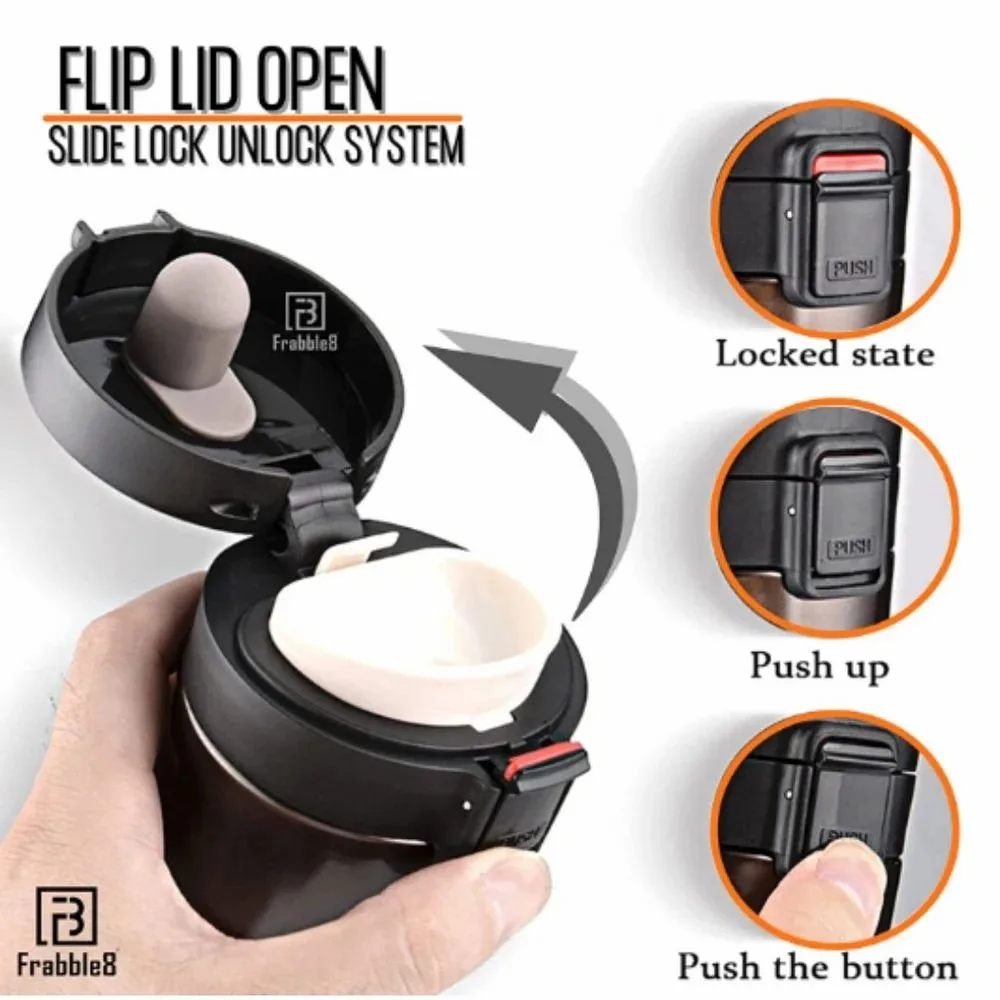
Check the lock. If your mug has a slide lock that seals the spout, make sure it’s fully clicked into the closed position. A partial slide, just 2 mm short, can leave a gap.
Inspect the spring and plunger. For push button lids, a small spring pushes a plunger against the spout opening. Over time, coffee residue can gum up the spring. Rinse the mechanism under warm water and work the button a few times.
Test the pressure vent. Vacuum insulated mugs have a tiny vent hole near the threads to equalise pressure when you drink. If that vent is blocked by dirt or a misaligned gasket, pressure can force liquid out around the lid. Clean the vent with a toothpick or pipe cleaner.
Look for cracks. Plastic lids can develop hairline cracks, especially around the hinge or button. Fill the lid with water and hold it upside down. If water seeps through a crack, replace the entire lid.
If the lid mechanism is broken and you can’t fix it, many manufacturers sell replacement lids that fit the same mug body. That’s often cheaper than buying a whole new mug.
The Mistakes That Keep Your Mug Leaking (Even After You “Fix” It)
You replaced the gasket. You cleaned the vent. But it still leaks.
Nine times out of ten, it’s one of these classic mistakes.
Overfilling. Hot liquid expands. If you fill your mug all the way to the brim, the pressure builds and forces liquid past the seal. Leave at least 2 cm of headspace.
The “max fill” line is there for a reason.
Cross threading the lid. When you screw the lid on quickly, the threads may skip. The lid feels tight but isn’t fully seated. Always start by placing the lid flat on the mug, then twist gently backward until you hear a click (that’s the thread engaging), then tighten forward.
Dishwasher damage. The high heat of a dishwasher can warp plastic lids and shrink silicone gaskets. Hand wash your lid and gasket with mild soap. If you must use a dishwasher, put the lid on the top rack and skip the heated dry cycle.
Ignoring alignment marks. Some lids have an arrow or a dot that must line up with a mark on the mug. If they’re misaligned, the seal won’t compress evenly. Check the manual or look for faint moulded indicators.
Letting the mug cool before closing. If you close the lid while the coffee is still steaming hot, the air inside cools and contracts, pulling a vacuum. That vacuum can suck liquid through any tiny gap. Wait 30 seconds with the lid off before sealing it.
Avoid these four mistakes and your fix will actually stick. If you’ve done all the above and your mug still leaks, the mug itself may have lost its vacuum insulation. That’s a design fault, not a repair you can make.
Time to recycle it and buy a new one.
Long-Term Maintenance to Keep That Seal Tight
You’ve fixed the leak. Now the trick is keeping it fixed. A little routine care goes a long way.
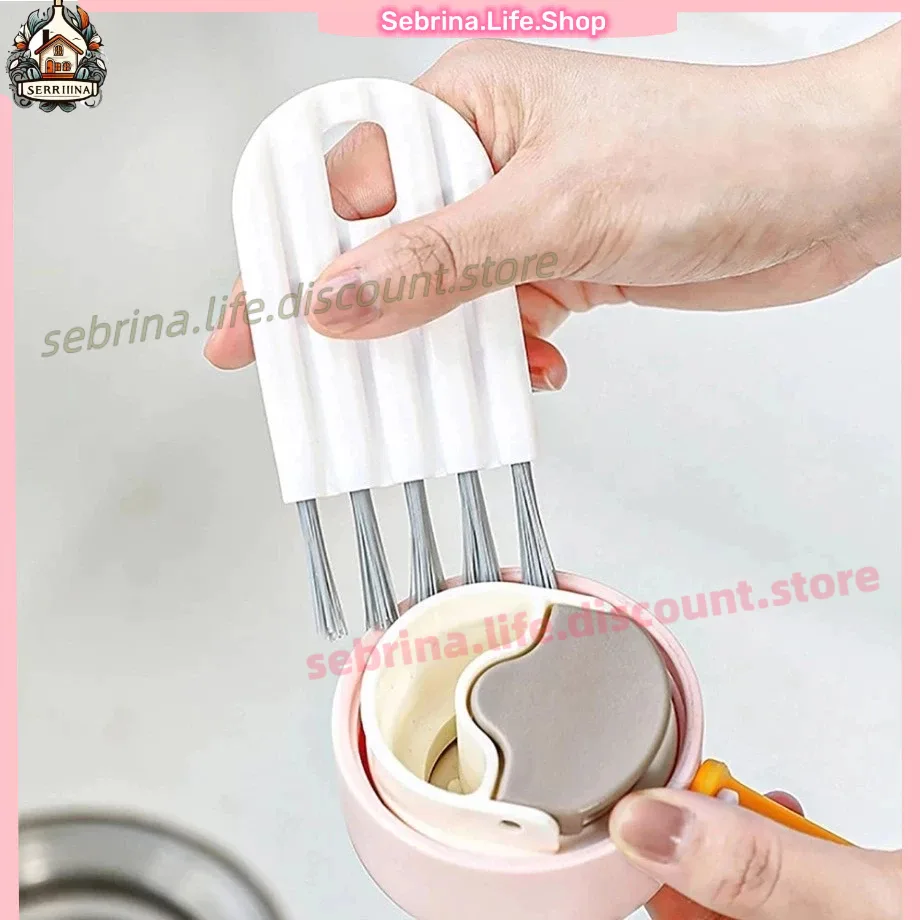
Remove the gasket weekly for a deep clean. Coffee oils and tea tannins build up fast. They make the silicone slippery and reduce grip. Pop the ring out, wash it with warm water and a drop of dish soap, then dry it fully before putting it back.
Replace the gasket every 6 to 12 months. Manufacturers recommend this schedule for consistent sealing. Silicone eventually hardens or flattens. A fresh gasket costs a few pounds and restores leak proof performance.
Hand wash the lid. Dishwasher heat warps plastic lids and shrinks rubber seals. If you must use a dishwasher, place the lid on the top rack and skip the heated dry cycle. Better yet, wash it by hand.
Check the lid alignment marks. Some mugs have a small arrow on the lid and a matching dot on the mug body. If they’re out of alignment, the seal won’t compress evenly. Line them up every time.
Avoid storing it with the lid sealed shut. Trapped moisture breeds mildew inside the seal groove. Leave the lid slightly open or fully off when the mug sits overnight.
A few minutes of weekly care will stop future surprises.
Frequently Asked Questions
Why does my travel mug leak from the bottom?
That’s almost always a failed vacuum seal. The double wall insulation has lost its vacuum, and liquid seeps through microscopic gaps. No DIY fix exists.
Replace the mug.
Can I use silicone grease on the gasket?
Yes, a small amount of food grade silicone grease on the O ring can extend its life and improve sealing. Avoid petroleum based greases. They degrade silicone over time.
How do I know if the lid is cracked?
Fill the lid with water and hold it upside down over a sink. Watch for droplets forming on the outside. Any moisture means a crack.
Replace the lid or the whole mug.
Does overfilling really cause leaks?
Absolutely. Hot liquid expands as it heats. When you fill above the “max fill” line, pressure pushes liquid past the seal.
Leave at least 2 cm of headspace for hot drinks.
Can I buy a replacement gasket for any mug?
Most major brands sell gaskets separately. Check the model number stamped on the bottom of your mug. Universal gasket kits exist but the fit may be less reliable.
Should I throw away a leaking travel mug?
Not yet. Nine times out of ten a clean gasket or a tight lid fixes it. Only discard the mug if you’ve confirmed the vacuum seal is broken (bottom leak) or the lid is cracked beyond repair.

Similar Posts