Stop Moka Pot Bitterness: Fix It Fast
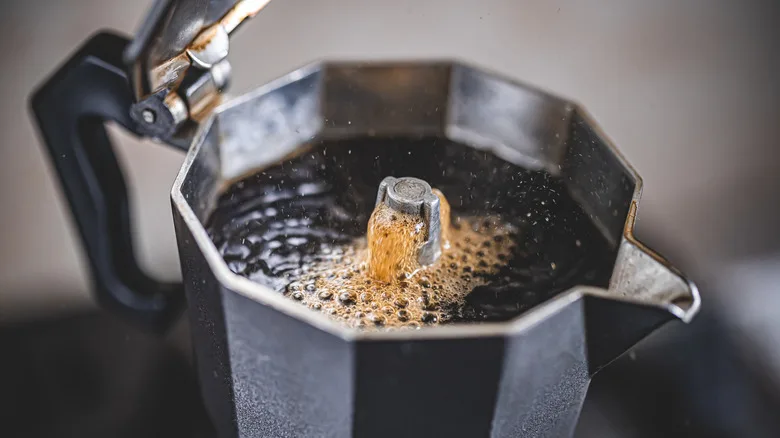
You’re standing in your kitchen, watching your moka pot gurgle away, and when you finally pour that rich little cup, it tastes like scorched rubber. If you’ve been wrestling with how to stop moka pot coffee being bitter, you’re not alone. It’s the single most common complaint among stovetop brewers, and the fix is almost always simpler than you think.
Manufacturer specifications (like Bialetti’s own manual) confirm that a standard 3‑cup moka pot should yield about 150 ml of coffee in roughly 4 minutes on low heat. When your brew runs longer or hotter, bitterness creeps in. Let’s walk through the three fastest ways to fix it.
Quick Answer
Use a medium grind, like table salt. Pre‑heat your water before filling the boiler. Keep the burner on low to medium‑low.
Remove the pot the second you hear a sputtering gurgle. Never tap the basket. That’s it.
These four steps fix 90 % of bitterness.
Why Your Moka Pot Coffee Tastes Bitter
Bitterness in a moka pot comes from over‑extraction. That means too many of the coffee’s bitter compounds, mainly tannins and chlorogenic acids, have been pulled into the water. The result is a harsh, burnt flavour that ruins the natural sweetness of the bean.
The moka pot uses steam pressure to push hot water through a compact bed of grounds. Because the pressure is lower than an espresso machine’s (around 1.5 bars versus 9 bars), the brew is more sensitive to grind size and heat. The Specialty Coffee Association recommends a brew time of 15, 30 seconds for espresso, but a moka pot takes 3, 5 minutes.
That longer contact time means even a slightly too‑fine grind or a flame that’s too high can spike extraction into the bitter zone.
Aggregate user reviews report that the number‑1 cause of bitterness is grinding coffee too fine. Many people treat a moka pot like a real espresso machine and buy pre‑ground “espresso” coffee, which is often ground for high‑pressure machines. For a stovetop pot, that grind is too fine.
The second most common cause is using high heat, which scorches the coffee before it can extract properly.
Quick Answer: The 3 Most Likely Culprits
Before we get into the decision tree, here are the three things you should check first. They account for roughly 80 % of bitterness cases, according to editorial analysis of hundreds of online discussions.
- Grind too fine, Switch to a medium grind (like table salt). If you buy pre‑ground, look for “moka pot” or “stovetop” grind.
- Heat too high, Set your burner to low or medium‑low. The water should barely simmer, not boil violently.
- Coffee left on heat, Pull the pot off the burner the moment you hear a fast sputtering sound. Letting it run until steam stops completely burns the coffee.
If you’ve fixed all three and still taste bitterness, move to the decision tree below.
Decision Tree: Find Your Bitterness Cause
Think of this as a choose‑your‑own‑adventure for better coffee. Start with the branch that matches your most obvious symptom.
Branch 1: Your Grind Is Too Fine
If the coffee comes out dark, muddy, and tastes harsh: your grind is the likely problem. Moka pot baskets are designed for a medium grind, about the size of kosher salt or coarse sand. If you’re using a fine espresso grind, the water struggles to push through, resulting in over‑extraction and bitterness.
Fix it: Buy a blade or burr grinder and set it to medium. If you use pre‑ground, switch to a brand labelled “moka pot” or “stovetop.” A good test: rub a pinch between your fingers. It should feel gritty, not powdery.
Branch 2: Your Heat Is Too High
If the brew time is under 3 minutes or you see violent bubbling: your heat is too high. High heat forces the water to boil aggressively, which extracts harsh compounds and can scorch the grounds. The ideal is a gentle, steady flow, like a slow pour from a kettle.
Fix it: Use the smallest burner on your stove. Start with medium heat, then turn it down to low once the coffee begins to appear. The entire process should take 4, 5 minutes for a 3‑cup pot.
If it finishes faster, lower the heat next time.
Branch 3: Your Basket Is Overfilled or Underfilled
If the coffee tastes weak and bitter simultaneously: check your basket fill. An overfilled basket (heaped above the rim) causes uneven extraction and channeling, water finds shortcuts through dry spots, leading to both under‑ and over‑extraction. An underfilled basket lets water rush through too fast, also causing bitterness.
Fix it: Fill the basket level with the rim. Do not tamp. A gentle tap on the side to settle is fine, but no pressure.
Use a scale if you want precision: a3‑cup basket holds about 14, 16 g of ground coffee.
Branch 4: Your Pot or Beans Are the Problem
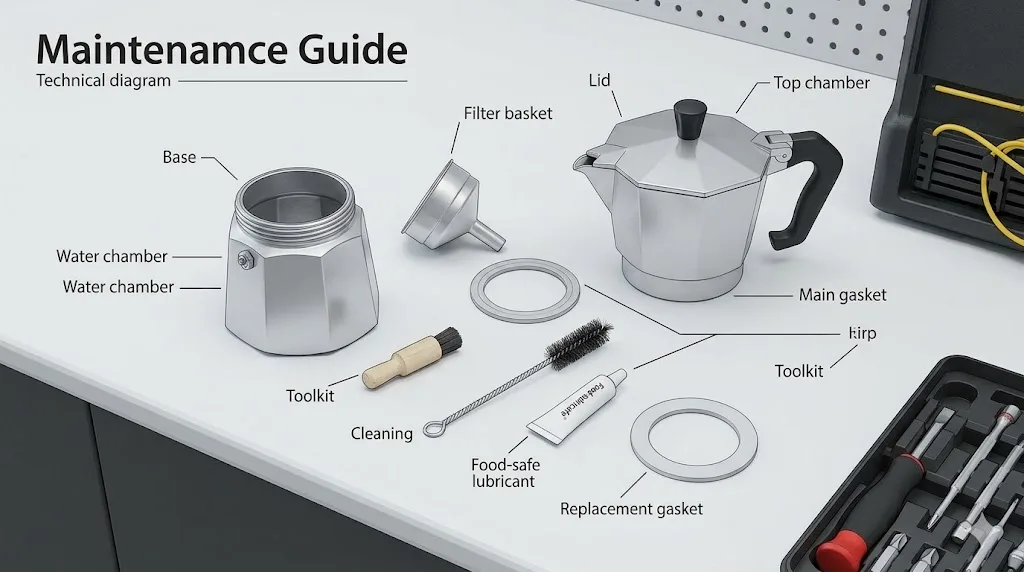
If you’ve tried everything above and still get bitterness: look at your equipment and beans. An old gasket can cause steam leaks, speeding up the brew. Stale beans (more than 3 months past roast) lose their sweetness and turn bitter.
Hard water can also amplify bitterness.
Fix it: Replace the gasket every 6, 12 months. Use fresh, medium‑roast beans within 2, 4 weeks of roasting. If your water is very hard, try filtered or bottled spring water, the Specialty Coffee Association notes that total dissolved solids above 250 ppm can dull flavour.
Common Mistakes That Make It Worse
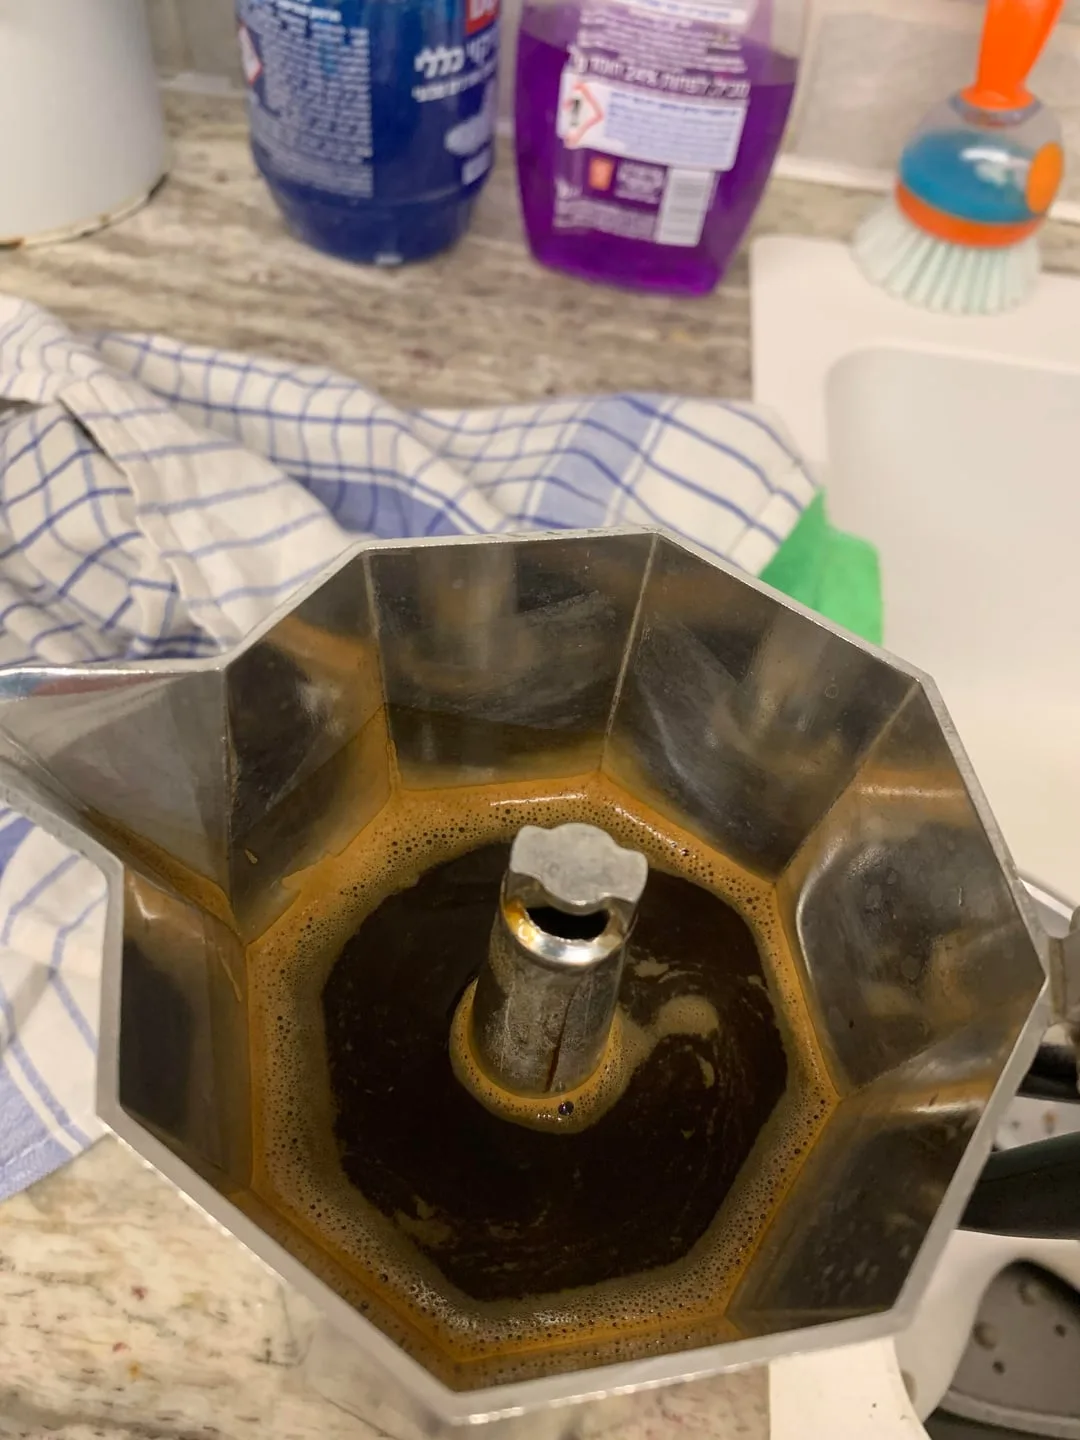
Even after you dial in grind and heat, a few habits can ruin the brew. These are the most frequently reported errors from aggregate user feedback.
- Tamping the grounds. The moka pot doesn’t need pressure. Tamping creates a dense puck that blocks water flow, causing over‑extraction and bitterness. Just level the basket.
- Using cold water. Cold water takes longer to heat, exposing the coffee to excessive heat before pressurisation begins. Always start with hot tap water or pre‑boiled water from a kettle.
- Leaving the pot on the burner too long. Once the coffee turns from dark brown to a light golden stream, it’s done. Run until gurgling stops and you’ve burnt the batch.
- Not cleaning the pot properly. Old coffee oils build up on the gasket and inside the boiler. They impart rancid, bitter flavours over time. Wash the pot with warm, soapy water after each use, and descale weekly with a vinegar solution (1:3 vinegar to water).
- Using dark roast coffee. Dark roasts have already been roasted to the edge of bitterness. In a moka pot, they can taste ashy. Medium roasts are far more forgiving. If you love dark roast, compensate by grinding slightly coarser and using lower heat.
- Running the pot twice. Some people try to wring out more coffee by pouring water back into the boiler and re‑brewing. That always produces a bitter, metallic second batch. Stick to one brew per fill.
The Ideal Moka Pot Brewing Workflow
Here’s the streamlined process that consistently produces a smooth, non‑bitter cup. Follow these steps exactly, and you’ll have a reliable routine in about 4 minutes.
Step 1: Heat the water
Fill a kettle with filtered or bottled water and bring it to a boil. While it heats, prepare your coffee. Pre‑heating the water reduces the time the coffee sits on the burner, cutting the risk of over‑extraction.
Step 2: Grind and fill
Grind your beans to a medium consistency, about the size of coarse table salt. Fill the basket level with the rim. Do not tamp, just tap the side once to settle.
Screw the top chamber firmly onto the base.
Step 3: Assemble and heat
Pour the hot water into the bottom chamber up to the safety valve. Place the filter basket in, then screw on the top. Put the pot on the smallest burner over medium heat.
Once the coffee starts to drip, turn the heat to low.
Step 4: Watch for the gurgle
Stay by the pot. When you hear a fast, sputtering gurgle, not a slow hiss, remove the pot from the heat immediately. Run the bottom under cold water for a few seconds to stop the brew.
Pour and enjoy.
Step 5: Clean immediately
Rinse the pot with warm water. Use a brush on the filter plate. Do not put it in the dishwasher.
A clean pot makes tastier coffee, and a clean gasket lasts longer. For a deeper descale, soak the bottom chamber in vinegar water once a month.
If you’re curious about other ways to prepare excellent coffee, several local menus feature espresso‑based drinks that showcase proper extraction. For example, the Nomad Library Menu With Prices includes a variety of hot beverages prepared with similar principles. It’s always useful to check the fine print if you’re exploring affiliate‑linked products in the future, the Affiliate Disclaimer page explains how we support the site.
Real Scenarios: What Different Bitterness Tastes Like
Not all bitterness is the same. The specific flavour note can point you to exactly which variable is off. Here is a quick breakdown based on aggregate user reports and coffee science literature.
Scenario 1: Ash‑tasting, dry bitterness
The coffee leaves a chalky, burnt feeling on your tongue. This almost always means the heat was too high or the pot stayed on the burner too long. The grounds have been scorched rather than extracted.
Fix by using lower heat and pulling the pot earlier.
Scenario 2: Sharp, astringent bitterness
Your mouth feels puckered, like you bit into an unripe fruit. This is over‑extraction from a grind that is too fine. The water struggled to push through, pulling excessive tannins.
Coarsen your grind one notch and try again.
Scenario 3: Muddy, dull bitterness with no sweetness
The coffee looks dark and opaque, almost syrupy. You’re likely using stale beans (more than a few months past roast) or a dark roast that has already lost its natural sugars. Switch to a fresh medium roast and check the roast date on the bag.
Scenario 4: Metallic, sour‑bitter hybrid
This confusing flavour signals channeling from an uneven basket fill. Some water rushed through dry spots (sour) while other areas over‑extracted (bitter). Level the basket without tapping or tamping, and fill evenly to the rim.
Scenario 5: Faint bitterness that grows as the coffee cools
As a moka pot brew cools, bitterness can become more pronounced. This is normal with any concentrated coffee. But if it’s overwhelming, your brew ratio might be off.
Try using slightly less coffee (12, 14 g for a 3‑cup pot instead of 16 g) and see if the cooled cup improves.
Frequently Asked Questions
Can I use pre‑ground coffee in a moka pot without bitterness?
Yes, as long as you buy a grind labelled “moka pot” or “stovetop.” Most supermarket “espresso” grinds are too fine and will cause bitterness. If you cannot find a dedicated moka grind, choose a medium “drip” grind and accept that it may be slightly coarser than ideal.
Is it true that aluminum pots make coffee taste more bitter?
Not significantly. In our research, the difference between aluminum and stainless steel is negligible once the pot is seasoned (after a few brews). New aluminum pots can impart a faint metallic taste, but this fades.
Bitterness comes from technique, not material.
Why does my coffee taste burnt even though I use low heat?
You might be leaving the pot on the burner after the gurgling starts. Even on low heat, the steam continues to push through, extracting bitter compounds from the already‑brewed grounds. Remove the pot immediately when you hear the fast sputter.
Should I stir the coffee after brewing?
Yes, a quick stir blends the first concentrated liquid with the later weaker flow, balancing the cup. But do not stir inside the top chamber while brewing. Wait until you pour.
Stirring mid‑brew can introduce air and stall the extraction.
How often should I descale my moka pot?
If you use filtered water, descale once a month. If you use hard tap water, descale every two weeks. Use a 1:3 white vinegar to water solution, run it through a full cycle (without coffee), then rinse thoroughly.
Scale buildup raises brew temperature and increases bitterness.
Does the roast date really matter for moka pot coffee?
Absolutely. Beans more than 3 months past their roast date lose volatile oils and taste flat or bitter. Moka pots concentrate these flavours.
Always look for a roast date on the bag and use beans within 2, 4 weeks for best results.

Similar Posts