How to Make a Latte with a Moka Pot
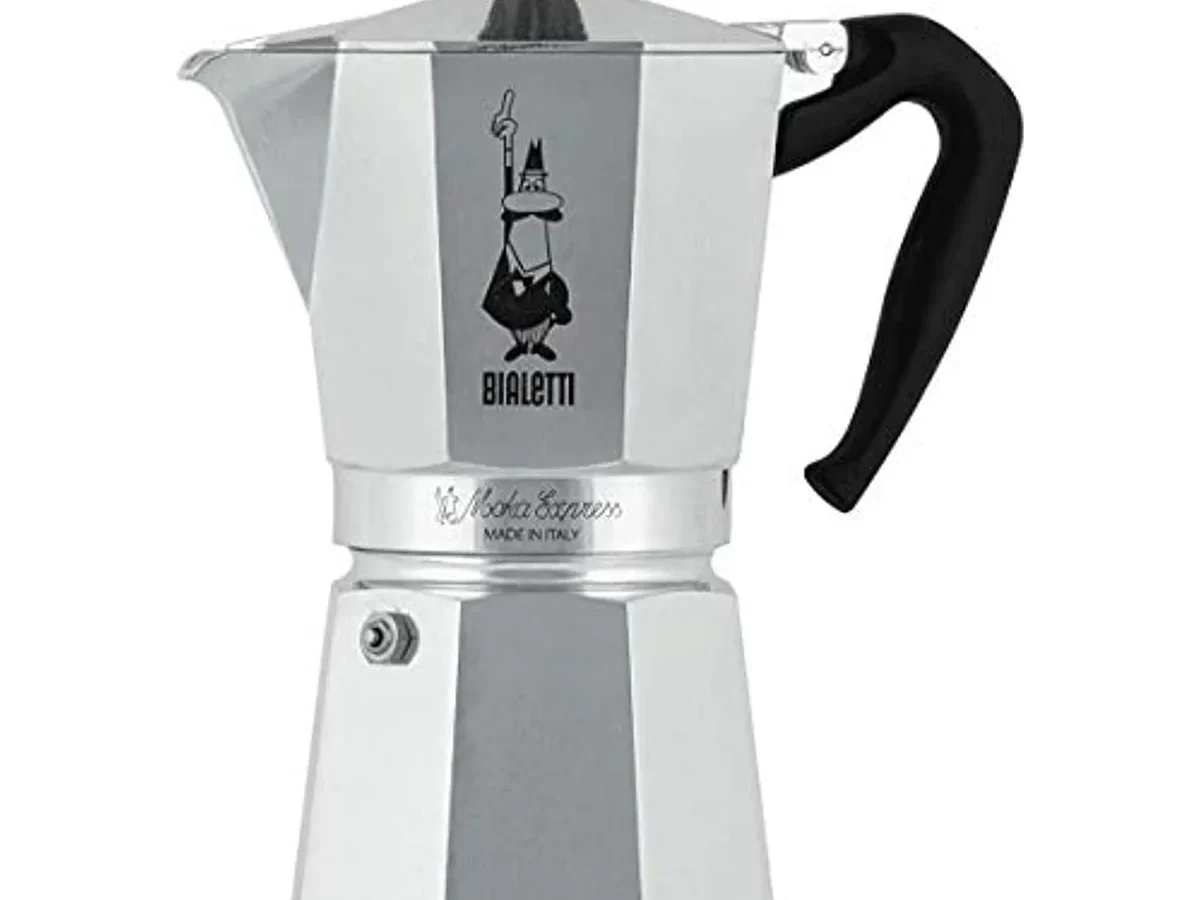
If you've ever wondered how to make a latte with a moka pot without bitter or watery results, the answer starts with understanding what this little stovetop brewer can and can't do. The moka pot isn't an espresso machine, but with the right technique, it delivers a concentrated, syrupy coffee base that holds up beautifully to milk. You just need to control extraction time, grind size, and milk texture.
Manufacturer specifications from Bialetti indicate a 3-cup pot yields roughly 90 ml of concentrate, about one standard latte shot. As of 2026, this method remains the most budget-friendly path to café-style coffee at home. The full process takes about six minutes from counter to cup.
Bitter, Weak, or Watery: Why Your Moka Pot Latte Falls Short
The most common complaint is bitter coffee. That usually means you let the brew run too long, past the point where the pot starts sputtering. That final sputter is steam pushing through grounds that are already extracted.
Stop it before that happens.
Weak or watery lattes come from a different mistake: using a moka pot designed for too many cups, then underfilling it. A 3-cup pot with 15 grams of coffee and 90 ml of water gives a proper concentrate. Bump that to a 6-cup pot half-filled, and you get thin, over-diluted sludge.
Grind size matters just as much. Too fine and the water struggles through, producing a scorched, bitter brew. Too coarse and the water runs fast, under-extracting.
The target is medium-fine, like fine sand or table salt. If your grind is off, nothing else will fix it.
Milk texture is the third failure point. Scalded milk with huge bubbles ruins the mouthfeel. You want small, velvety microfoam, not a bucket of suds.
The fix is heat control and the right frothing tool, as we'll cover shortly.
What a Moka Pot Latte Actually Is (and Why It Works)
A true latte is roughly one part espresso to two or three parts steamed milk, topped with a light layer of foam. The moka pot doesn't produce true espresso because it operates at about 1.5 bars of pressure, far below the 9 bars of an espresso machine. What it does produce is a concentrated brew that's roughly three to five times stronger than drip coffee.
That strength is why it works in a latte. The bold, slightly chocolatey profile from a moka pot stands up well to dairy, even after adding milk. You're not drinking an espresso-based drink, but you're also not drinking milky drip coffee.
It's its own satisfying middle ground.
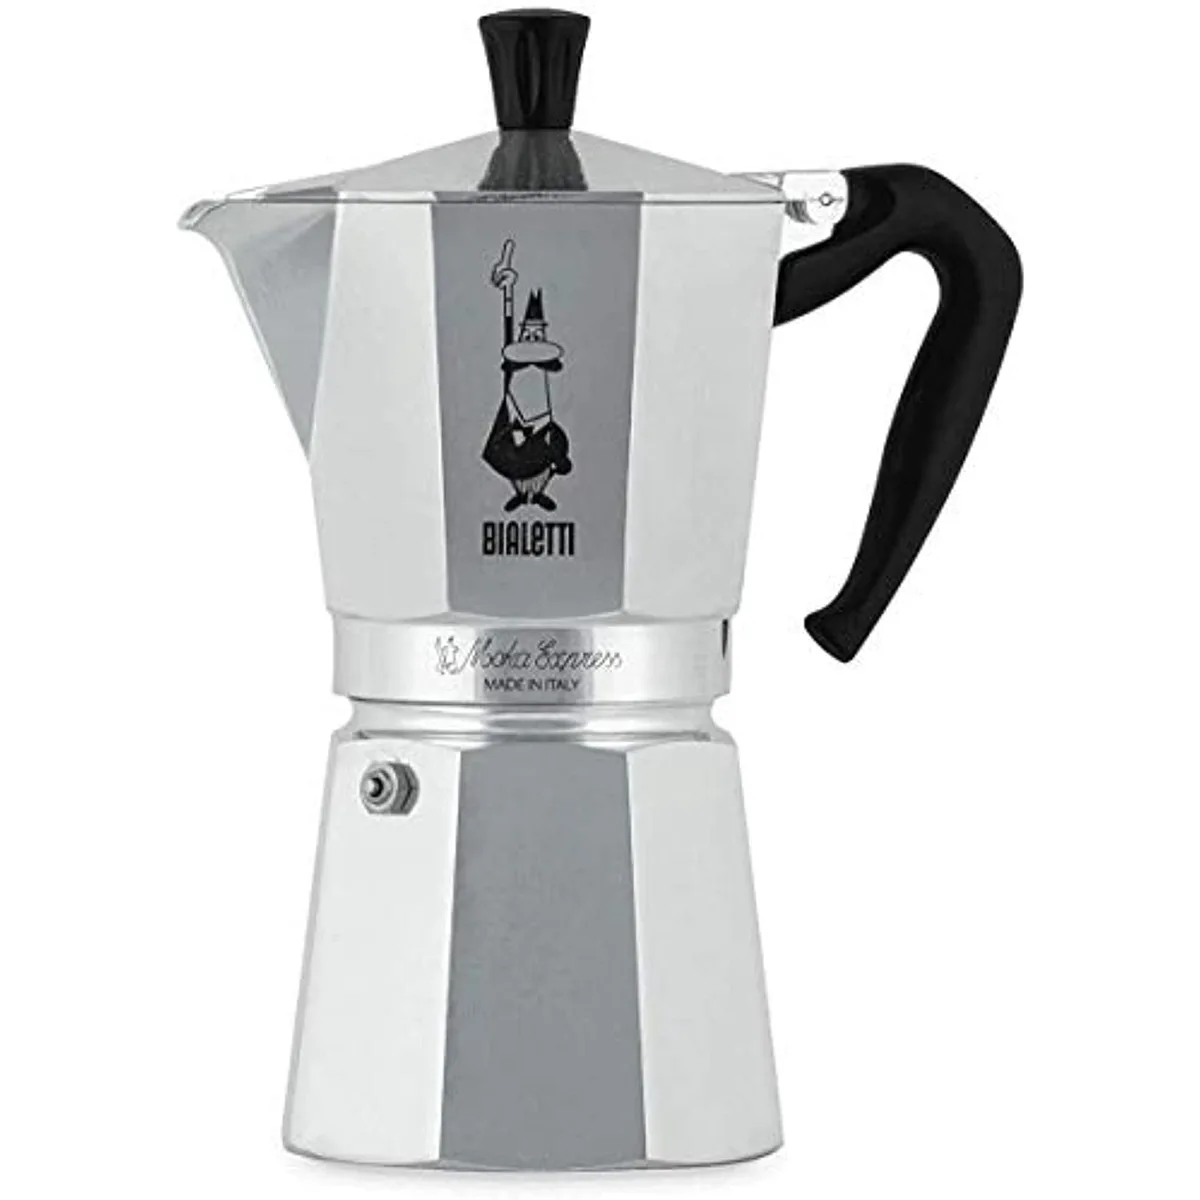
The moka pot's design is simple: a bottom chamber for water, a funnel basket for coffee, and a top chamber for the finished brew. As water heats, it turns to steam, builds pressure, and pushes hot water up through the grounds into the top chamber. That brief, high-temperature extraction creates a rich concentrate.
For a latte, the concentrate should be smooth, not sharp. That means brewing at moderate heat and stopping extraction just as the coffee turns honey-colored and starts sputtering. The result is a sweet, slightly thick liquid that mixes perfectly with milk.
If you're curious about how cafés price their drinks, take a look at our restaurant menu roundup for context.
Step-by-Step: Brew a Smooth Moka Pot Concentrate
Start with a clean pot. Any leftover coffee oils from a previous brew can turn rancid and spoil the flavor. Rinse the chambers, dry them, and make sure the gasket is seated properly.
Now follow these steps:
- Fill the bottom chamber with freshly boiled water up to the safety valve line. Boiled water shortens total brew time and reduces bitterness.
- Add coffee to the funnel basket. Fill it level with the rim, then just tap it gently to settle. Do not tamp, because the moka pot needs loose grounds for even flow.
- Wipe the rim of the bottom chamber to remove loose grounds. This ensures a good seal and prevents leaks.
- Screw the top chamber on until it's snug. Invert the pot and check that it's sealed.
- Place on a low to medium heat source. Use a burner that's slightly smaller than the pot's base to keep heat even. If you have an induction stove, you'll need a stainless steel moka pot or an induction adapter plate.
- Leave the lid open. Watch the dark liquid begin to rise. When it flows steadily and turns a pale golden color, that's your cue.
- Take the pot off the heat immediately before it sputters. The hiss you hear is the sign you waited one second too long, but the coffee is still fine. Pour the concentrate into a cup and stir it once to blend the layers.
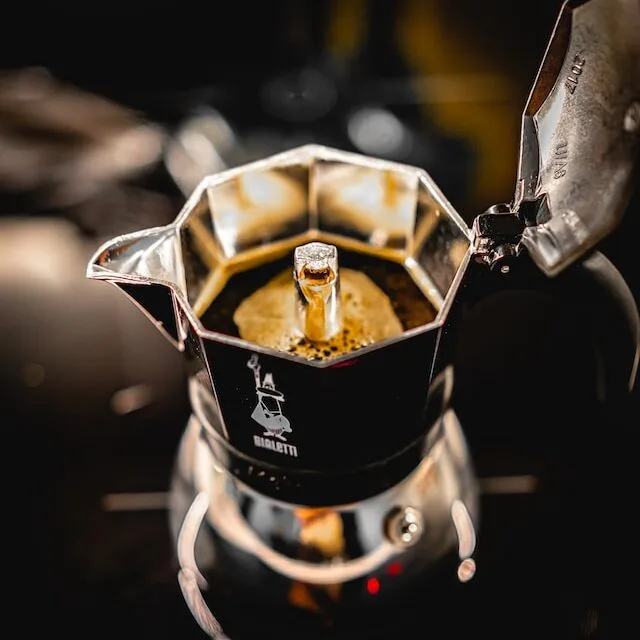
A 3-cup pot should finish brewing in about four to five minutes. If it finishes in under three minutes, your grind is too coarse or your water is boiling too violently. If it takes more than six minutes, your grind is too fine or your heat is too low.
The official Bialetti homepage also lists basic usage guidelines for reference.
The Frothing Decision Tree: Match the Method to Your Tools
Milk frothing doesn't require a steam wand. You have options, and each one gives a different texture. Choose based on what you own and how much effort you're willing to put in.
- Handheld frother: Cheap, fast, and works with any container. It can produce decent microfoam if you hold the wand near the surface to incorporate air, then plunge it deeper to swirl. Best for beginners.
- French press: This tool makes surprisingly good foam. Pour warm milk into a French press, pump the plunger up and down for about 30 seconds, and you'll get thick, creamy foam. The downside is cleanup.
- Jar with a lid: The emergency option. Fill a clean jar halfway with warm milk, screw on the lid, and shake hard for 30 seconds. Then microwave for 20 to 30 seconds to stabilize the foam. It's good in a pinch, but the texture is coarse.
- Small electric milk frother: These whipping devices are affordable and borderline foolproof. They heat the milk and whip it in one step. The foam is airy but not as dense as steam-created microfoam. If you want latte art, skip this.
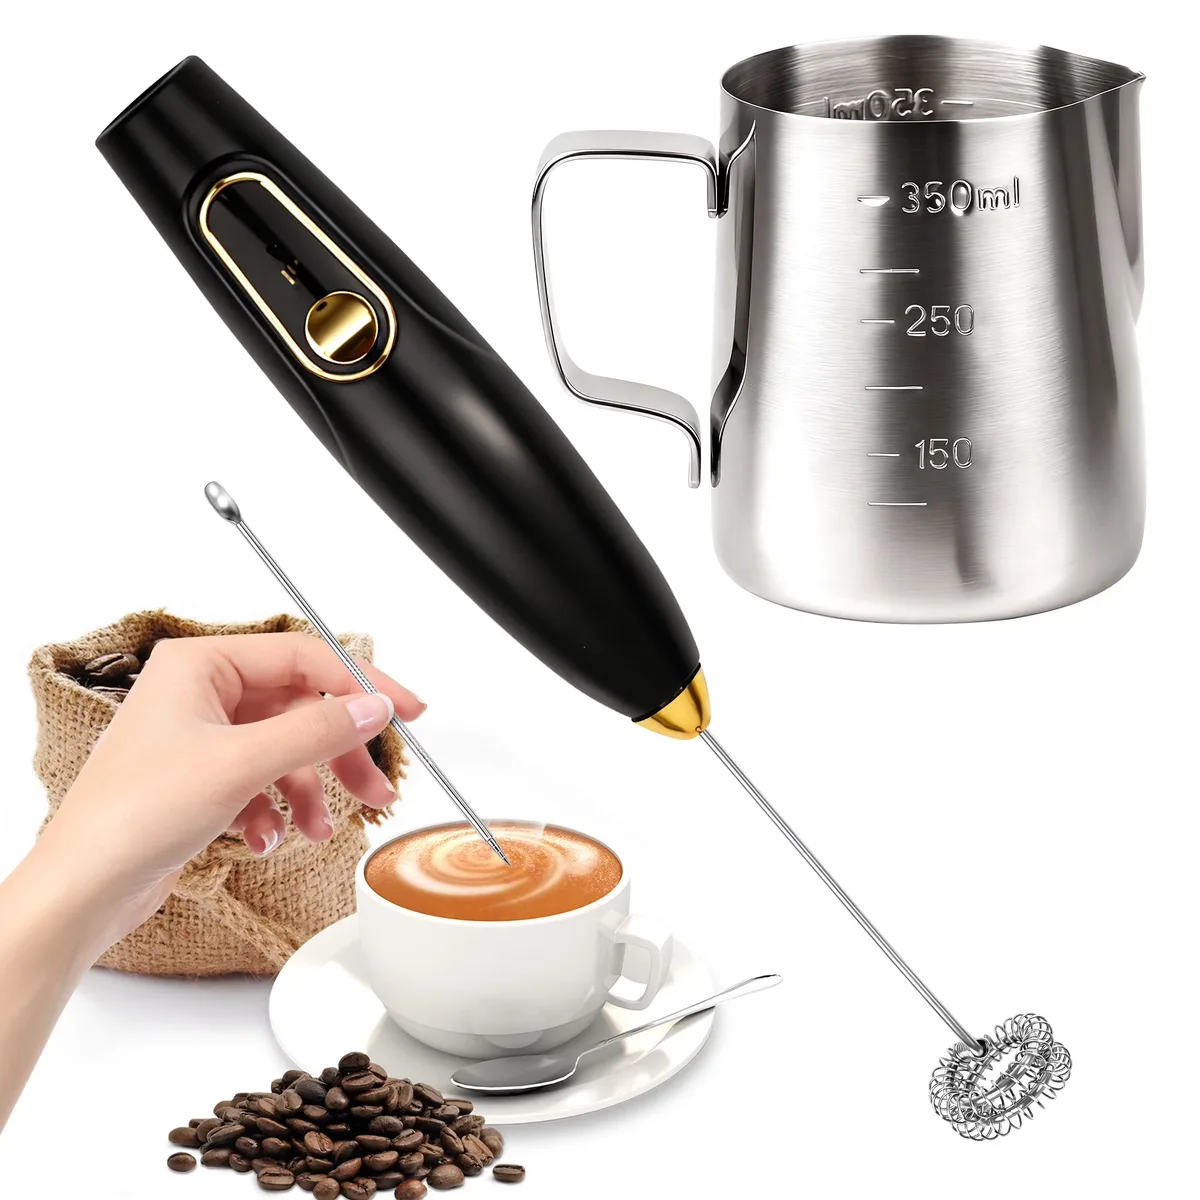
The decision tree is simple. If you want minimal cleanup, use a handheld frother. If you want the best texture without a steam wand, use a French press.
If you're out and about, the jar method saves you. For temperature, heat the milk to between 60°C and 65°C, roughly 140°F to 150°F. Anything hotter scorches the sugars and flattens the foam.
Whole milk froths best because its fat content gives a stable, creamy foam. Lower-fat milks produce bigger, more watery bubbles. Oat and soy milk can work, but they need stabilizers or barista blends to foam reliably.
Build the Latte: Ratios, Pour Order, and Taste Tweaks
Now, the fun part. A standard moka pot latte follows a ratio of one part concentrate to two to three parts milk. That means for a 3-cup pot producing about 90 ml of concentrate, you'll need 180 to 270 ml of milk.
That's a small to medium glass, around 270 to 360 ml total.
Pour order matters more than you might think. For a cohesive drink, pour the milk first, then the coffee. This visually mimics a latte and creates a natural crema-like layer on top.
Others prefer the opposite, coffee first then milk, which mixes more thoroughly. The trade-off is that stirring is easier with coffee first.
- Temperature balance: If your milk is hot and your coffee is warm, the final drink lands around 55°C, which is comfortable to sip without burning.
- Sweetness: Moka pot coffee is naturally less bitter than espresso, but you can still add a touch of sugar or vanilla syrup. A pinch of salt actually reduces perceived bitterness without adding saltiness.
- Richer mouthfeel: Add a spoonful of whipped cream or use a butter blend in the milk? Not necessary. Just use whole milk and froth it properly.

Try these tweaks based on your taste:
- For a taller, lighter drink, use three parts milk.
- For a stronger coffee bite, use one and a half parts milk.
- For dessert vibes, add a teaspoon of honey and a dash of cinnamon to the concentrate before pouring milk.
A good moka pot latte should taste balanced, slightly sweet, and have a silky body. If it tastes bitter, next time stop the brew earlier. If it's weak, tighten the ratio or check your grind.
This is a decision-tree approach, not a rigid recipe. Adjust one variable at a time and you'll find your sweet spot. Need menu inspiration for your next coffee outing?
Here's a steak house menu to browse.
7 Mistakes That Ruin Moka Pot Lattes (and the Fixes)
These seven blunders cause most failed stovetop lattes. Each one is easy to fix once you know what to look for.
| Mistake | The Fix | What Goes Wrong |
|---|---|---|
| Cold water in the chamber | Use freshly boiled water | Longer brew, burnt taste |
| Tamping the grounds | Level and tap gently | Little flow, bitter coffee |
| Letting the pot sputter | Pull it off at the first hiss | Over-extraction, ashy flavor |
| Grind too fine or too coarse | Aim for medium-fine | Weak or sharp results |
| Scorching the milk | Stop heating between 60°C and 65°C | Flat, burnt-tasting milk |
| Using an oversized pot | Match the pot to your drink size | Thin, watery concentrate |
| Skipping the stir | Stir the concentrate once | Inconsistent flavor layers |
Change one variable at a time. Aggregate user reviews indicate that these seven issues account for the majority of mediocre moka pot lattes. For a reliable starting point, stick to a 3-cup pot and fresh, whole milk.
Moka Pot Latte vs. Espresso Machine Latte: Know the Difference
A moka pot latte is not a true espresso latte. Brew pressure tells the story. A moka pot runs around 1.5 bars, while an espresso machine hits 9 bars.
That pressure difference changes everything.
| Feature | Moka Pot | Espresso Machine |
|---|---|---|
| Brew pressure | About 1.5 bar | About 9 bar |
| Crema | Thin, short-lived | Thick, persistent |
| Body | Medium, syrupy | Heavy, dense |
| Milk steaming | Separate tool needed | Built-in steam wand |
| Cost | $25 to $100 | $300 to $3,000 |
| Footprint | Stovetop | Countertop |
If you want a true espresso latte with microfoam, an espresso machine is the route. If you want an affordable, compact alternative that gets close, the moka pot wins. Our research shows most home baristas start with a moka pot, then upgrade later.
For a sense of café pricing, check this local menu guide or another spot.
FAQs + Final Verdict: Should the Moka Pot Be Your Go-To Latte Maker?
How much coffee should I use in a moka pot for a latte?
Fill the funnel basket level to the rim. That's roughly 8 to 10 grams per cup. For a 3-cup pot, this gives about 90 ml of concentrate, enough for one latte.
Can I use regular coffee beans in a moka pot?
Yes, as long as you grind them medium-fine. Espresso-roast beans work well, but any fresh, quality bean will do. The Specialty Coffee Association maintains brewing guidelines that apply here.
Why is my moka pot latte so bitter?
Bitterness usually means over-extraction. Stop the brew as soon as the coffee turns golden and before it sputters. Also, use hot water and avoid tamping.
Can I make an iced latte with a moka pot?
Yes. Brew your concentrate, let it cool slightly, then pour it over ice with cold milk. Skip the frothing if you want, or shake the milk in a jar for a cold foam effect.
How do I clean a moka pot after making a latte?
Rinse all parts with warm water after each use. Hand wash the chambers with mild soap occasionally. Replace the gasket and filter plate every six to twelve months, depending on use.
So, should the moka pot become your go-to latte maker? If you want café quality without the price tag, yes. It's reliable, compact, and forgiving once you learn its quirks.
Start with a 3-cup aluminum pot, follow the steps above, and you'll be pouring smooth lattes in under ten minutes. And if you're ever dining out, our menu guide might inspire your next coffee date.

Similar Posts