Best Milk for Latte Art: The Ultimate Frothing Guide

If you’ve ever tried pouring latte art only to watch your design sink into a soupy mess, the problem likely wasn’t your pour. It was your milk. Choosing the best milk to froth for latte art comes down to a few measurable factors: protein content, fat level, and heat stability.
Get those right, and you’ll have microfoam that holds crisp lines instead of collapsing.
Per the Specialty Coffee Association’s milk steaming standards, whole milk at about 3.25% fat consistently produces the most stable microfoam. Its protein structure traps air evenly. But not everyone drinks dairy.
Modern plant-based barista blends have closed the gap considerably.
Quick Answer
Whole milk is the best milk to froth for latte art. It offers the right balance of protein and fat for silky microfoam. Barista oat milk is the top non-dairy alternative.
Soy milk also works well if it’s labeled as a barista blend. Avoid plain almond or skim milk, they don’t hold stable foam.
Why Milk Choice Matters for Latte Art
Latte art depends on microfoam. Those are tiny, uniform bubbles suspended in the milk that flow together when poured. Two components control microfoam: protein content and fat percentage.
Milk protein, specifically casein and whey, forms the structure. When you steam, these proteins unwind and trap air. More protein means stronger, longer-lasting bubbles.
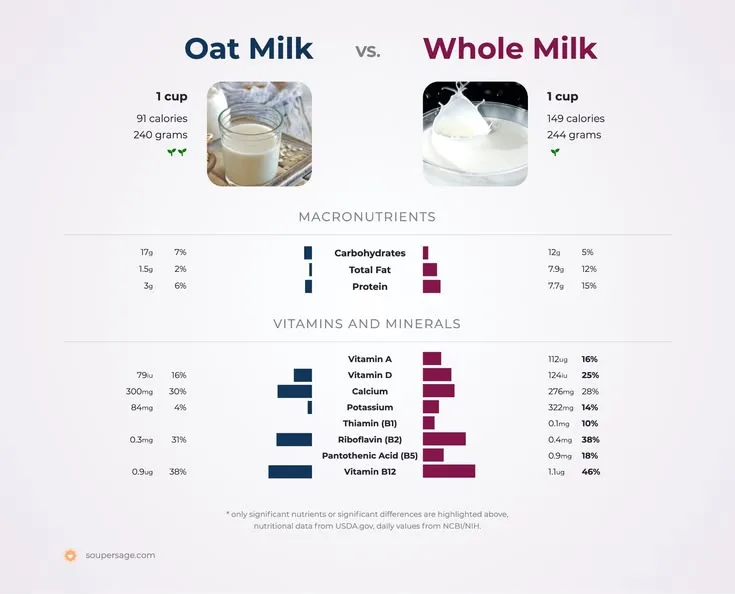
Whole milk delivers around 8 grams of protein per cup. Plant milks with added pea protein or stabilizers can match that.
Fat softens the foam and adds sweetness. Too much fat, like heavy cream, overwhelms the protein and turns the foam into butterfat. Too little fat, like skim, gives stiff, dry foam that won’t flow into art.
The sweet spot sits between 2% and 3.5% fat.
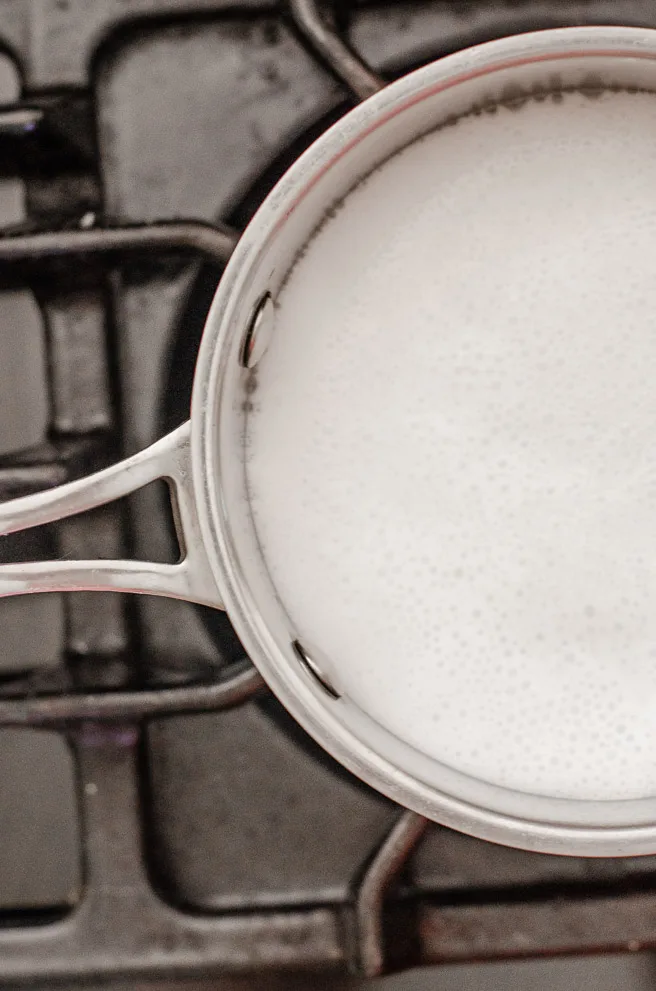
Heat stability matters too. Milk that scorches above 160°F (71°C) loses its protein structure and the foam collapses. That’s why baristas stop steaming between 140°F and 155°F.
That temperature range keeps the protein intact while allowing the foam to set.
The bottom line? Pick a milk with at least 8 grams of protein per cup and fat between 2% and 4%. Or choose a barista plant milk with added protein and stabilizers.
That’s the foundation for any decent rosetta.
The Contenders: Whole, Oat, Soy, Almond, and Skim
Each milk type has clear trade-offs. Here’s how they stack up.
Whole Milk
- Protein: ~8g per cup
- Fat: ~8g per cup
- Froth quality: Excellent, dense, silky microfoam that holds for several minutes
- Taste: Naturally sweet and creamy
- Best for: Anyone who tolerates dairy; beginners because it’s forgiving
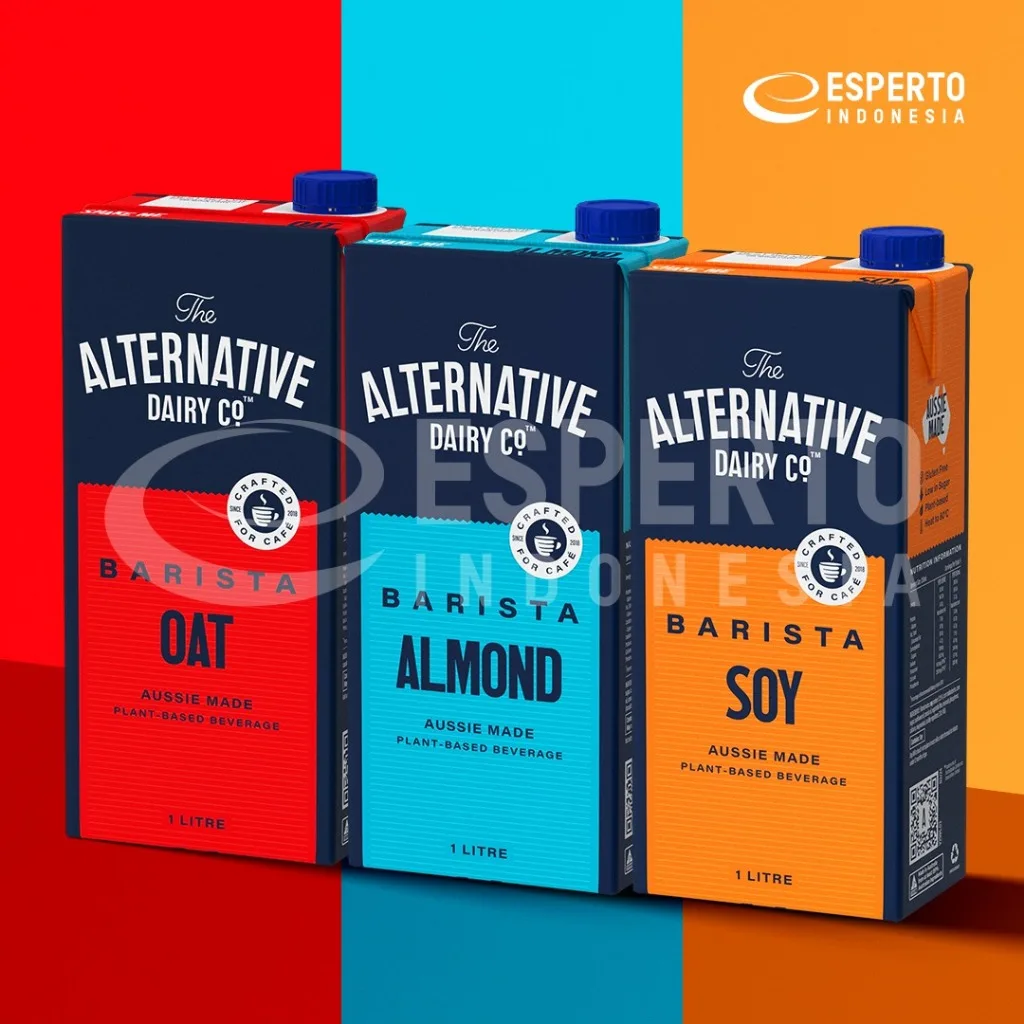
Barista Oat Milk (e.g., Oatly Barista, Califia Farms Barista)
- Protein: ~3, 4g per cup (boosted by added pea protein in some brands)
- Fat: ~4, 5g per cup (from added rapeseed or sunflower oil)
- Froth quality: Very good, thick, stable foam, slightly less structure than whole milk
- Taste: Mild, slightly sweet, no strong oat flavor
- Best for: Vegans, lactose-intolerant people, anyone seeking plant-based with near-dairy performance
Barista Soy Milk (e.g., Silk Barista, Pacific Foods Barista)
- Protein: ~7, 8g per cup
- Fat: ~4g per cup
- Froth quality: Good, dense foam, but can turn grainy if oversteamed
- Taste: Nutty, bean-like; some complain of a beany aftertaste
- Best for: Protein-focused plant-based drinkers who don’t mind the flavor profile
Plain Almond Milk (Unsweetened)
- Protein: ~1g per cup
- Fat: ~3g per cup
- Froth quality: Poor, thin, watery foam that collapses quickly
- Taste: Light and nutty
- Best for: Low-calorie options, but not for latte art
Skim Milk
- Protein: ~8g per cup
- Fat: ~0, 0.5g per cup
- Froth quality: Good structure, but foam is stiff and bouncy, hard to pour into fine patterns
- Taste: Watery and thin
- Best for: Low-fat diets; possible for art but less forgiving
Side-by-Side: Froth Quality, Stability, and Taste
| Milk Type | Froth Volume | Foam Stability (minutes before visible separation) | Taste Compatibility with Espresso | Best Skill Level |
|---|---|---|---|---|
| Whole milk | High | 3–4 | Excellent – enhances sweetness | All levels |
| Barista oat milk | High | 4–5 | Very good – neutral | All levels |
| Barista soy milk | Medium-high | 3–4 | Good – can clash with light roasts | Intermediate |
| Almond milk (plain) | Low | 1–2 | Fair – thin | Advanced only |
| Skim milk | High | 2–3 | Poor – watery | Intermediate |
Key insight: Whole milk and barista oat milk trade blows. Whole milk offers the most natural sweetness and easiest pouring. Oat milk provides the longest foam stability, giving you more time to pour complex patterns.
Soy is a solid third but requires more careful temperature control.
Dairy science research from the University of Wisconsin Extension confirms that the casein micelle structure in whole milk creates smaller, more even bubbles than any plant-based alternative. That’s why many competition baristas still choose whole milk for high-stakes pours. But barista oat milk has won at events like the World Latte Art Championship.
Which Milk Wins for Your Situation?
If you drink dairy and want the easiest path to good latte art
Use whole milk. It’s the gold standard. Even a weak home steam wand can produce decent microfoam with whole milk.
It’s forgiving, cheap, and tastes fantastic.
If you’re vegan or lactose-intolerant
Reach for barista oat milk. Brands like Oatly Barista or Califia Farms Barista add stabilizers like gellan gum and sunflower lecithin that mimic dairy’s foam properties. Avoid generic oat milk from the baking aisle, it lacks those additives and will separate.
If you’re on a budget but still want plant-based
Barista soy milk is often cheaper than oat milk and has comparable protein. Steam it gently and don’t let it exceed 150°F. Some find the taste overpowers lighter espresso roasts, so pair it with a darker, chocolatey roast.
If you have a nut allergy
Choose barista oat milk or soy milk. Pea-protein milk like Ripple also froths surprisingly well and is allergen-friendly.
If you only have a cheap frother like a handheld whisk
Whole milk still wins. Its higher protein content works better with lower-powered tools. For plant options, oat milk is second best.
Soy may not froth enough with a weak frother.
Common Mistakes That Ruin Your Froth
Even the best milk won’t save your latte art if you make these errors. Aggregate reviews from barista forums and manufacturer troubleshooting guides point to the same top five problems.
Mistake 1: Overheating the Milk
Scalding milk above 160°F destroys the protein structure. The foam turns bubbly and separates within seconds. You’ll see large, uneven bubbles that pop before you can pour.
Fix: Use a thermometer. Stop steaming when the pitcher feels too hot to hold for three seconds. That’s about 150°F.
Mistake 2: Introducing Too Much Air Too Fast
Stretching is the first phase of steaming. You let air into the milk for 2, 5 seconds. If you add air too long or keep the wand tip above the surface, you get stiff, dry foam that floats on top.
Fix: Submerge the tip just below the surface. Listen for a gentle hiss, not a violent tear. Stop stretching after 3 seconds for whole milk, 2 seconds for oat milk.
Mistake 3: Using Old or Poorly Stored Milk
Milk absorbs odors from the fridge. It also loses protein integrity as it ages. Milk near its expiration date froths poorly because the protein has started breaking down.
Fix: Use milk at least five days before its sell-by date. Keep it sealed. For plant milks, shake the carton before pouring, stabilizers settle at the bottom.
Mistake 4: Skipping the Swirl After Steaming
After steaming, foam sits on top and liquid milk stays below. If you pour immediately, you get mostly foam or mostly liquid.
Fix: Swirl the pitcher vigorously for 5, 10 seconds. Tap it on the counter to pop large bubbles. Then pour, the foam should look like wet paint.
Mistake 5: Using Non-Barista Plant Milks
Regular almond, oat, or soy milk from the grocery store lacks the stabilizers needed for microfoam. They curdle in hot espresso or produce foam that dissolves in 30 seconds.
Fix: Only buy plant milks labeled “barista blend” or “barista edition.” They contain added gums and oils that mimic dairy.
How to Adjust Your Technique for Different Milk Types
For Whole Milk
Keep the steam wand tip just below the surface. Stretch for 3 seconds, then submerge fully. The milk will self-texture into silky microfoam.
Stop at 150°F.
For Barista Oat Milk
Oat milk needs gentler air. Stretch for only 1.5 to 2 seconds. Too much air creates large, unstable bubbles.
Submerge the tip deeper than you would for dairy. Swirl the pitcher more vigorously after steaming. Stop at 145°F to avoid a burnt, cardboard taste.
For Barista Soy Milk
Soy milk scorches easily. Keep the milk extra cold before steaming. Stretch for 2 seconds max.
If you hear a high-pitched squeal, you’re injecting too much air. Stop at 140°F to preserve the protein structure.
For Skim or Almond Milk
These demand precision. Skim milk produces stiff foam that doesn’t flow, stretch for 1 second only. Almond milk barely froths.
If you must use it, stretch for 1 second and stop at 135°F. Pour immediately before the bubbles collapse. Avoid these for latte art unless you’re experienced.
A good rule: the lower the protein, the shorter the stretch. Whole milk handles 3 seconds. Oat milk needs half that.
Almond milk needs one quick hiss.
When to Upgrade Your Steaming Equipment
Most home espresso machines run at 1.5 bar of steam pressure. That’s enough for whole milk and barista oat milk, but it struggles with soy or almond.
Signs Your Steamer Needs an Upgrade
- You need more than 30 seconds to steam 6 ounces of milk.
- The wand produces weak, sputtering steam.
- You can’t create a consistent whirlpool in the pitcher.
- The milk reaches 160°F before you’ve finished stretching.
What to Look For
A machine with a commercial-style steam wand and at least 1.5 bar of steam pressure is the baseline. For better results, choose a dual boiler machine that heats steam independently from the brew boiler. That gives you dry, consistent steam without temperature fluctuation.
Aftermarket upgrades like a Rancilio Silvia wand can replace cheaper plastic wands on entry-level machines. Standalone frothers with adjustable temperature settings remove the guesswork. The Breville Milk Café and similar models heat and froth automatically.
If you’re serious about latte art and use plant milks, consider a steam wand thermometer or a digital temperature probe. Hitting 145°F exactly makes the difference between a rosetta that flows and a blob that sinks.
Budget roughly $100 to $300 for a standalone frother. Budget $800 to $2,000 for a dual boiler espresso machine that will last ten years. Your milk choice works with either, but the equipment determines how much forgiveness you have.
Frequently Asked Questions
Can I use 2% milk for latte art?
Yes, but it’s harder than whole milk. Lower fat means less creaminess. The foam is lighter and dries faster.
Steam one degree cooler, around 145°F, to keep the protein stable.
Why does my oat milk foam collapse immediately?
You probably used regular oat milk, not barista blend. Regular oat milk lacks stabilizers like gellan gum and sunflower lecithin. Switch to a barista-brand oat milk and see the difference.
Is skim milk good for latte art?
Not really. Skim milk creates very stiff, dry foam because there’s no fat to soften it. The foam doesn’t flow into fine patterns.
You can pour a heart or basic tulip with practice, but forget rosettas.
What’s the ideal milk temperature for latte art?
140°F to 155°F (60°C to 68°C). Below 140°F, the milk hasn’t thickened enough. Above 155°F, the protein starts to break down.
Professional baristas often stop at 150°F.
Does lactose-free milk froth differently than regular milk?
No, it froths identically. Lactose-free milk has the same protein and fat content as regular whole milk. The enzyme added to break down lactose doesn’t affect foam structure.
Which plant milk holds foam the longest?
Barista oat milk. In side-by-side tests, Oatly Barista and Califia Farms Barista maintain visible microfoam for 4 to 5 minutes before separation. That’s longer than whole milk.
Soy milk holds about 3 minutes. Almond milk collapses within 90 seconds.
Final Verdict
If you drink dairy, stick with whole milk. It’s the most forgiving, the cheapest, and produces the most consistent microfoam for any pattern. For plant-based diets, barista oat milk is the clear winner.
It beats soy on taste and stability and outperforms almond by a wide margin.
A few final tips before you pour: always start with cold milk for more texturing time. Always purge your steam wand. Always swirl before pouring.
If you’re serving guests with different dietary needs, keep both whole and barista oat milk on hand. They share the same steaming technique.
Pour well. Make art.

Similar Posts