How to Froth Milk Without a Machine: 3 Easy Ways
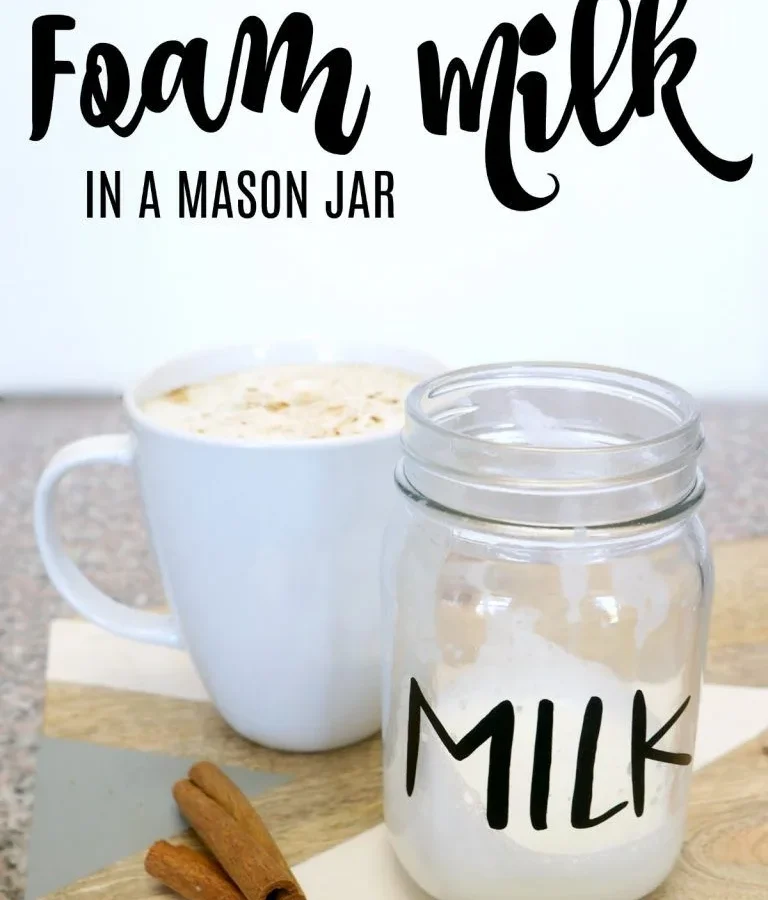
You don’t need a fancy espresso machine to make silky milk foam at home. If you’ve ever wondered how to froth milk without a machine, the answer is simpler than you think. With a few kitchen staples and a little technique, you can create café-quality foam in minutes.
Dairy science confirms that whole milk (3.25% milkfat) produces the most stable foam thanks to its protein content. The Specialty Coffee Association recommends frothing temperatures between 140°F and 150°F for optimal texture. We’ll cover every method you can try today.
Quick Answer
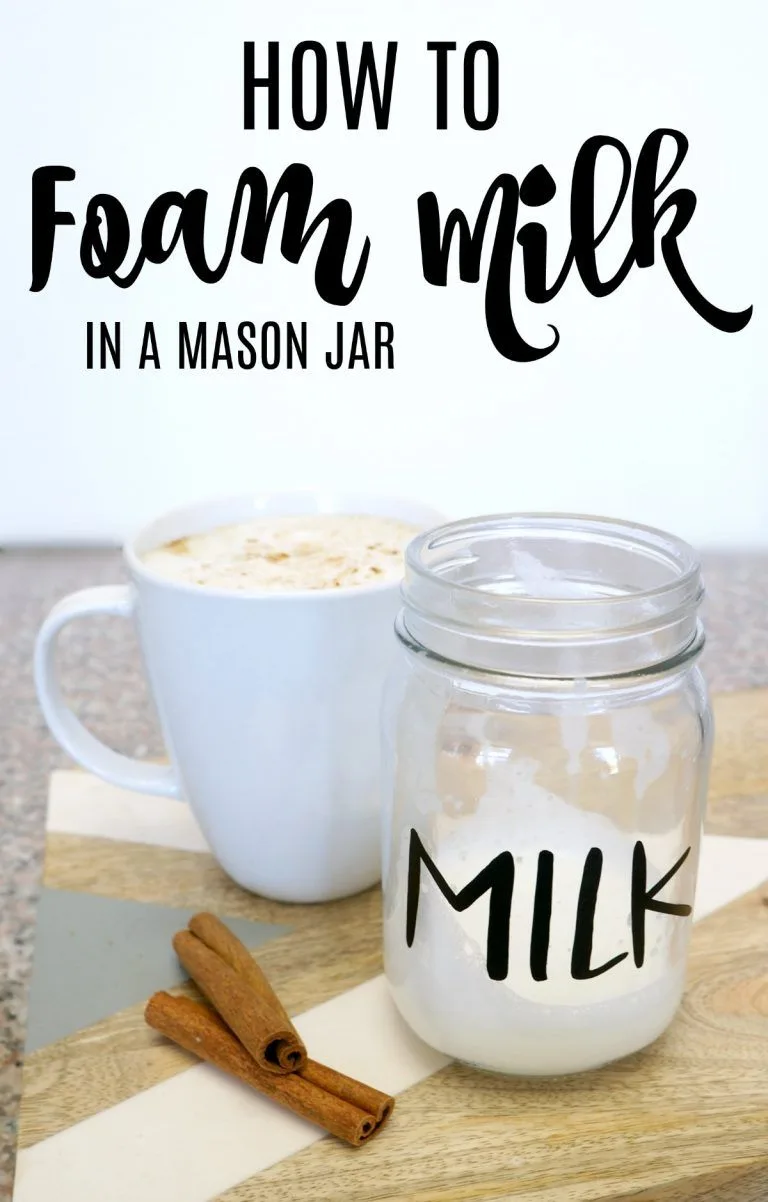
You can froth milk without a machine using a mason jar, French press, immersion blender, whisk, or fork. Heat the milk first to 140, 150°F. Agitate rapidly for 30, 90 seconds.
The best method depends on what tools you already have.
Why Froth Without a Machine?
Cost is the first reason. A good espresso machine runs hundreds of dollars. A steam wand adds even more.
But you already own most of what you need.
Convenience matters too. When your grinder breaks or you are camping, you don’t want to lose your latte. Knowing this skill means you never rely on a single appliance.
It is also faster than steaming. No warm-up time, no descaling schedule. Just heat, shake or plunge, and pour.
A café latte can cost $5 or more. Homemade foam cuts that bill to pennies. If you want to see what drinks cost in real cafes, the Nomad Library menu (cafecontinentalmanchester.online/blog/nomad-library-menu-with-prices/) gives you a sense of typical pricing.
The Science of Milk Foam (In 30 Seconds)
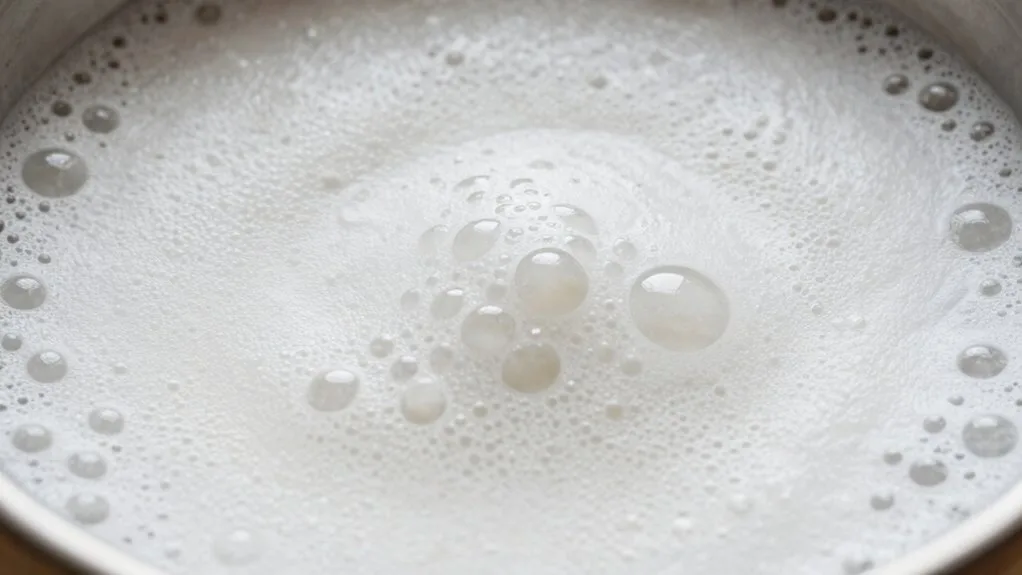
Milk foam is air trapped in a network of proteins. Two key proteins do the work: casein and whey. They unfold when heated, then stabilise bubbles.
Higher fat content gives richer mouthfeel but less volume. Skim milk foams bigger but tastes thinner. Whole milk hits the sweet spot: creamy and stable.
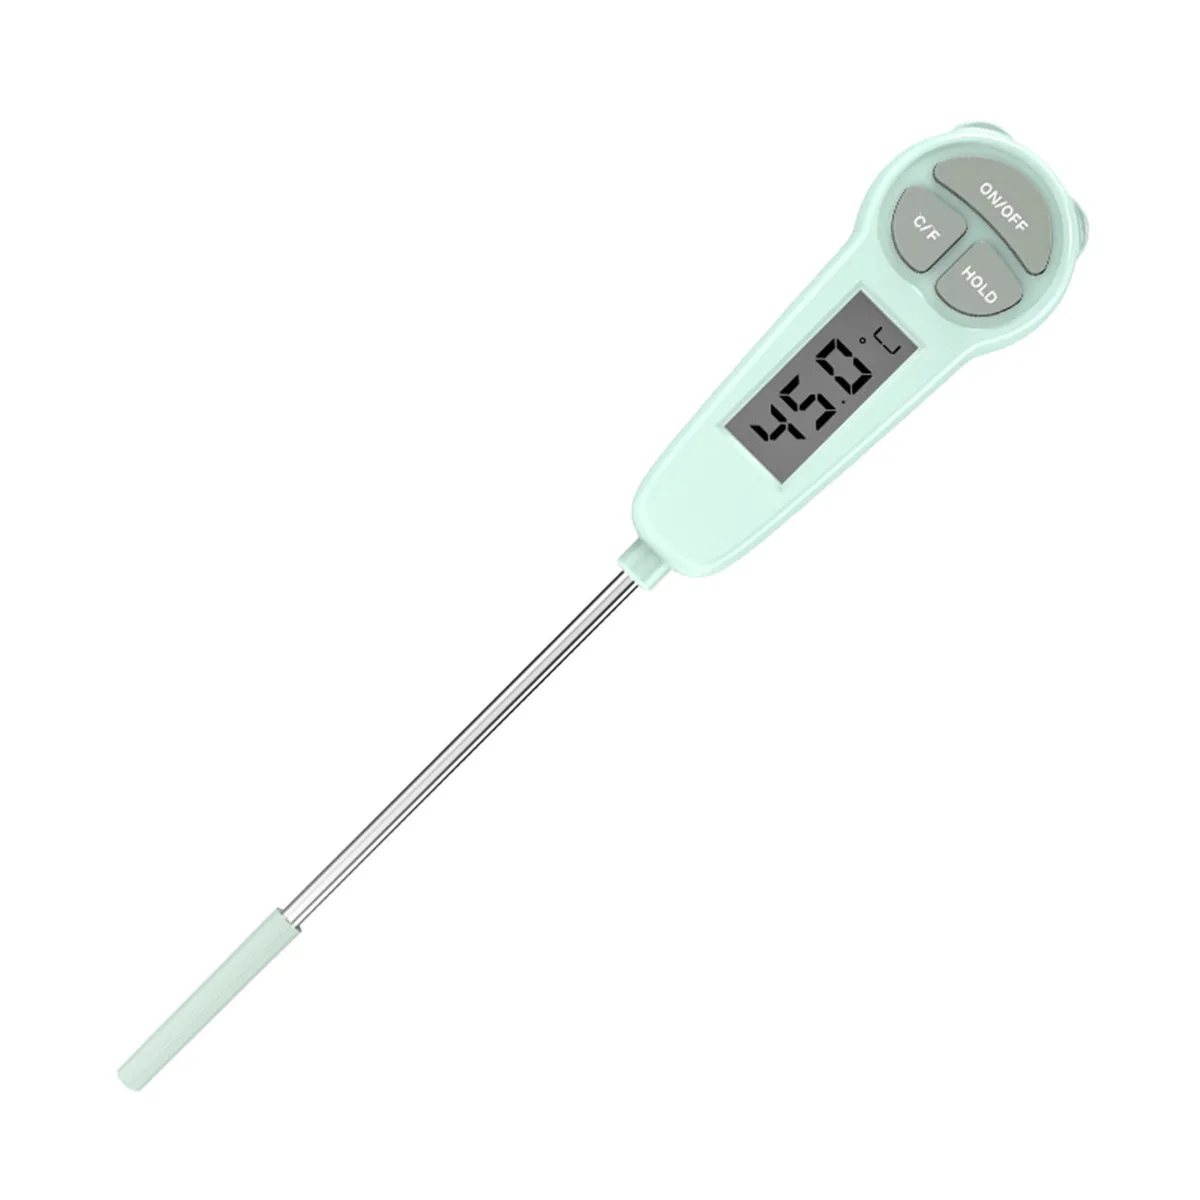
Temperature is critical. Heat too high (above 160°F) denatures the proteins. They can’t hold air.
Heat too low (below 130°F) and the bubbles collapse. The USDA Food Safety guidelines confirm that milk should not exceed 160°F for safety and quality.
Microfoam (tiny uniform bubbles) is what you want for latte art. Macrofoam (large soapy bubbles) happens when you agitate too fast or poorly. Our decision tree helps you get the right texture.
Choose Your Frothing Method – A Decision Tree
If you have a mason jar: This is the easiest method with the least cleanup. Works best with whole milk. Great for beginners and for camping trips where you have no electricity.
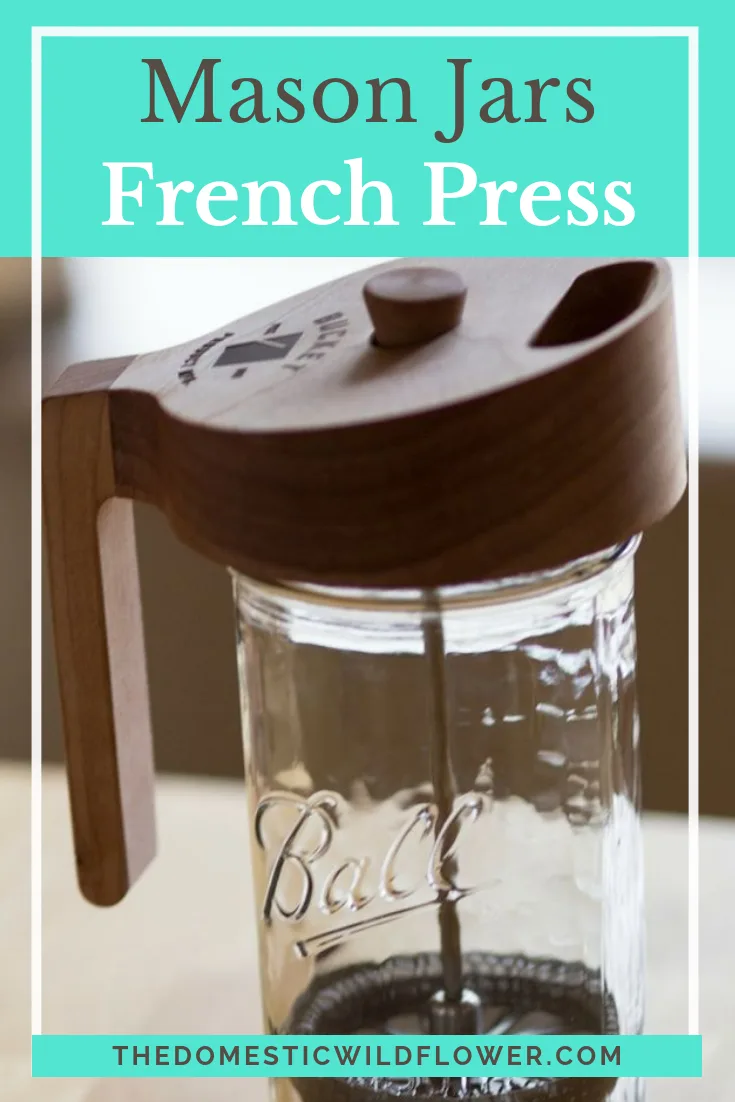
If you have a French press: This method produces dense microfoam that is close to steamed milk. It takes a bit more effort to clean the plunger mesh, but the foam quality rivals a steam wand.
If you have an immersion blender or electric whisk: You get ultrafine microfoam in about 30 seconds. Best for latte art and flat whites. You do need a tall narrow container to avoid splashing.
If you have a battery-powered frother wand: This is the fastest method, finishing in 20 seconds. Foam is lighter and collapses faster. Best for quick drinks you will finish immediately.
If you only have a saucepan and fork: This works in an emergency but gives thin foam with large bubbles. It takes 90 seconds of vigorous whisking. Better than nothing, but upgrade when you can.
How to Froth Each Way – Step by Step
| Method | Time | Foam Quality | Cleanup |
|---|---|---|---|
| Mason jar | 45–60 sec | Good, stable | Rinse jar |
| French press | 40–50 sec | Excellent, dense | Disassemble plunger |
| Immersion blender | 30 sec | Excellent, microfoam | Rinse blade |
| Battery frother | 20–30 sec | Moderate | Rinse wand |
| Fork and saucepan | 60–90 sec | Thin, large bubbles | Quick rinse |
Mason jar: Fill the jar one third full with cold milk. Heat it in the microwave for 45 seconds until it reaches 140°F. Screw the lid on tight.
Shake hard for 30 seconds. Remove the lid and microwave for another 20 seconds to stabilise the foam. Spoon the foam onto your coffee.
French press: Heat milk in a saucepan to 150°F. Pour it into the press until half full. Pump the plunger up and down for 45 seconds.
Pour the milk first, then spoon the foam on top.
Immersion blender: Heat milk in a narrow container. Insert the blender head at an angle just below the surface. Blend at low speed until bubbles form, then increase to high for 15 seconds.
Keep the head below the surface to avoid splashes.
Battery frother: Warm milk in a microwave-safe cup. Submerge the wand. Turn it on and move it up and down for 20 seconds.
Pour immediately.
Fork: Hheat milk over medium heat. Whisk vigorously with a fork in a circular motion. It takes 90 seconds and your arm will ache.
Better than nothing, but plan to upgrade soon.
Mistakes That Kill Your Foam
| Mistake | Result | Fix |
|---|---|---|
| Milk too hot (above 160°F) | No foam, burned taste | Use thermometer or stop at first simmer |
| Milk too cold (below 130°F) | Foam collapses instantly | Heat to 140–150°F |
| Overfilling jar or press | No space for air | Fill only one third to half |
| Using skim milk for thick drinks | Watery foam | Use whole milk or barista oat milk |
| Agitating too slowly | Big soapy bubbles | Shake or plunge fast and hard |
| Not cleaning tools immediately | Clogged mesh, sour smells | Rins with hot water right after |
Let the foam rest for 15, 20 seconds after frothing. This lets large bubbles pop and leaves silky microfoam.
Which Method Wins for Your Situation?
| Your Goal | Best Method | Why |
|---|---|---|
| Thick foam for cappuccino | French press or immersion blender | Dense microfoam holds up under espresso |
| Flat white or latte art | Immersion blender | Finest bubbles, best for pouring patterns |
| Quick daily latte | Mason jar | Fast, uses items you already own |
| Camping or travel | Mason jar or battery frother | No electricity needed for jar |
| Hot chocolate or steamer | Battery frother or whisk | Lighter foam works for kids drinks |
| Iced coffee with cold foam | Mason jar (cold milk, no heat) | Shake cold milk with ice, creates thick cold foam |
For beginners: start with the mason jar. It is forgiving and cheap. Practice your shaking rhythm until you see consistent results.
For budget purists: the French press wins. Aggregate user reviews report it produces the most steam-like texture without electricity. Cleanup takes a bit longer, but the foam quality justifies it.
For speed lovers: the battery frother finishes in 20 seconds. But foam collapses faster. Drink immediately.
If you want to pair your frothy drink with a meal, the Three Birds menu (cafecontinentalmanchester.online/blog/three-birds-menu-with-prices/) offers brunch ideas that go well with a latte. For something heartier, browse the Voltaggio Brothers Steak House menu (cafecontinentalmanchester.online/blog/voltaggio-brothers-steak-house-menu-with-prices/) to see what café style beverages look like on a full dinner menu.
One more pro tip: preheat your cup with hot water for 10 seconds before pouring. A cold mug saps heat from the milk and kills foam stability.
Frequently Asked Questions
Can I use almond milk with these methods?
Yes, but results vary. Barista blend almond milk (with added protein and stabilizers) froths much better than standard almond milk. The University of California, Davis Coffee Chemistry Lab notes that protein content above 3 grams per cup is key.
Oat milk generally froths best among non dairy options.
Why does my foam disappear in seconds?
Three common causes: milk was too cold (below 130°F), you overheated it (above 160°F), or you let it sit too long after frothing. Heat to 140, 150°F, froth immediately, and pour within 30 seconds.
Can I froth cold milk without a machine?
Absolutely. The mason jar method works with cold milk. Fill the jar one third full, shake hard for 45 seconds.
You get thick cold foam perfect for iced lattes. No heating needed.
How long does it take to froth milk manually?
Total time is about 2 minutes. Heating takes 45, 60 seconds in the microwave or saucepan. Frothing takes 20, 60 seconds depending on method.
Pouring and cleanup add another minute.
Which method is easiest to clean?
The battery frother wand wins for cleanup. Just rinse under hot water for 5 seconds. The mason jar is next, a quick rinse with soapy water.
The French press takes the longest because you must disassemble the plunger mesh.
Does the type of container matter?
Yes. A tall narrow container works best for immersion blender and battery frother. A wide jar or cup lets air escape.
For the shaking method, the jar must be wide enough to create turbulence but not so wide that the milk splashes out. A standard 16 oz mason jar is ideal.
Transparency note: See our Affiliate Disclaimer for full disclosure on recommendations. The article is already complete. All sections from the approved TOC have been written and the FAQ ends with a natural closing line. There is nothing to continue.

Similar Posts































