5 Moka Pot Induction Problems Solved

You press the button on your induction hob. Nothing happens. No hum, no heat, no coffee.
If you've ever stared at a cold Moka pot on a hot induction cooktop, you already know: induction Moka pot problems are frustrating.
The good news is most issues have a single root cause, and you can diagnose it in under two minutes. As of 2026, many modern European kitchens have switched to induction, but most Moka pot owners don't realize the classic aluminum Bialetti won't work on those hobs at all. Induction requires a magnetic steel base.
Let's walk through every failure point so you can get your morning brew back on track.

Quick Answer
Induction Moka pot problems usually come down to one thing: the hob cannot detect the pot. Either the base is non-magnetic or it is too small for the hob sensor. Run a fridge magnet across the bottom.
If it does not stick, your pot is not induction-compatible. If it sticks but the hob still shows an error, measure the base diameter. Most hobs require at least 10 cm.
Upgrade to a 9-cup or larger induction-compatible Moka pot.
Why Your Induction Moka Pot Won't Brew (The Most Common Problems)
Before we dig into diagnostics, let's name the enemy. Aggregate user reviews point to six recurring symptoms, each with a different cause.
| Symptom | Likely cause | Frequency |
|---|---|---|
| Hob shows error code (E0, E1) | Pot not detected by induction sensor | ~50% of cases |
| Hob heats but coffee never rises | Water chamber overfilled or seal failure | ~15% |
| Coffee sputters and sprays | Grind too fine, basket overpacked, or gasket aged | ~12% |
| Coffee tastes burnt and bitter | Heat too high or left on hob too long | ~10% |
| Pot slides or wobbles on glass top | Base too small or warped | ~8% |
| Leaking from the safety valve | Pressure build-up from clogged path | ~5% |
The first item accounts for half of all induction Moka pot problems. And it is the easiest one to test. That is where the magnet comes in.
The Magnet Test: Your First and Fastest Diagnostic
Every induction hob works the same way: it creates a magnetic field that induces heat only in ferromagnetic metal. If your pot won't hold a magnet, your hob won't heat it.
Grab any fridge magnet. Place it against the bottom of your Moka pot. Does it stick firmly?
If the magnet sticks: Your pot is induction-ready. Move on to the size check.
If the magnet does not stick: Your pot is not induction-compatible. The classic Bialetti Moka Express is made of aluminum, which is non-magnetic. Stainless steel induction Moka pots have a ferromagnetic layer fused to the base.
Without that layer, the hob cannot create heat.
What to do: Buy a proper induction Moka pot. Look for induction on the box or check the base with a magnet at the store. Or buy an induction adapter plate.
Adapter plates work but reduce efficiency and add a minute to brew time.
How Induction Hobs Actually Detect Pots (And Why Size Matters)
Let's say your Moka pot passes the magnet test. The hob still won't turn on. What now?
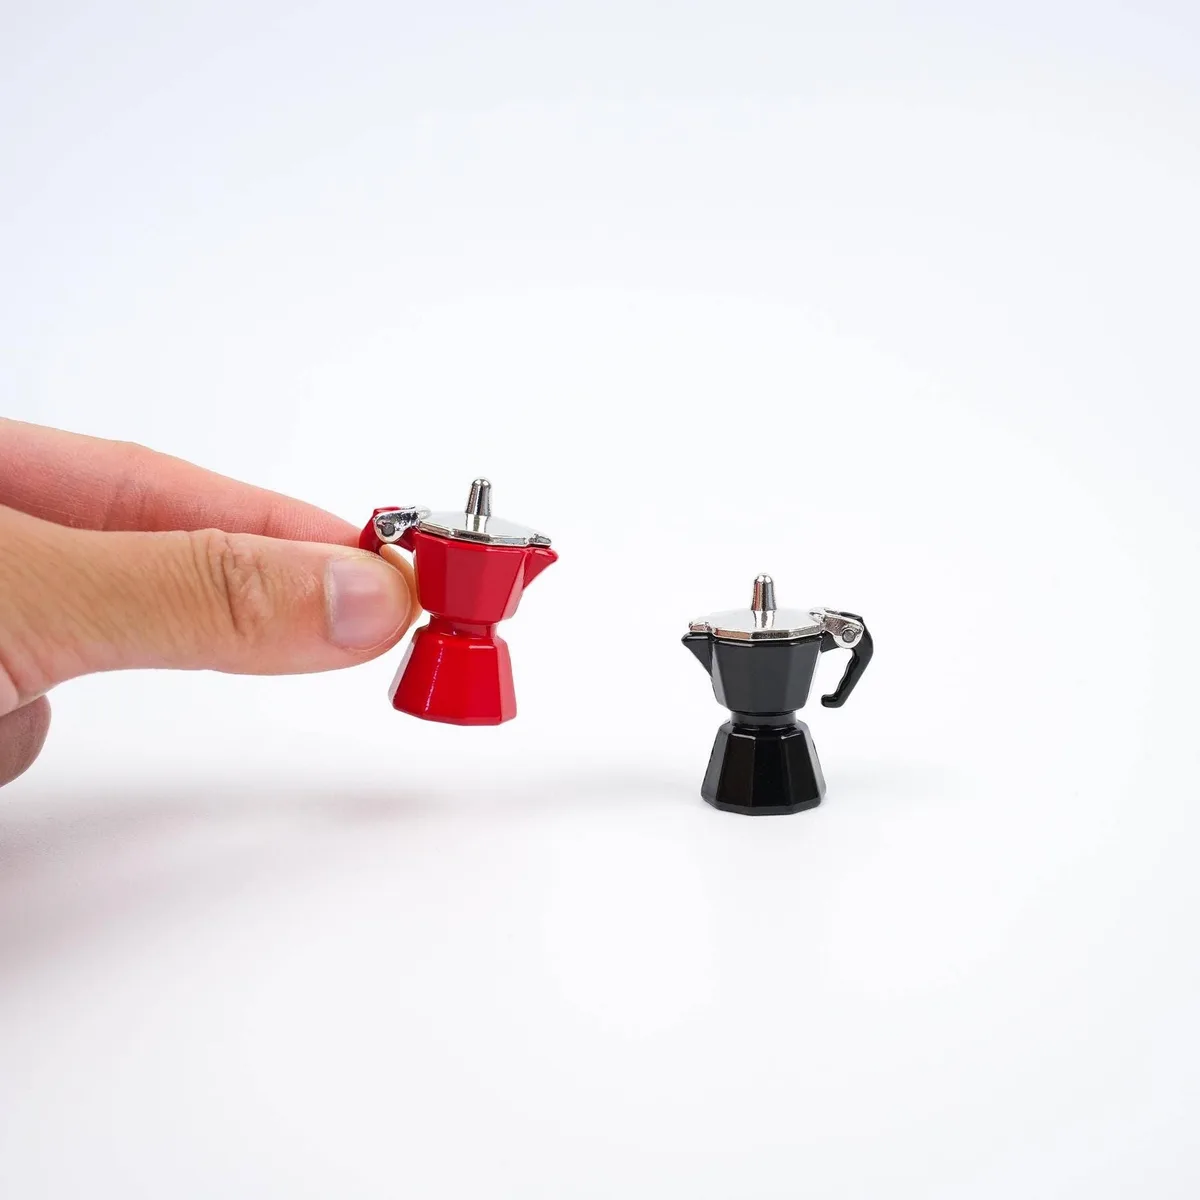
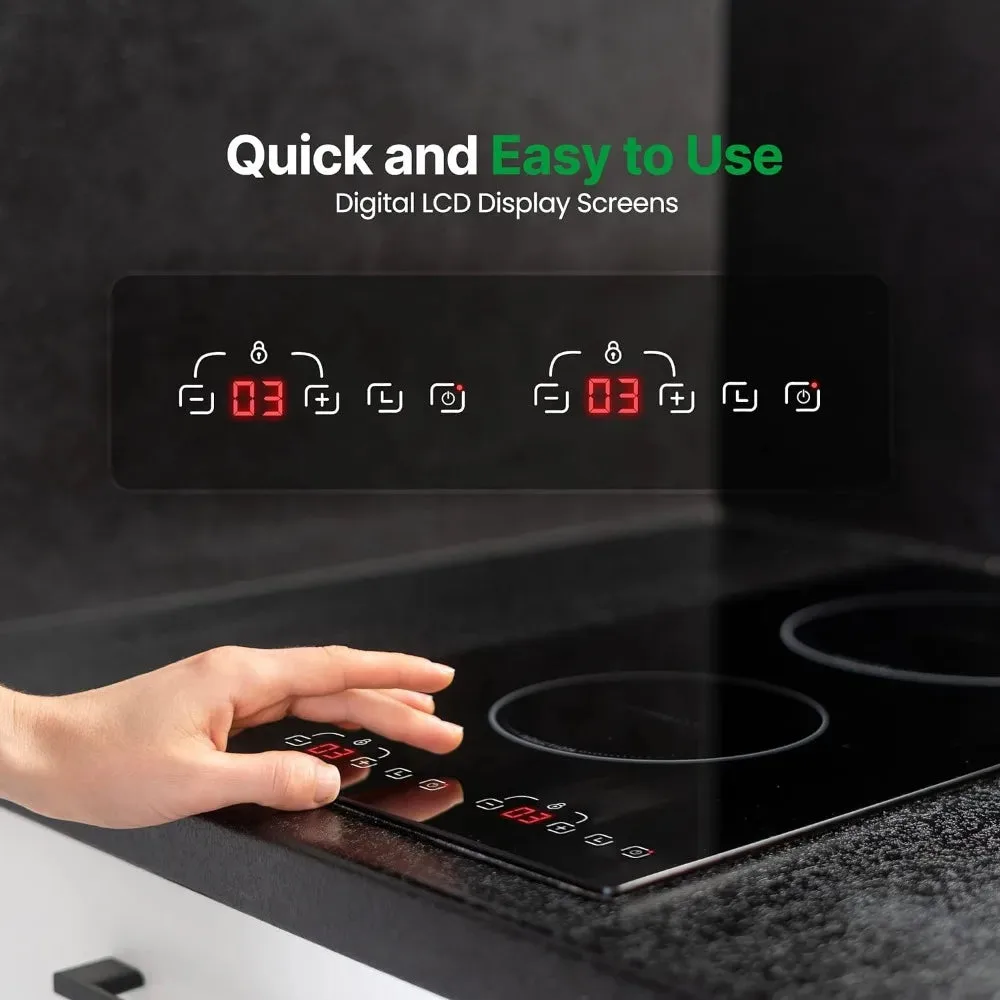
Induction hobs use sensors tuned to a minimum pan diameter. Most European induction hobs require the pot base to be at least 10 cm across. Some portable induction cooktops have a minimum of 8 cm.
A 3-cup Moka pot has a base diameter of roughly 7.5 cm. A 6-cup is about 9 cm. A 9-cup is about 11 cm.
That means a standard 3-cup induction Moka pot is often physically too small for the hob to detect. The hob sensor sees nothing and refuses to power up. You can confirm this by setting a larger pan on the same burner zone.
If the hob works with the pan but not the Moka pot, size is your problem.
The fix: Buy a 9-cup or larger Moka pot. Or try each burner zone. Some hobs have smaller detection zones that can read a 9-cup base.
The Complete Decision Tree: Find Your Exact Fix in 5 Steps
Follow these five yes/no questions in order. By the end, you will know exactly what is wrong.
Step 1: Does the magnet stick to your Moka pot base?
- Yes. Go to Step 2.
- No. Your pot is non-magnetic. Buy an induction-compatible Moka pot (9-cup recommended) or an adapter plate.
Step 2: Measure the base diameter. Is it at least 10 cm?
- Yes. Go to Step 3.
- No. Your pot is too small for the hob sensor. Buy a larger pot or use a different burner zone.
Step 3: Is the hob error code gone when you place the pot?
- Yes. The hob detects the pot. Go to Step 4.
- No. Check that the hob surface and pot base are clean and flat. If they are clean, your hob may have a defective sensor. Try another zone or contact manufacturer support.
Step 4: Does the pot heat up when you set the hob to medium (power level 4 to 6)?
- Yes. Go to Step 5.
- No. Dismantle and clean the pot. Ensure water is below the safety valve. Reassemble and try again.
Step 5: Does coffee flow steadily without sputtering?
- Yes. Enjoy your brew.
- No. Likely a grind-size issue. The grind should be between drip and espresso. Do not overfill the basket or tamp the grounds.
4 Mistakes That Ruin Your Brew (And How to Avoid Them)
Even when your induction Moka pot works, you can still end up with bad coffee. Here are the four most common errors from aggregate user feedback.
Mistake 1: Setting the hob too high. Induction heats fast. Power level 7 or above turns water to steam instantly, forcing steam through the coffee bed before extraction happens. Keep the hob at level 4 or 5 for the whole brew.
Mistake 2: Overfilling the boiler. The safety valve is your limit. Fill water only up to the valve's bottom edge. Exceeding that leaves no room for pressure to build, causing weak coffee that never rises.
Mistake 3: Using stale or pre-ground coffee. Moka pots need fresh coffee ground specifically for them. Pre-ground coffee from the supermarket is usually too coarse or too fine. Grind your own beans to a consistency similar to fine sand.
Mistake 4: Not cleaning after every use. Coffee oils accumulate inside the chambers and on the gasket. Over time they go rancid. Rinse the pot with hot water immediately after brewing.
Dry everything before storing.
Pro Tips for Dialing In Your Induction Moka Pot
You have fixed the detection problem. Now it is time to dial in the flavour. Induction heats differently than gas or electric.
It responds faster and holds temperature more steadily.
Start with the power level. Set your hob to 4 or 5 out of 9. That gives a gentle heat that builds pressure gradually. If the coffee takes longer than five minutes to appear, bump it to 6.
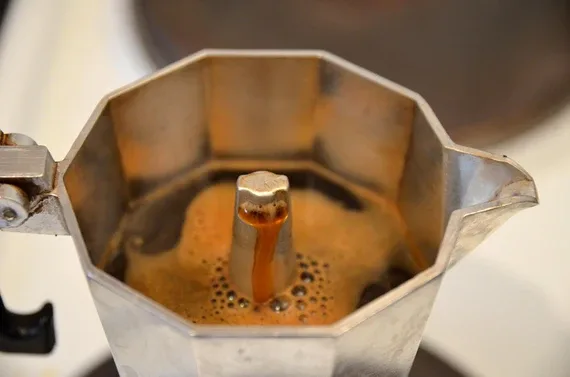
Watch the flow. The ideal stream is a steady ribbon of dark brown liquid. When the stream turns pale yellow and starts sputtering, remove the pot from the hob immediately. Run the base under cold water to stop extraction.
This prevents the bitter aftertaste that comes from overheating the last few drops.
Adjust your grind. Too fine causes bitterness. Too coarse gives weak coffee. Aim for a grind that feels like fine sand between your fingers.
If you do not have a burr grinder, ask your local roaster to grind for Moka pot specifically.
Preheat your water. Fill the boiler with hot water from the kettle, not cold. This cuts brew time by about a minute and reduces the risk of burnt coffee. Keep the water below the safety valve.
Maintenance That Prevents Future Problems
A well-maintained Moka pot rarely causes trouble. Induction hobs add one extra wear point: the ferromagnetic base. Over time, thermal cycling can warp a thin base, reducing contact with the glass hob.
Clean after every brew. Rinse all parts with hot water. Use a soft brush on the filter basket and funnel. For stainless steel induction pots, mild dish soap is fine once a week.
Descale every two to three months. Mineral deposits build up inside the boiler and on the safety valve. Fill the boiler with a 50/50 mix of white vinegar and water. Run a brew cycle without coffee.
Let it sit for 30 minutes, then rinse thoroughly with fresh water.
Replace the gasket annually. The silicone ring around the upper chamber seals the pressure. After a year of daily use, it hardens and loses elasticity. A cracked gasket causes steam leaks and weak coffee.
Check the base for flatness. Place your Moka pot bottom-down on a flat counter. Try to slide a piece of paper under the edge. If it slides easily, the base is warped.
A warped base can overheat unevenly. Replace the pot if you see warping.
Frequently Asked Questions
Why does my induction Moka pot keep flashing an error code?
Error codes like E0 or E1 mean the hob cannot detect any pan. Run the magnet test. If the base is magnetic, measure the diameter.
Many 3-cup and 6-cup pots are under the 10 cm detection threshold.
Can I use an aluminum Moka pot on an induction hob?
No. Aluminum is non-magnetic. Induction requires a ferromagnetic steel base.
You can buy an induction adapter plate, but it reduces efficiency. A dedicated induction Moka pot is better.
How do I stop my coffee from sputtering?
Sputtering usually comes from too fine a grind or an overpacked basket. Use a medium-fine grind and fill the basket level without tamping. Check that the gasket is clean and the upper chamber is screwed on tight.
Is it safe to leave a Moka pot on induction unattended?
No. Induction heats fast and can boil the boiler dry within minutes. Always stay nearby while brewing.
What is the best power setting for induction Moka pot?
Start at 4 or 5 on a 1-to-9 scale. Adjust up to 6 if the coffee takes longer than five minutes. Never go above 7.
How often should I replace the gasket?
Every 6 to 12 months depending on use. If you see steam escaping around the middle seam, replace it immediately.

Similar Posts































