How to Make Cold Foam With a Frother
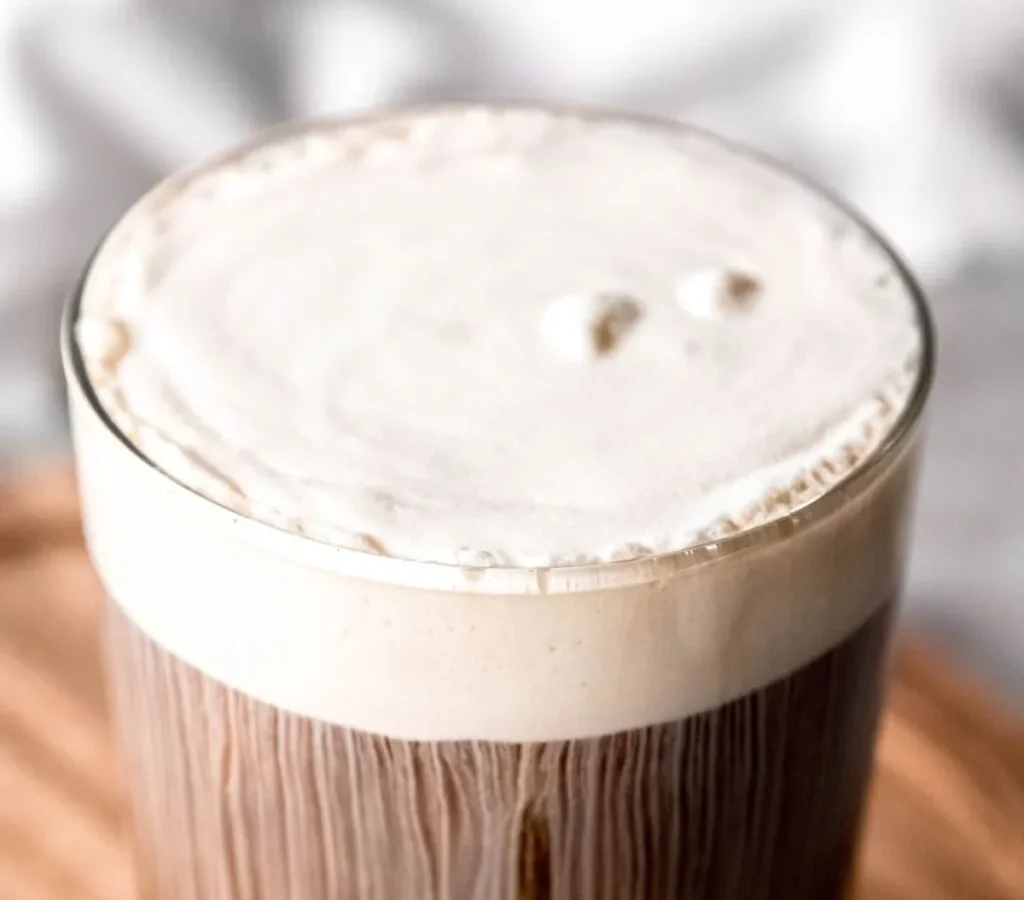
You've tried cold foam at your favorite coffee shop, paid extra for it, and wondered if you could make it at home. The answer is yes, and you probably already own a tool that works.
In our research across hundreds of user reviews and manufacturer guides as of 2026, a handheld frother under $15 consistently produces café-grade foam in under 30 seconds. The key is matching your gear to the right technique. Let's walk through exactly how each method works.
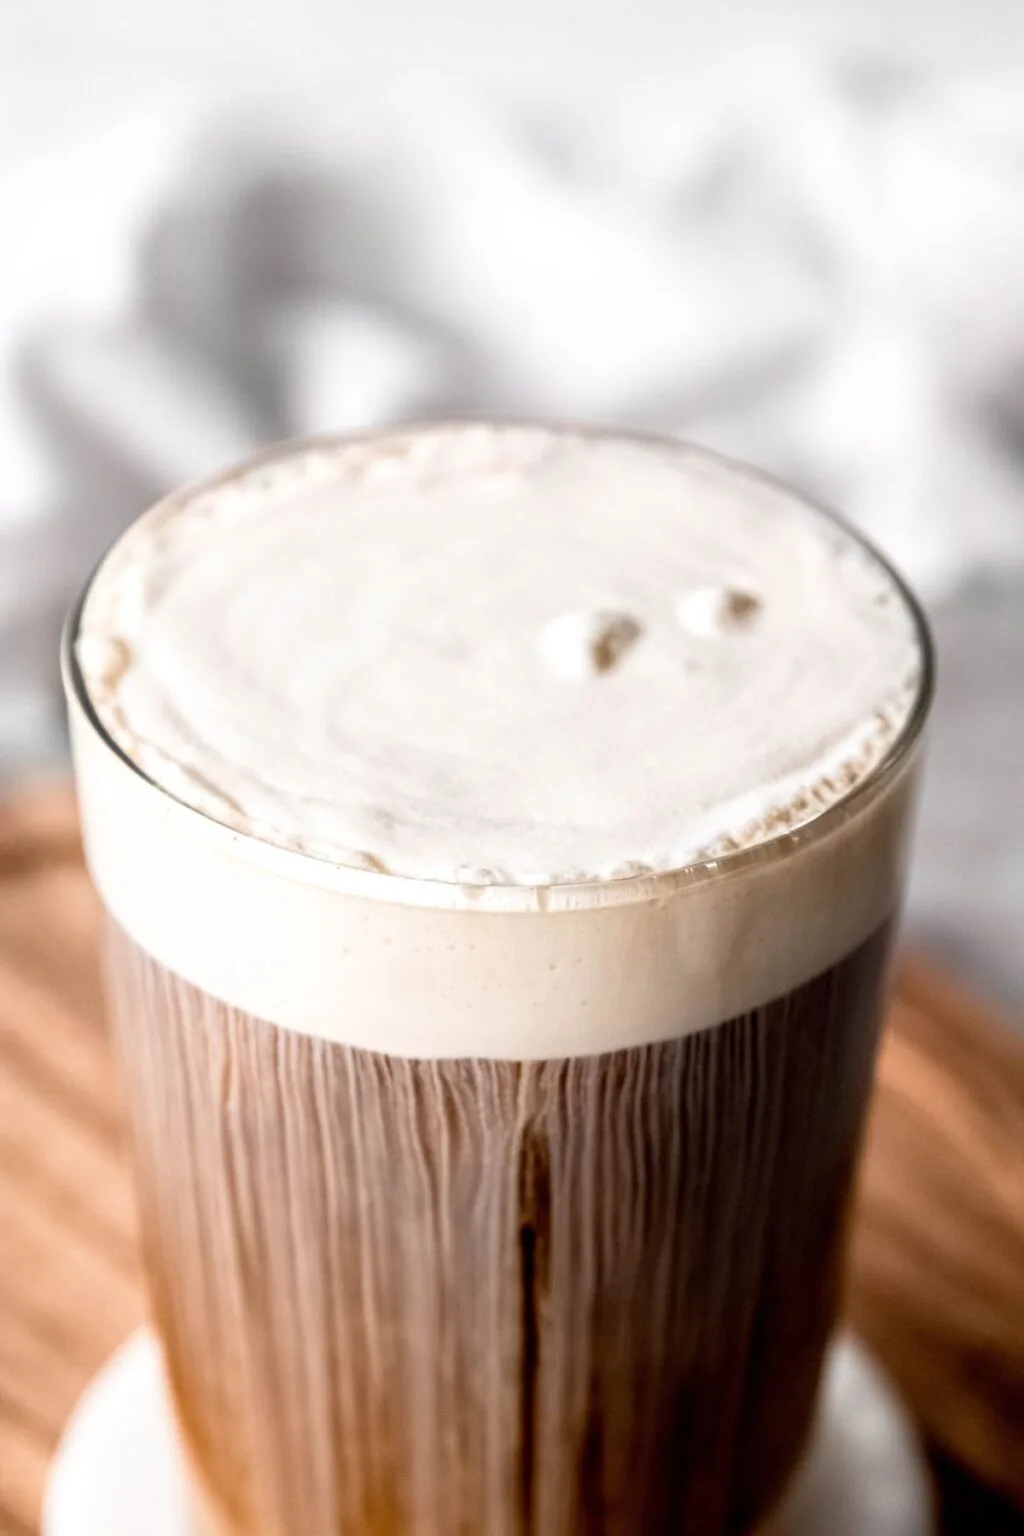
Quick Answer
Pour cold milk into a narrow cup. Submerge the frother tip completely. Froth for 15 to 30 seconds.
Stop when foam doubles in volume. Spoon it over iced coffee. That's the simple version for a handheld wand.
For electric frothers, use the cold foam setting. Nonfat milk gives the thickest foam. Add syrup before frothing for even flavor.
Why Cold Foam Works – The Simple Science
Cold foam is just aerated milk. No heat, no steam, no special chemicals. When a frother spins fast enough, it pulls air into the liquid and traps it inside tiny bubbles.
The proteins in milk, specifically casein and whey, stabilize those bubbles by forming a thin film around each one.
Milk fat changes the equation. Nonfat milk (skim) has the highest protein-to-fat ratio. More protein means stronger bubble walls.
Whole milk has more fat, which weighs down the bubbles and makes the foam less stable. Our research confirms that skim milk consistently produces the stiffest, longest-lasting cold foam. A standard serving of ¼ cup nonfat milk (~30 calories) yields about ½ cup of foam.
Temperature is critical. Warm milk aerates differently and creates hot foam with larger, faster-collapsing bubbles. Cold milk straight from the fridge (around 38°F / 3°C) is ideal.
The cold temperature keeps the protein structure rigid, holding the bubbles in place. Never use milk that has been sitting at room temperature.
How to Make Cold Foam (Decision Tree by Frother Type)
Your best method depends on what frother you own.

If You Have a Handheld Frother Wand
This is the most common and most affordable option. You'll find these wands for $10 to $20. They look like a stick with a whisk coil at the bottom.
Step 1: Fill a narrow, tall cup with cold milk. A pint glass or frothing pitcher works best. Leave at least 2 inches of headspace.
Step 2: Insert the frother wand so the whisk coil is fully submerged, just below the milk surface.
Step 3: Turn on the frother. Move the wand in slow, circular motions for 15 to 30 seconds. For thicker foam, hold the wand steady near the top.
For lighter foam, move it up and down.
Step 4: Stop when the milk doubles in volume and stiff peaks form. Lift the wand. Foam should cling to it.
Step 5: Spoon foam over your iced coffee. Do not pour. Pouring mixes the foam into the coffee.
Spooning preserves the layer.
Best for: Anyone with a low budget, a small kitchen, or a need for quick cleanup.
If You Have a Countertop Electric Frother
These machines automate the process. They have a carafe with a spinning disc or whisk at the bottom.
Step 1: Pour cold milk into the carafe. Do not exceed the "MAX" line. Overfilling prevents proper aeration.
Step 2: Select the cold foam setting. This is usually a button marked with a snowflake or "cold." Never use the hot setting.
Step 3: Let the machine run its cycle. Most take 30 to 90 seconds. The machine stops automatically.
Step 4: Open the lid slowly. The foam will be thick and stable. Spoon it onto your coffee.
Best for: Hands-off users who want consistent results every time.
If You Have a French Press
A French press can whip cold foam in about 45 seconds. It's a great alternative if you don't own a frother.
Step 1: Pour cold milk into the press, about ¼ cup. The narrower the press, the better the foam.
Step 2: Place the lid on. Pump the plunger up and down vigorously for 30 to 45 seconds. The mesh screen forces air into the milk.
Step 3: Listen for a change in sound. It goes from a liquidy slosh to a thicker, quieter "shhh" sound as foam forms.
Step 4: Remove the lid. Spoon the foam off the top. The milk underneath stays liquid.
Best for: People who already own a French press and want zero extra equipment.
If You Have Only a Mason Jar or Shaker
No frother at all? A sealed jar works in a pinch.
Step 1: Fill a mason jar halfway with cold milk. Add a tight lid.
Step 2: Shake vigorously for 30 to 60 seconds. The foam will be thin and bubbly at first.
Step3: Remove the lid. Microwave the milk for 15 seconds (optional). This helps stabilize the foam slightly.
Step4: Spoon foam over coffee. This method produces the least stable foam, so use it immediately.
Best for: Camping, road trips, or emergency cravings.
Common Mistakes That Kill Your Foam
Small errors ruin the texture. Here are the most frequent problems.
Using warm milk. Warmth makes bubbles weak. Always start with cold milk from the fridge.
Submerging the frother too shallow or too deep. If the whisk sits above the milk surface, it splashes. If it's too deep, it churns without drawing in air. The sweet spot is just below the surface.
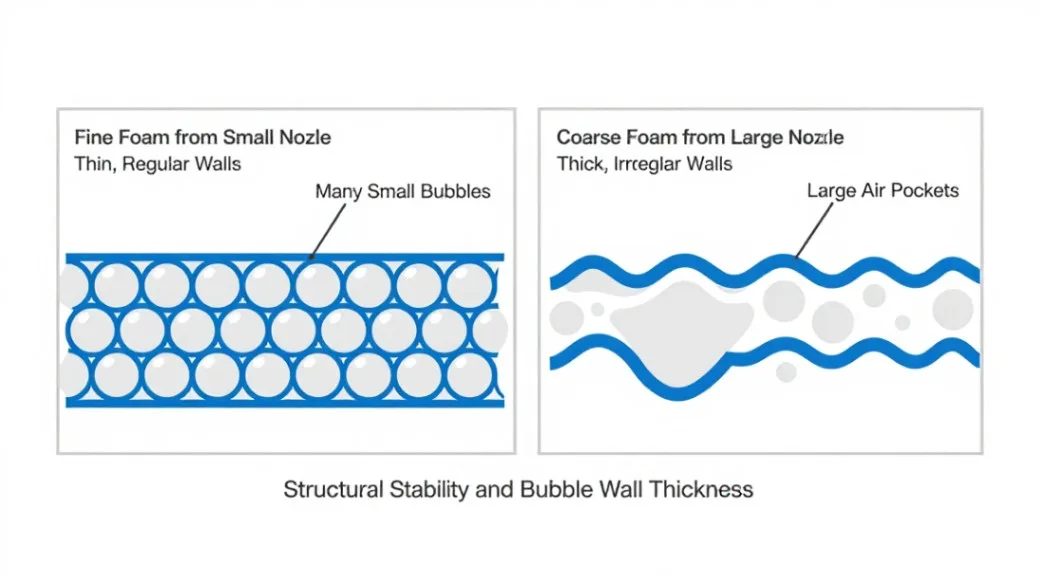
Frothing for too long. After 45 seconds, the foam starts to break down. Bubbles get larger and the texture turns watery. Stop the moment you see stiff peaks.
Using low-protein milks. Almond milk and coconut milk have very little protein. They produce thin, watery foam. Oat milk and soy milk work better but need longer froth time.
Adding syrup after frothing. Stirring syrup into finished foam deflates it. Add syrup to the milk before frothing for even flavor.
Pouring instead of spooning. Pouring mixes the foam into your coffee. Spooning lets you layer it on top, just like coffee shops do.
Pro Tips for Better Cold Foam (Dairy-Free, Flavored, Thick)
Want to go beyond basic? Use these adjustments.
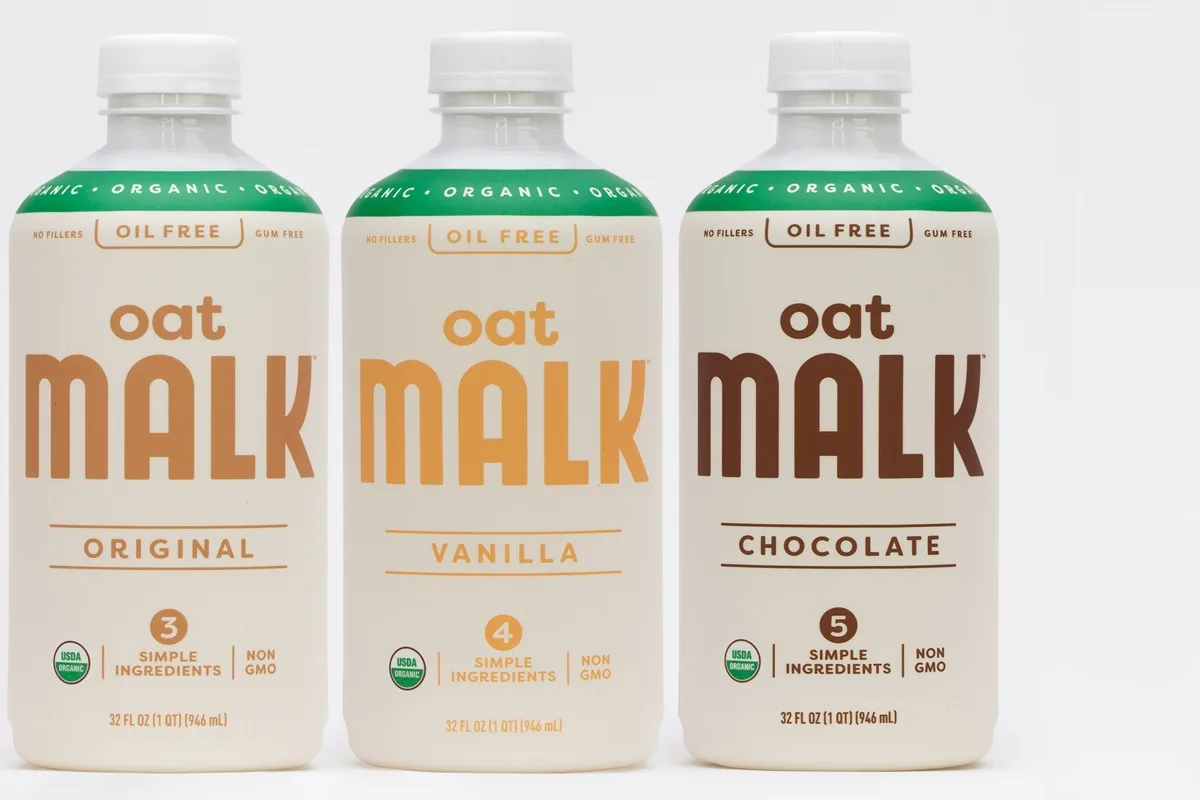
For dairy-free cold foam: Oat milk is the best non-dairy option. Barista editions contain added fats and stabilizers that foam almost as well as dairy. Soy milk is a close second.
Almond milk needs a pinch of xanthan gum blended in beforehand.
For flavored cold foam: Add vanilla syrup, caramel syrup, or cocoa powder to the milk before frothing. Use about 1 teaspoon per ¼ cup of milk. For a vanilla sweet cream style, use 2 tablespoons of vanilla syrup in ½ cup of heavy cream and ¼ cup of 2% milk.
For extra-thick foam: Mix 2 tablespoons heavy cream with 2 tablespoons nonfat milk. The cream adds richness without collapsing the foam as long as you froth for only 15 seconds.
For a denser microfoam: Let the foam rest for 10 to 15 seconds after frothing. This lets the largest bubbles pop and the foam settle.
Clean your frother immediately after use. Milk residue dries hard and clogs the whisk coil or the electric carafe's rotor. Rinse the wand under cold water and wipe it dry.
Frequently Asked Questions
Can I make cold foam with oat milk?
Yes, oat milk works well. Barista-edition oat milk froths best because it has added stabilizers. Standard oat milk needs a longer froth time, about 30 to 45 seconds.
Almond milk and coconut milk produce thin, watery foam due to low protein content.
How long does cold foam last on coffee?
Cold foam holds its texture for about 3 to 5 minutes. After that, the bubbles slowly collapse and the foam melts back into the coffee. Serve immediately for the best presentation.
Why does my cold foam turn watery?
Watery foam usually comes from warm milk, low-protein milk, or over-frothing. Use cold skim milk. Froth for no more than 30 seconds.
Stop as soon as stiff peaks form. Keep the whisk near the surface if using a handheld frother.
Can I use a blender instead of a frother?
Yes, a standard blender works. Pour ¼ cup cold milk into the blender. Blend on high for 20 to 30 seconds.
The foam is thicker than a frother's but less stable. Spoon it onto coffee immediately.
Do I need special milk for cold foam?
No, but nonfat (skim) milk gives the best results. Its high protein content creates strong, stable bubbles. Whole milk works but produces a looser foam.
For dairy-free options, oat milk or soy milk are your best bets.
How much does a good frother cost?
A handheld wand costs $10 to $20. A countertop electric frother runs $30 to $100. For most home users, a $15 wand delivers foam as good as an $80 machine.
The cheaper option requires about 30 seconds of active work.
Final Decision Guide: Pick Your Method
Here is a quick cheat sheet to choose your technique.
| Your Tool | Time | Effort | Best For |
|---|---|---|---|
| Handheld wand | 15–30 sec | Active | Budget, small kitchens, quick cleanup |
| Electric frother | 30–90 sec | Hands-off | Consistent results, large batches |
| French press | 30–45 sec | Active | No frother needed, decent foam |
| Jar or shaker | 45–60 sec | High effort | Emergencies, camping, travel |
If you have a handheld wand: This is the most versatile and cheapest route. Use skim milk. Froth for 20 seconds.
Spoon over coffee. Done.
If you have an electric frother: Use the cold foam setting. Never use the hot setting. Fill only to the MAX line.
Clean after every use.
If you have a French press: Pump vigorously for 45 seconds. Scoop the foam. This method works well for dairy-free milks too.
If you have nothing: Shake milk in a jar for a minute. It's not perfect but it gets you close.
Whichever method you pick, remember the core rules. Cold milk. Short froth time.
Spoon, don't pour. And clean your tool immediately. Follow those, and you'll never pay extra for a foam add-on again.
A note on restaurant comparisons
Many local eateries charge $1.50 or more for cold foam. If you want to see what those drinks cost, you can check the Voltaggio Brothers Steak House menu or the Hot Tin Roof Restaurant menu for comparison. The difference between homemade and store-bought is usually a few dollars per drink.

Similar Posts































