Handheld Milk Frother Explained: Tips for Perfect Foam
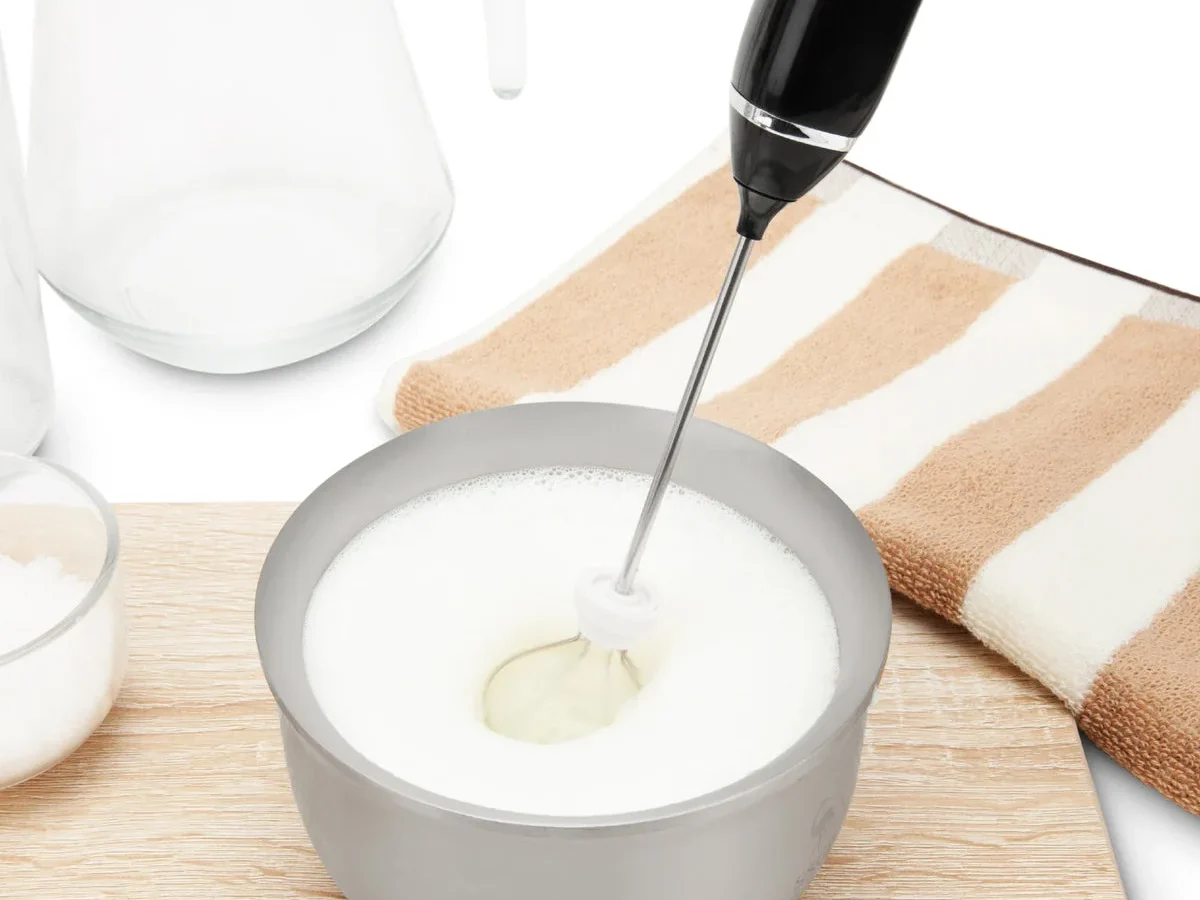
If you've ever watched a café barista pour silky microfoam and wondered how to get the same result at home without dropping £500 on an espresso machine, this handheld milk frother explained guide is for you. That little battery-powered wand is one of the cheapest, most practical upgrades a home coffee setup can get. It solves a real problem: hot, flat, bubbly milk that ruins a good cup.
The concept is simple. A motor spins a small wire whisk fast enough to fold air into warm milk, creating foam that holds its shape. Most handheld frothers deliver anywhere from 10,000 to 20,000 rpm, which sounds impressive until you realise the milk's fat and protein content does half the heavy lifting.
As of 2026, you can pick one up for under $15, so the risk-to-reward ratio is genuinely hard to beat.
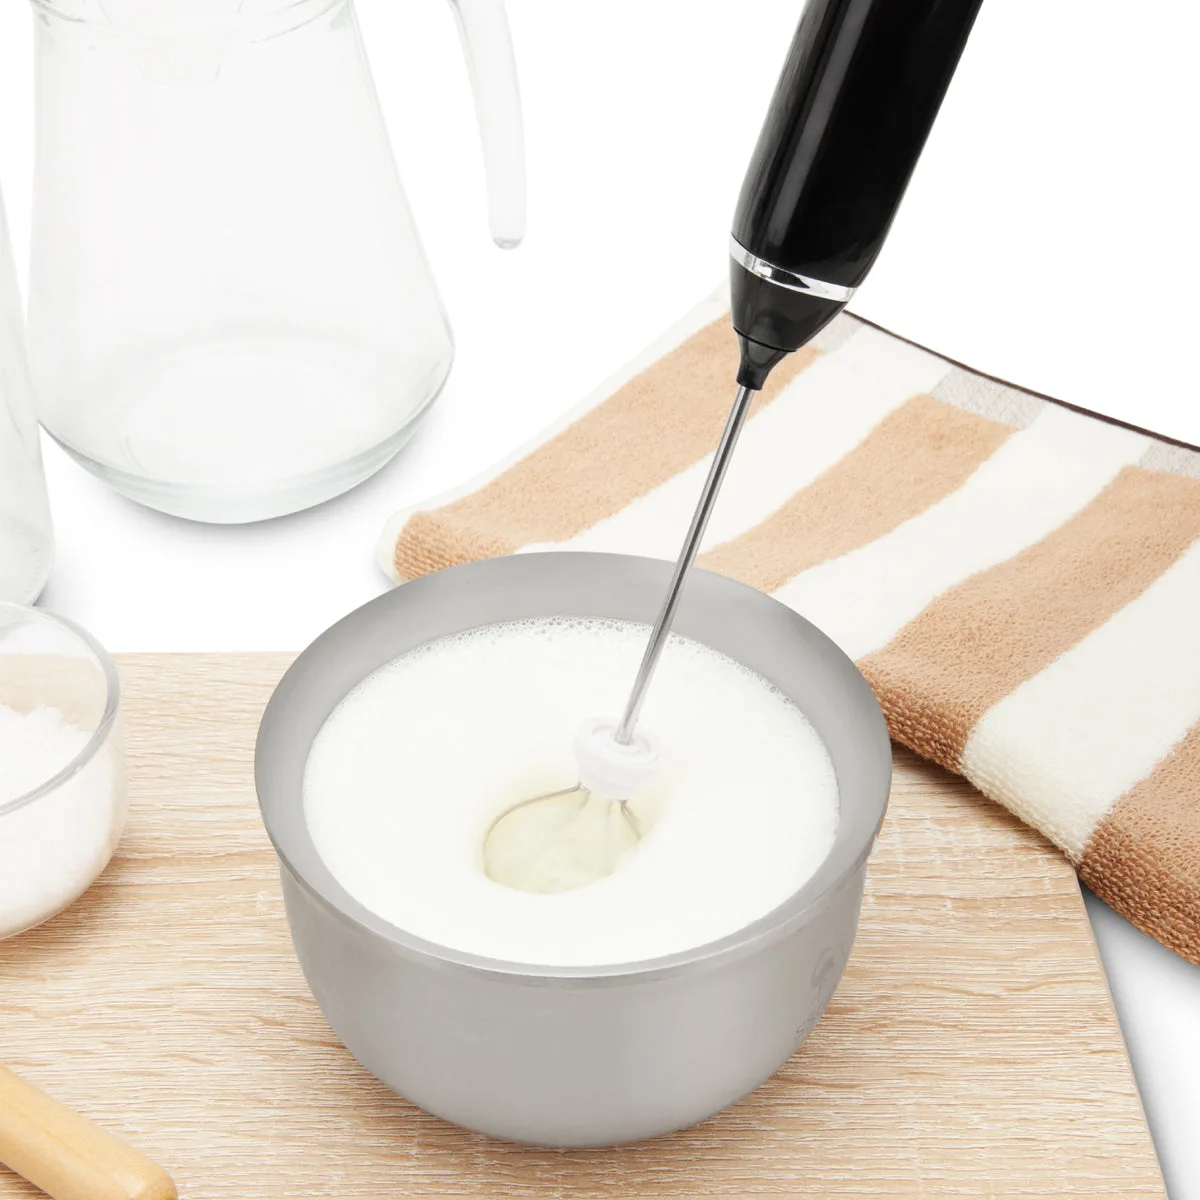
1. Handheld vs. Countertop Frothers: The Real Trade-Off
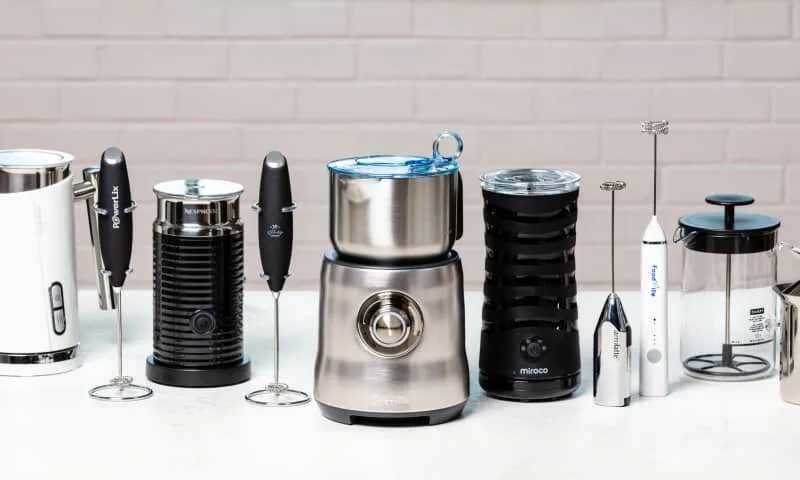
The first decision isn't which handheld model to buy. It's whether you need a handheld at all. Countertop frothers, like the popular Nespresso Aeroccino or Breville Milk Café, heat and froth automatically at the press of a button.
Handheld wands do the same job for a fraction of the price, but they ask for a bit more effort from you.
| Feature | Handheld Frother | Countertop Frother |
|---|---|---|
| Price range | $10–$30 | $50–$150 |
| Time to foam | 15–30 seconds | 60–90 seconds |
| Counter space | None (drawer-friendly) | Needs permanent space |
| Control | Full control over foam texture | Limited to preset cycles |
| Heating | No (heat milk separately) | Yes (heats and froths) |
| Cleaning | Rinse under tap | Wash by hand or dishwasher-safe |
If you're making one cup at a time and already own a kettle or microwave, the handheld is the obvious pick. It's faster, cheaper, and stores behind the toaster. Countertop frothers make sense when you're regularly making two or more drinks back to back.
Their larger capacity means you're not re-heating or re-frothing in batches, which matters on busy mornings or when you're hosting.
There's also a third middle ground: manual pump frothers. They're basically glass jars with a plunger that you pump for 30 seconds. They work fine for milky drinks like lattes but struggle to produce the dense foam you want for a cappuccino.
Most people who buy a manual pump end up buying a handheld wand anyway, so skip the detour unless you genuinely enjoy arm workouts.
The Verdict So Far
For most home drinkers, the handheld wand wins. It's cheap enough to test without regret, and if you decide you want a countertop machine later, the wand still earns its keep for cold foam or travel. The countertop is a luxury, not a necessity.
2. What to Check Before You Buy: Whisk, Motor, and Build
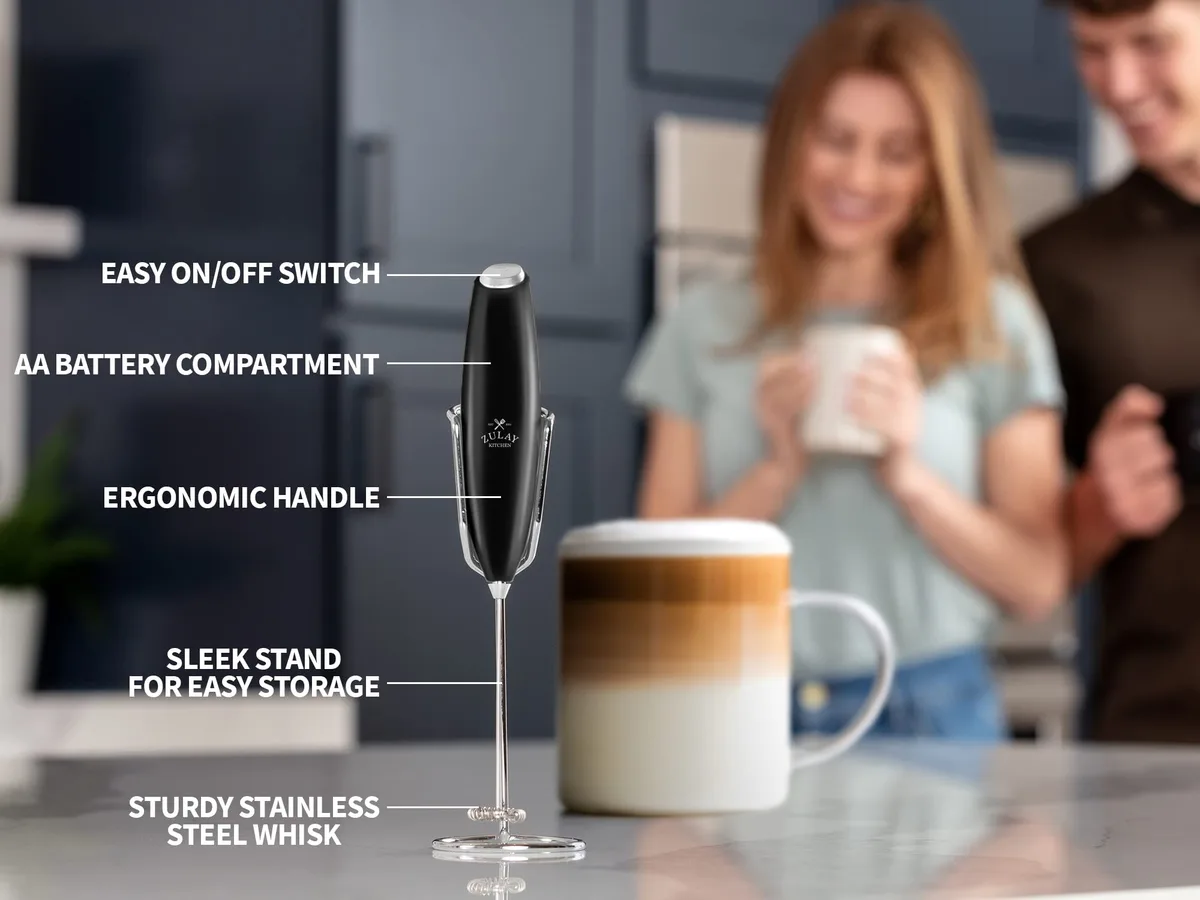
Not all handheld frothers are equal, but the good news is that the differences are easy to spot if you know what to look for. The whisk head is the most important piece. Cheaper models use a single thin wire loop that barely moves the milk.
Better ones use a double-whisk ball design, where two spring-like coils rotate against each other. That second whisk traps more air and produces noticeably denser foam.
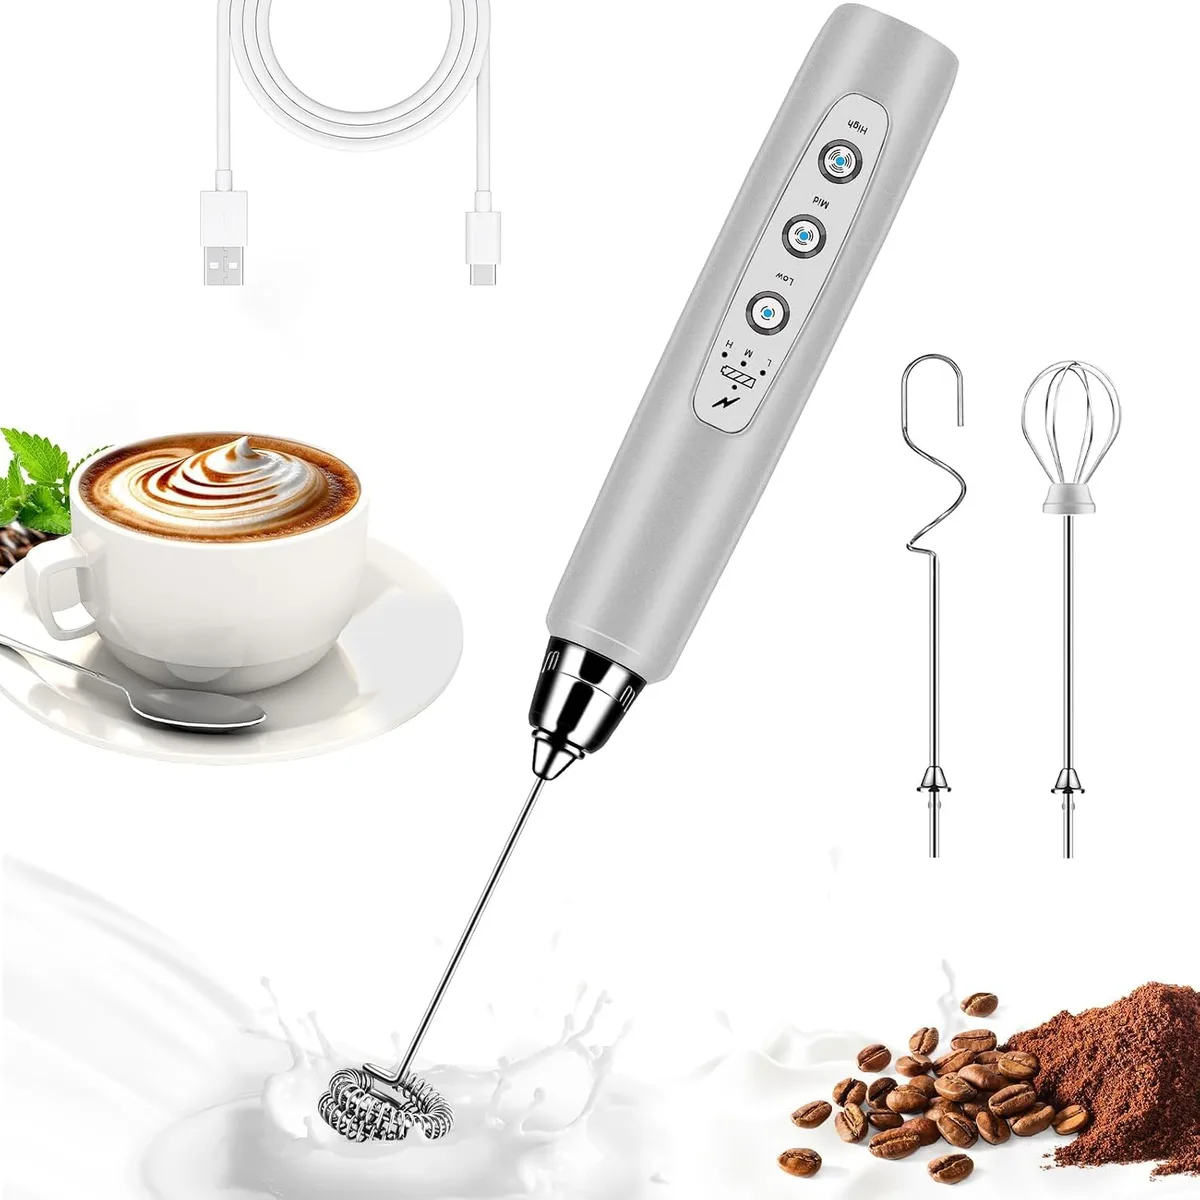
Motor power matters too, though manufacturers often quote numbers that overstate real-world performance. A 10,000 rpm motor handles basic hot milk fine. A 15,000, 20,000 rpm motor copes better with thick cream, cold oat milk, or matcha, which has a tendency to clump if the whisk is too slow.
Battery type also plays a role. AA-powered units are fine, but rechargeable USB models save money in the long run and deliver more consistent power as the battery drains.
Handle, Materials, and Cleanup
The shaft should be stainless steel, not plastic. Plastic bends after a few months of heavy use, and a bent shaft means the whisk head spins off-balance, which splashes milk everywhere. The handle should have a rubberised grip.
You're holding it for 20 seconds, but your hand is holding it at an awkward angle, so comfort matters more than you think.
Cleaning is the hidden spec sheet. Some models have a removable whisk head that detaches for easy washing. Others are sealed, requiring you to carefully rinse the wand without submerging the motor housing.
That's a recipe for milk residue baking onto the shaft over time, and it's the most common reason cheap frothers get thrown away. Spend a couple of extra pounds on a model with a detachable head. Future you will appreciate it.
3. The 30-Second Technique: How to Actually Get Thick Foam
Here's where most people go wrong. They buy a frother, heat the milk, dunk the wand in, and move it around for a minute. The result is a glass of hot milk with a few big bubbles on top.
Real foam requires a specific approach, and it takes about 30 seconds once you get the hang of it.
The first rule is to heat the milk before you froth, not after. Cold milk froths quickly but collapses within a minute. Warm milk holds structure thanks to how protein and fat bond when heat is applied.
Aim for 140, 160°F (60, 70°C). Any hotter and the proteins start to break down, which curdles the milk and ruins the taste. If you have a thermometer, use it.
If not, heat until the milk is steaming gently but is still comfortable to touch.
The Angle and Depth Trick
Hold the wand vertically and place the whisk head just below the milk's surface. A 15-degree tilt toward the edge of the cup is ideal. That slight angle creates a whirlpool effect, pulling the milk around the cup and folding air into the liquid.
Keep the whisk head submerged the whole time. If you break the surface, you'll get big bubbles and splatter.
Start slow for the first 10 seconds to introduce air. Then tilt the cup and submerge the whisk a little deeper for the remaining 20 seconds to work the foam into a smooth texture. The motion is not aggressive.
It's a steady, gentle rotation that builds gradually.
The Tap, Swirl, and Pour
Once the milk reaches the right foam consistency, tap the cup firmly on your counter a few times. This pops the larger bubbles on the surface. Then give it a swirl, which integrates the foam and the liquid milk, giving you that velvety microfoam look.
Pour it over your espresso and you're done.
4. Milk Matters: Why Dairy Froths Better Than Oat or Almond
Let's talk chemistry, because it's the hidden variable no one mentions. Milk froths because it contains protein and fat. The protein creates a stable structure that holds onto air bubbles, while the fat gives the foam a creamy mouthfeel.
Whole milk is the gold standard because it has the right balance, about 3.25% fat and 8 grams of protein per cup.
Skim milk still froths well, sometimes even better, because the lower fat content allows the protein to form a stronger protein lattice. The foam comes out stiffer and drier, which is why some baristas actually prefer it for cappuccinos. The downside is flavour.
Skim foam tastes thin and slightly chalky compared to whole milk.
Where Non-Dairy Milks Fall Short
Oat milk is the best non-dairy option for frothing, hands down. The best barista blends contain added fats and stabilisers that mimic dairy's protein structure. But regular oat milk from the supermarket shelf will give you a thin, watery foam with big bubbles that deflate quickly.
Almond milk is worse. Its low protein and high water content mean you get a frothy mess that separates within seconds.
Soy milk is the dark horse. Its protein content is comparable to dairy, producing foam that's surprisingly thick and stable. The flavour, however, is divisive, and some people find the foam has a slightly beany aftertaste.
Quick Rule of Thumb
- Whole milk: best overall foam and flavour
- Skim milk: stiff, dry foam for traditional cappuccino
- Barista-grade oat milk: closest non-dairy match
- Soy milk: good foam, polarising taste
- Almond or coconut milk: avoid unless you like thin, fizzy texture
If you're switching to dairy-free, check the carton for the word "barista". It's not a marketing gimmick. That added stabiliser genuinely changes how the milk behaves when air is forced through it.
5. Common Mistakes That Kill the Foam (and Your Frother)
There are a handful of predictable errors that ruin both the drink and the device. The most common is overheating the milk. Milk curdles around 180°F (82°C), and once it does, no frother on Earth can save it.
The milk will smell cooked and taste burnt. Keep the temperature below 160°F and you'll never have this problem.
Another classic mistake is frothing for too long. Thirty seconds is plenty. Beyond a minute, the foam starts to collapse on itself, and the whisk is just churning air into a thin, watery liquid.
Watch the texture, not the clock. When the foam starts to look glossy and round, stop.
Dead Batteries and Motor Burnout
Handheld frothers are not built for industrial use. They're designed for 15 to 30 second pulses, not continuous grinding. Running one for two minutes straight heats up the motor, and over time that kills the battery or the motor itself.
If you're frothing four drinks in a row, give the wand a 30-second rest between cups.
The other killer is submerging the wand too deep. Some people push the whisk all the way to the bottom of the jug, right into the milk, which strains the motor. You also risk starting a whirlpool that sucks milk up into the shaft and ruins the motor bearings.
Keep the whisk near the surface and let it do the work.
Cleaning Habits That Shorten Lifespan
The fastest way to break a frother is to clean it wrong. Running it under the tap while the motor is still spinning pushes water into the shaft, which corrodes the wires and ruins the battery. Rinse the whisk head under cool running water after each use, or better yet, detach the head and wash it directly.
Dry it upright so water doesn't pool in the handle, and store it where it won't get knocked around.
Finally, don't use it to whisk eggs or pancake batter without reading the manual. Thick batters strain the motor much harder than milk, and most budget frothers aren't rated for that. Stick to liquids and you'll get years of service.
6. FAQs: Prices, Battery Life, and Cleaning
How much does a good handheld milk frother cost?
The sweet spot is $12 to $20. Budget models under $10 often have weak motors and thin whisk heads that bend within months. Stepping up to the $15, $20 range gets you a stainless steel shaft, a double-whisk design, and a warranty.
Unless you're buying a premium rechargeable model, spending more than $30 is rarely worth it.
How long does the battery last on one set?
Expect two to four weeks of daily use from a pair of AA alkaline batteries. That translates to roughly 50 to 80 frothing sessions. Rechargeable USB models last longer per charge, often 30 to 40 uses, and they deliver stronger torque as the battery drains.
A cheap sign of a dying battery is the motor slowing mid-froth.
Can you wash a handheld frother in the dishwasher?
Most frothers are not dishwasher-safe. The motor housing contains electronics and battery contacts that water will eventually destroy. Instead, detach the whisk head if you can and wash it by hand.
Rinse the wand body under the tap without submerging the seam. For frothers with sealed heads, wipe the metal shaft with a damp cloth and dry immediately.
Why is my milk not frothing at all?
If the wand spins but creates zero foam, the milk is usually too hot or too cold. Overheated milk above 170°F loses its protein structure and won't trap air. Cold milk straight from the fridge also resists foaming.
Another cause is using old, low-fat or ultra-pasteurised milk, which has altered protein bonds. Try fresh whole milk warmed to 150°F and see if the problem disappears.
7. Final Verdict: Who Should Buy One (and Who Should Walk Away)
A handheld milk frother is a perfect buy if you make one or two milk-based drinks a day and want café-style results without a machine. It's cheap, tiny, and genuinely fun to use. Anyone who already owns an espresso machine with a steam wand should skip it.
A steam wand produces better microfoam, full stop. Same goes for people who mainly drink black coffee or only occasionally add milk.
But for everyone else, the value is obvious. You can test the handheld frother explained in this guide for the price of a few café coffees. Keep your milk below 160°F, keep the whisk near the surface, and clean it after each use.
The Specialty Coffee Association's steaming guidelines back the same temperature range we've used here, so you're in good company. For under $20, it's one of the best coffee upgrades you'll make.

Similar Posts































