Budget Milk Frother Explained: What to Know
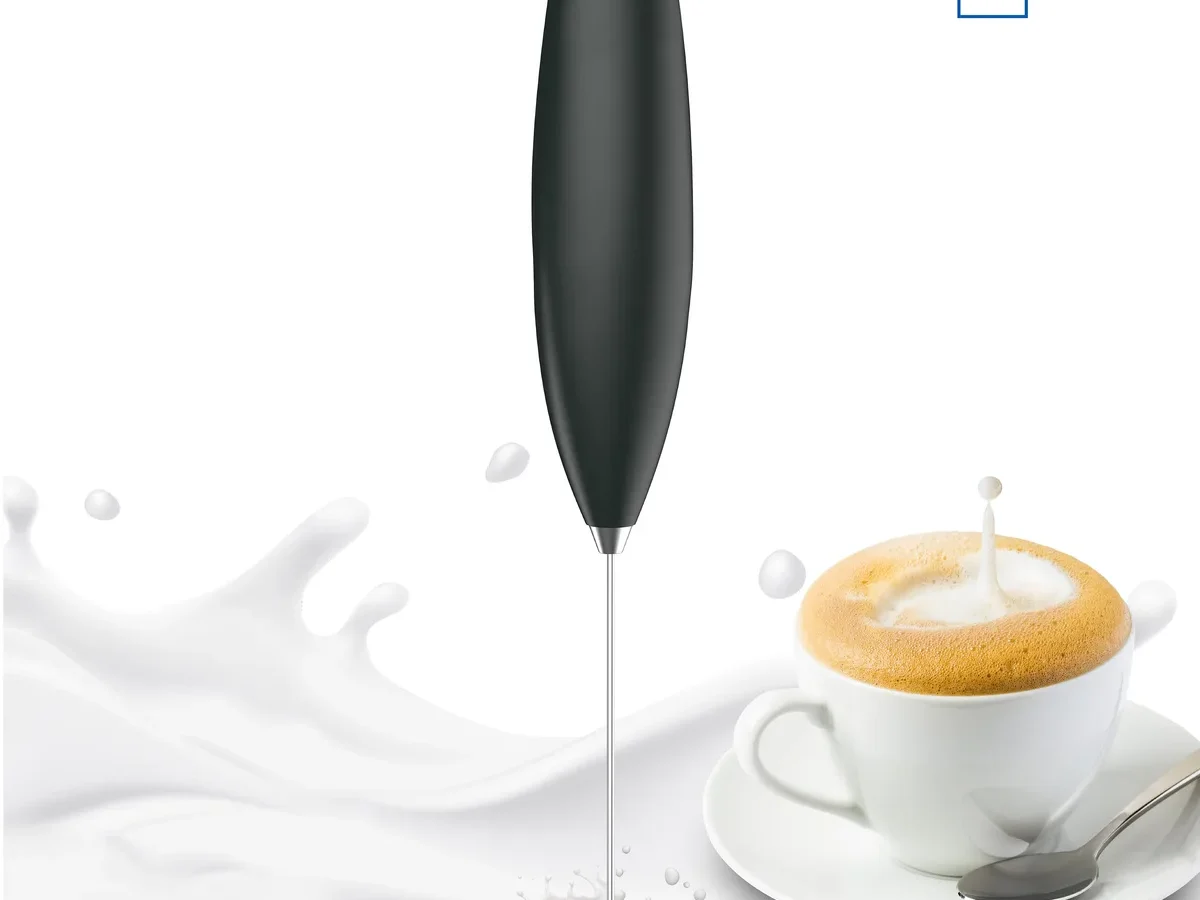
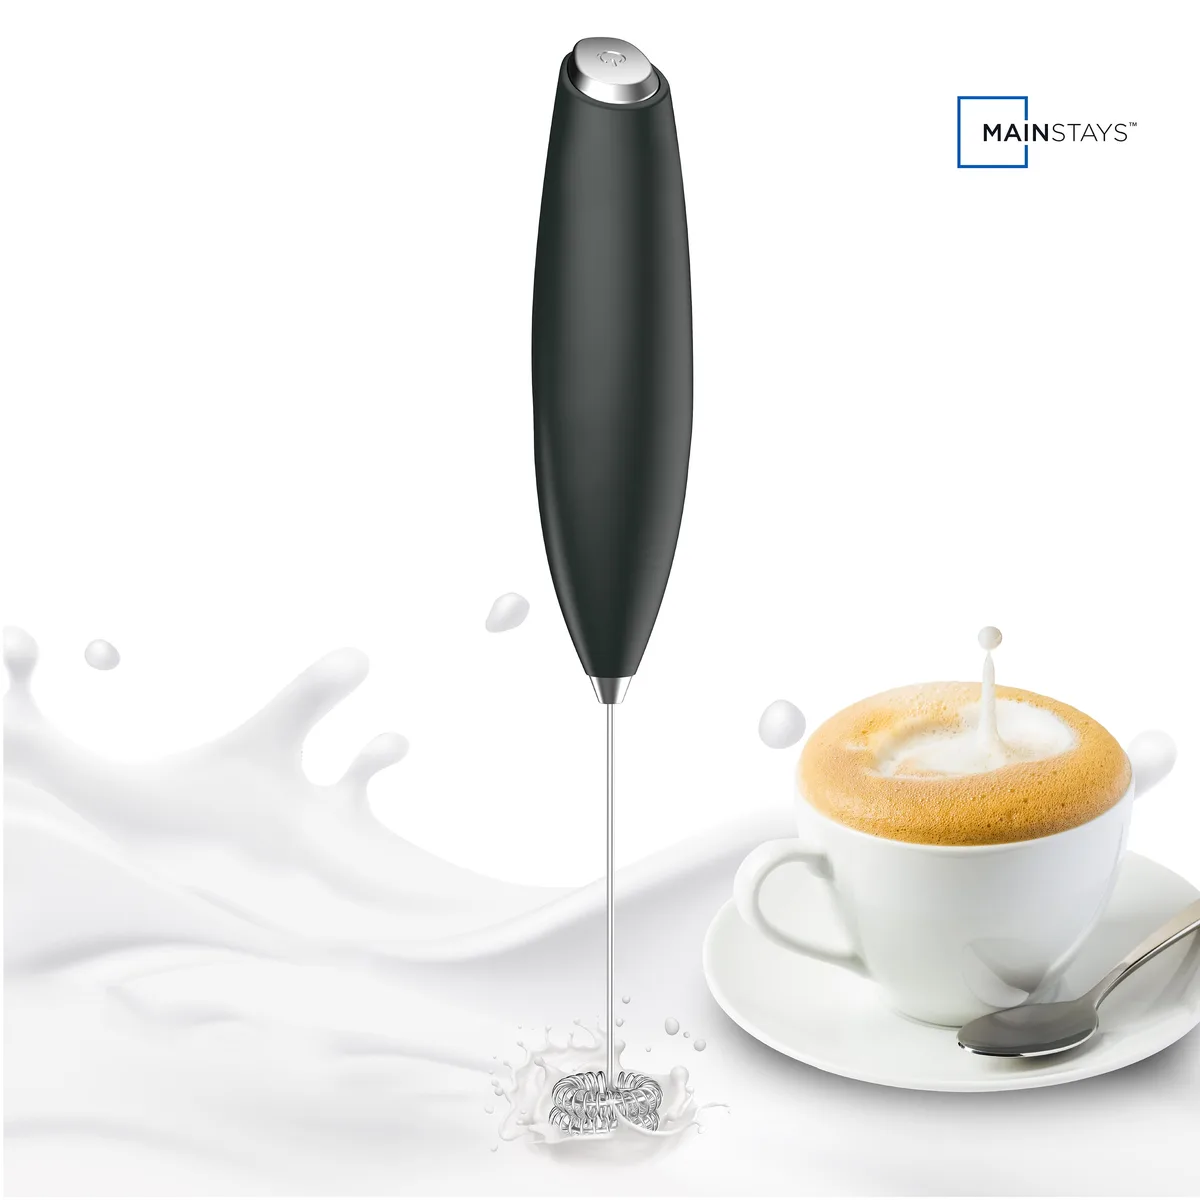
Let’s be honest, you don’t need to spend a hundred bucks to get decent foam at home. A budget milk frother explained simply means finding the cheapest tool that still gives you real microfoam, not watery bubbles that disappear before your first sip. And the good news?
You can absolutely pull it off for under $40.
Manufacturer specs and aggregate reviews show that even a $10 handheld wand can produce usable foam with the right technique and milk temperature. But not all cheap frothers are created equal. The wrong pick can leave you frustrated.
So let’s break down what actually works and what doesn’t, as of 2026.
Quick Answer
A budget milk frother is any device under $40 that aerates milk into foam. The three main types are handheld wands, electric countertop frothers, and manual plungers. Handhelds are cheapest but least durable.
Electrics cost more but heat and foam in one step. Manuals require effort but last forever. Your choice depends on how often you froth and how much you value convenience.
Why a Good Budget Milk Frother Actually Matters
The biggest frustration people report is not the price. It’s the disappointment of thin, watery foam that collapses before pouring. A decent budget frother eliminates that problem.
It creates stable foam that holds its shape for several minutes, which is all you need for a morning latte.
Beyond the drink itself, a good frother makes you feel like you’re getting cafe-quality results at home. That small win improves your morning routine. When you’re spending under $20, the risk is minimal.
Even if it only lasts six months, that’s pennies per cup compared to buying lattes.
You also get room to experiment. Different milks, temperatures, and frothing times let you dial in your perfect foam. Budget tools give you that freedom without a big investment.
The Three Types of Budget Milk Frothers (and How They Really Work)
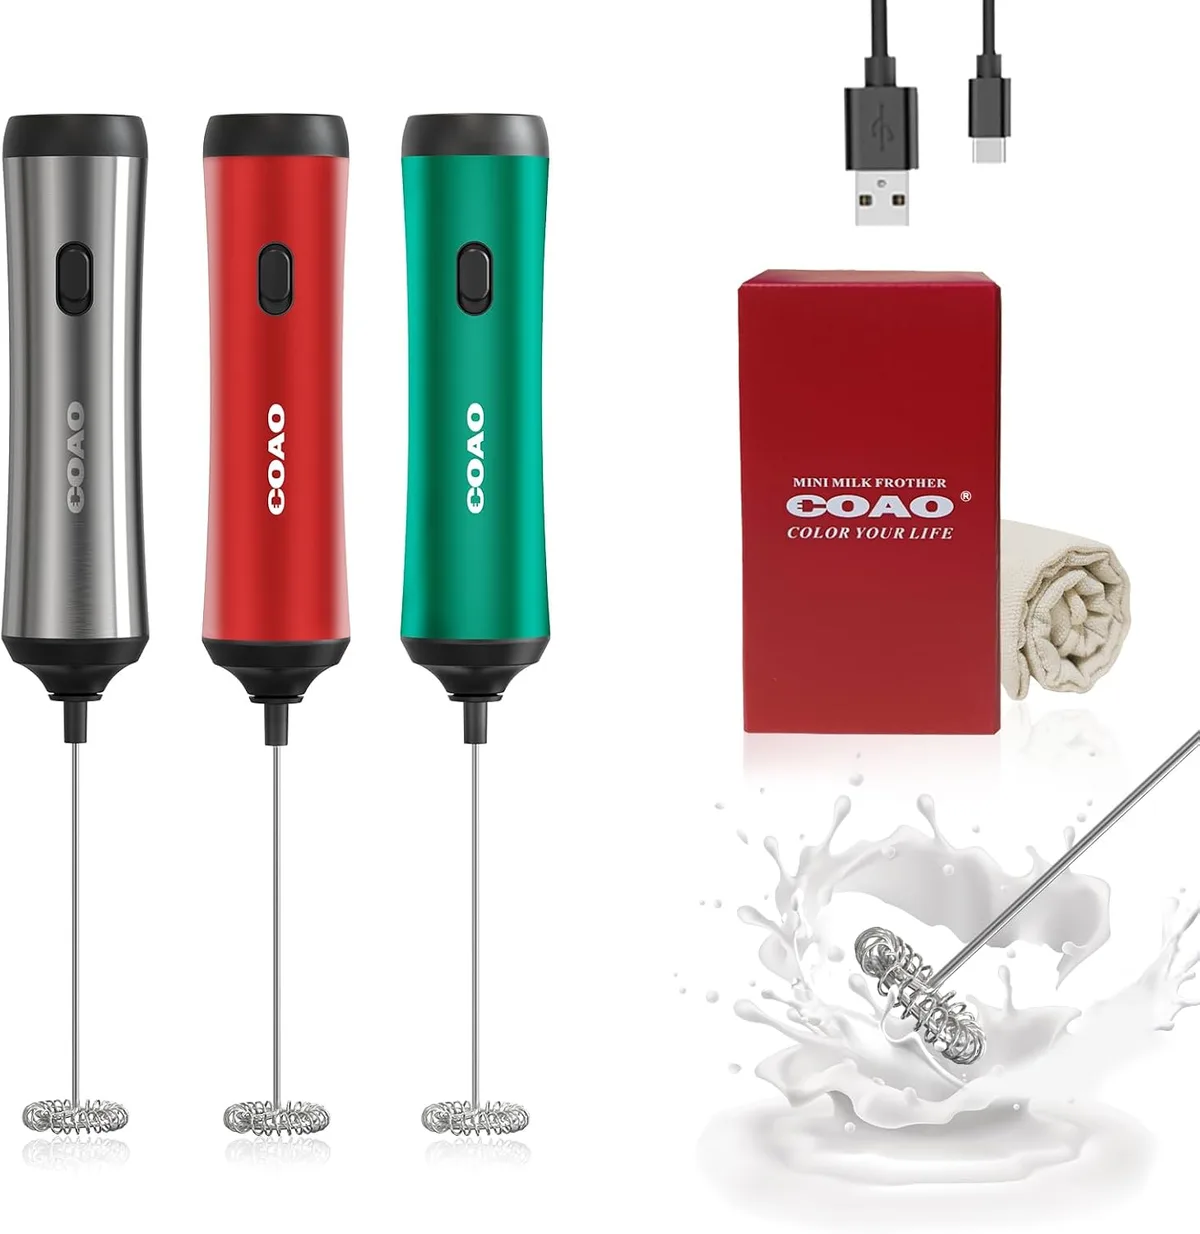
Every budget frother falls into one of three categories. Each works differently, and none is perfect.
Handheld Battery-Powered Frothers
These are the tiny wands you see for $5 to $15. They run on AA or AAA batteries and spin a small whisk at the end. You dip the whisk into warm milk, turn it on, and move it gently for 15 to 30 seconds.
The foam is airy and voluminous but not true microfoam. Bubbles are larger and dissipate faster. Handhelds work great for occasional use or cold milk for iced coffee.
Build quality varies wildly. Aggregate reviews report many models stop working after a few weeks due to battery corrosion or motor failure.
Electric Automatic Countertop Frothers
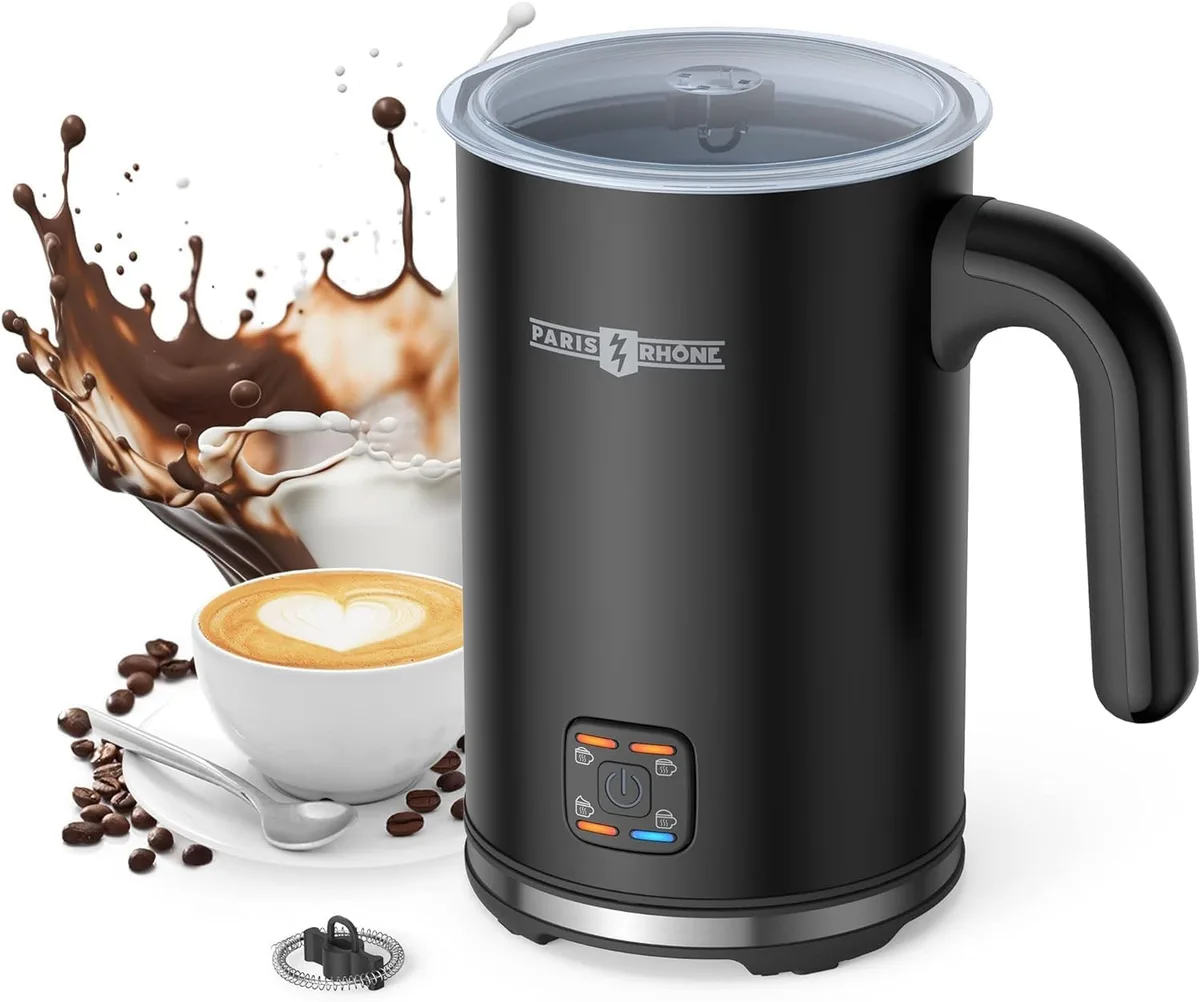
These plug-in machines cost $20 to $40. You pour milk into a small jug, press a button, and they heat and froth automatically. Most have two settings: hot foam and cold foam.
Electric models produce the most consistent foam across all budget options. They heat milk to around 150°F, which is ideal for lattes. The downsides are counter space and cleaning.
The non-stick coating inside can wear off over time.
Stovetop / Manual French Press Method
This isn’t a dedicated frother, but it’s a valid budget option. Heat milk on the stove, pour it into a French press, and pump the plunger rapidly for 30 to 60 seconds. It builds foam through mechanical agitation.
The results can be surprisingly good, thick, creamy foam with small bubles. It’s essentially free if you already own a French press. The trade-off is effort.
You have to pump hard and fast, and the milk cools slightly during the process.
Side-by-Side Comparison: Handheld vs Electric vs Stovetop
Here’s how the three stack up on the factors that matter most.
| Feature | Handheld | Electric Countertop | Stovetop / French Press |
|---|---|---|---|
| Price | $5 – $15 | $20 – $40 | Free (if you own a press) |
| Foam quality | Airy, large bubbles | Creamy, microfoam | Thick, dense foam |
| Heat control | None (cold milk only) | Built-in (hot or cold) | Separate (heat first) |
| Ease of use | Very easy | Very easy | Moderate (effort) |
| Cleanup | Rince whisk | Wash jug + lid | Wash press + plunger |
| Durability | Low (months) | Medium (1–2 years) | High (years) |
| Best for | Occasional use | Daily use | French press owners |
The table shows the trade-offs clearly. Handhelds are cheap and portable but don’t last. Electrics are the best all-rounder for regular use.
The French press method is a solid no-cost alternative but requires more work.
Who Each Frother Is Actually Best For
You can’t pick a budget frother without thinking about your habits.
Handheld battery-powered frothers are for the occasional latte drinker. If you make a coffee drink with foam once or twice a week, and you’re fine with a lighter texture, a handheld is your cheapest entry point. It works well for travel or the office.
Just be prepared to replace it after a few months.
Electric countertop frothers are for daily latte drinkers. If you make a milk-based coffee every morning, the extra cost is worth it. You get consistent heat and foam, and the machine does the work.
Cleanup takes about a minute. This is the best choice for anyone who values convenience and reliability over absolute minimum cost.
Stovetop/French press method is for people who already brew coffee with a French press. It costs nothing extra and produces excellent foam. It’s also a good option if you prefer a hands-on ritual.
But if you don’t already own a press, the $15, $20 for a new one makes it less attractive compared to a dedicated electric model.
One more group: people who only drink iced lattes. A handheld wand works fine for cold milk and costs almost nothing. Just know that cold foam is thinner and dissipates faster than hot foam.
Common Mistakes That Ruin Cheap Frothers (and How to Avoid Them)
Even the best budget frother gives poor results if you mess up the basics.
Overheating milk. Electric frothers have a built-in thermostat, but handheld and stovetop methods don’t. Milk above 160°F denatures the proteins and won’t foam properly. Use a thermometer or heat milk to about 150°F.
If you don’t have a thermometer, stop heating when small bubbles appear around the edges.
Using the wrong milk. Skim milk foams best because it has less fat, which can weigh down bubbles. Whole milk gives creamier foam but less volume. Plant milks like almond or oat can froth, but they need emulsifiers.
Check the carton for “barista blend” or “frothing recommended.”
Not cleaning immediately. Battery corrosion is the number one killer of handheld wands. Rinse the whisk under warm water right after use and dry it thoroughly. For electric countertop models, milk residue left in the jug will smell sour after a day.
Wash the jug and lid after every use.
Overfilling the electric frother. Most compact electric models have a max fill line. Pouring past it leads to overspill when the foam rises. Stick to the line, and you’ll avoid a mess.
Using cold milk in a handheld frother. Handhelds produce better foam when the milk is slightly warm, around 100°F. Cold milk takes longer and gives larger bubbles. Warm it in the microwave for 30 seconds before frothing.
Frothing for too long. More air doesn’t always mean better foam. Over-frothing can break down the milk proteins and create watery bubbles. Aim for 15, 30 seconds maximum for handhelds, and stop when the foam doubles in volume.
Avoid these missteps, and your cheap frother will perform far beyond its price tag.
FAQs: Quick Answers to the Most Asked Questions
Can I use a budget frother for cold foam?
Yes. Handheld wands work fine with cold milk. Electric countertop models usually have a cold-foam setting.
The French press method also works. Cold foam is thinner and dissipates faster than hot foam.
How long does a budget milk frother typically last?
Handheld wands average three to six months of daily use. Battery corrosion is the main failure point. Electric countertop models last one to two years with proper care.
A French press lasts indefinitely.
Does milk type affect foam quality?
Yes, signifficantly. Skim milk produces the most volume with large bubbles. Whole milk gives creamier, denser foam.
Barista-blend oat or almond milks contain stabilizers that help them froth. Standard plant milks often fall flat.
What is the easiest budget frother to clean?
Handheld wands are the simplest. Rinse the whisk under warm water and dry it. Electric countertop models need the jug and lid washed.
A French press takes a bit more effort but is still straightforward.
Is it worth spending $30 on an electric frother?
Yes, for daily use. Our research shows that electric models under $40 deliver consistent, cafe-quality foam and save time. If you make one or two lattes a day, the convenience and durability justify the price.
Final Verdict: Which Budget Frother Should You Buy?
The best choice depends on your routine. If you froth milk once a week and want the lowest cost, a handheld wand for $10 gets the job done. Just expect to replace it every few months.
If you drink a latte every morning, spend $25 to $30 on an electric countertop frother. It will outlast several handhelds and deliver better foam. The built-in heating is a genuine time-saver.
If you already own a French press, use it before buying any new gadget. It produces excellent foam for free. You can always add a dedicated frother later if the effort starts to bother you.
One final tip regardless of which route you take: heat your milk to the right temperature and don’t skip the cleaning. A budget frother can punch well above its weight class if you treat it well. And that leftover money you saved?
Put it toward better coffee beans.

Similar Posts































