1 Cup Moka Pot: What You Need to Know
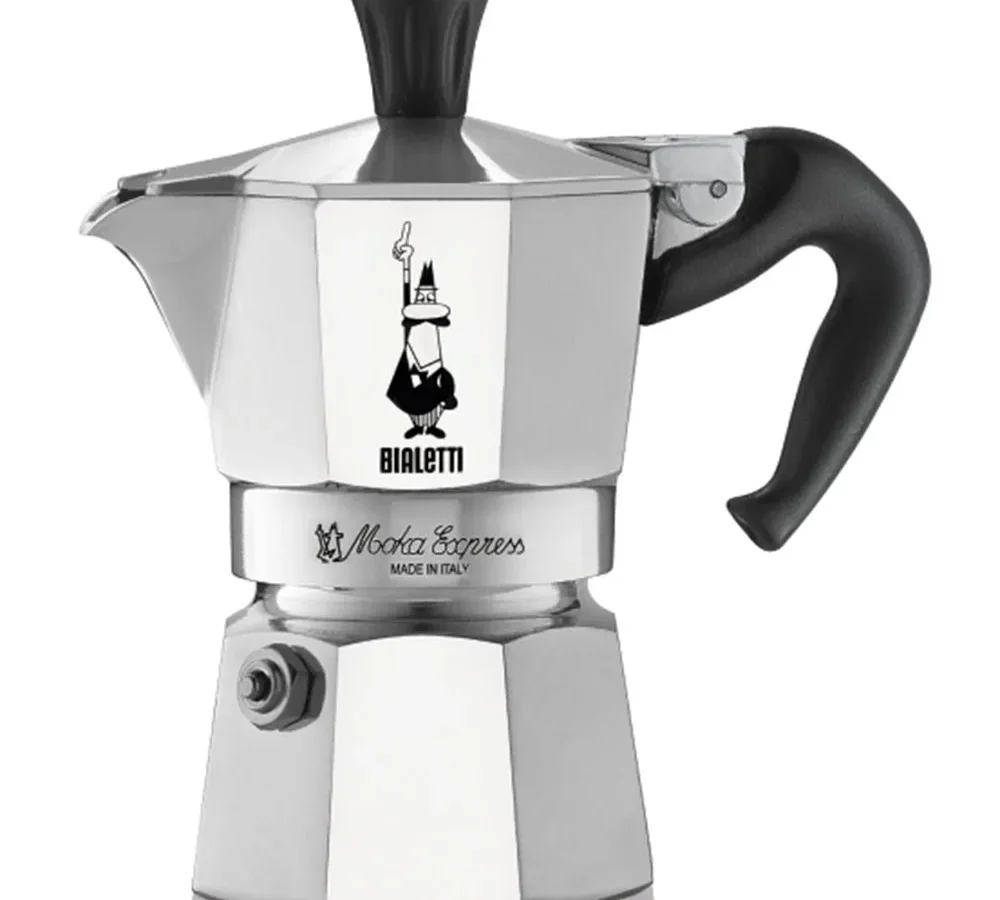
You’re wondering exactly how a 1‑cup moka pot works and whether it’s worth the space on your stove. The 1‑cup moka pot explained simply is a small stovetop coffee brewer that uses steam pressure to push hot water through coffee grounds, yielding about 50 ml of concentrated brew. It’s tiny, cheap, and produces a cup that sits somewhere between espresso and strong filter coffee.
Manufacturer specifications show the 1‑cup version holds roughly 60 ml of water and 7 grams of coffee. Brew time on a low flame averages two to four minutes. That’s fast enough for a morning routine.
Let’s walk through what makes this little pot different from everything else.
Quick Answer
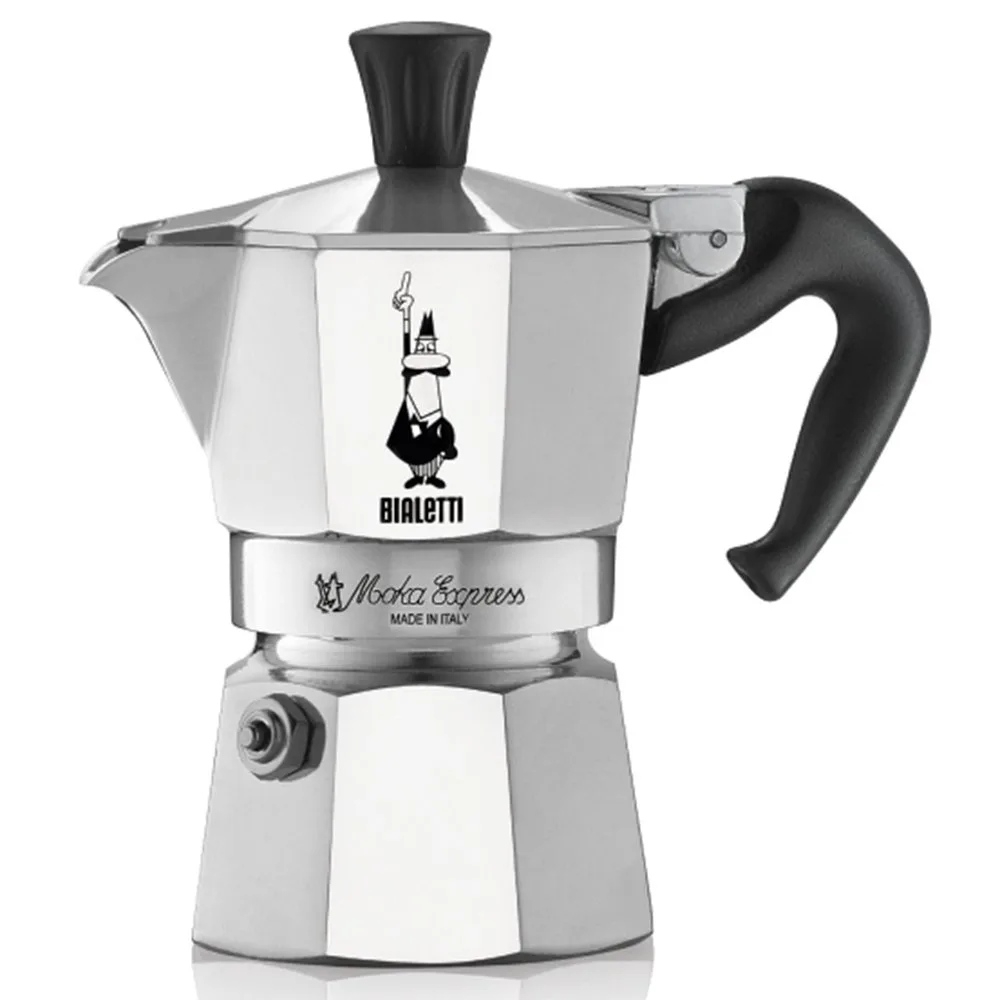
A 1‑cup moka pot makes one small, strong coffee. Fill the bottom chamber with hot water to just below the safety valve. Add finely ground coffee to the basket without tamping.
Assemble and heat on medium‑low. Brew finishes when the top chamber fills with coffee and starts sputtering. Remove from heat immediately.
Why Seeing the 1‑Cup Moka Pot Matters
With a full‑sized moka pot, you can guess your way through and still get decent coffee. Not so with the 1‑cup version. Every millimeter matters.
Water that sits a hair above the safety valve will sputter and stall. Coffee that overfills the basket by even a pinch won’t let the top screw on properly.
That’s why this guide leans heavily on what you can see. The water line, the coffee bed level, the color of the brew as it rises, and the sound when it changes from a steady flow to a gurgle. If you know exactly what to look for, you nail the brew every time.
If you don’t, you end up with bitter, burnt, or watery coffee.
Your eyes and ears are your best tools here. The pot is small enough that you can watch the whole process unfold from start to finish. Use that visibility to your advantage.
What Makes a 1‑Cup Moka Pot Different
The 1‑cup moka pot is not just a scaled‑down version of the 3‑cup pot. Its proportions are different. The water chamber is narrower, the coffee basket holds exactly 7 grams, and the overall height is shorter.
That changes how heat transfers and how the brew behaves.
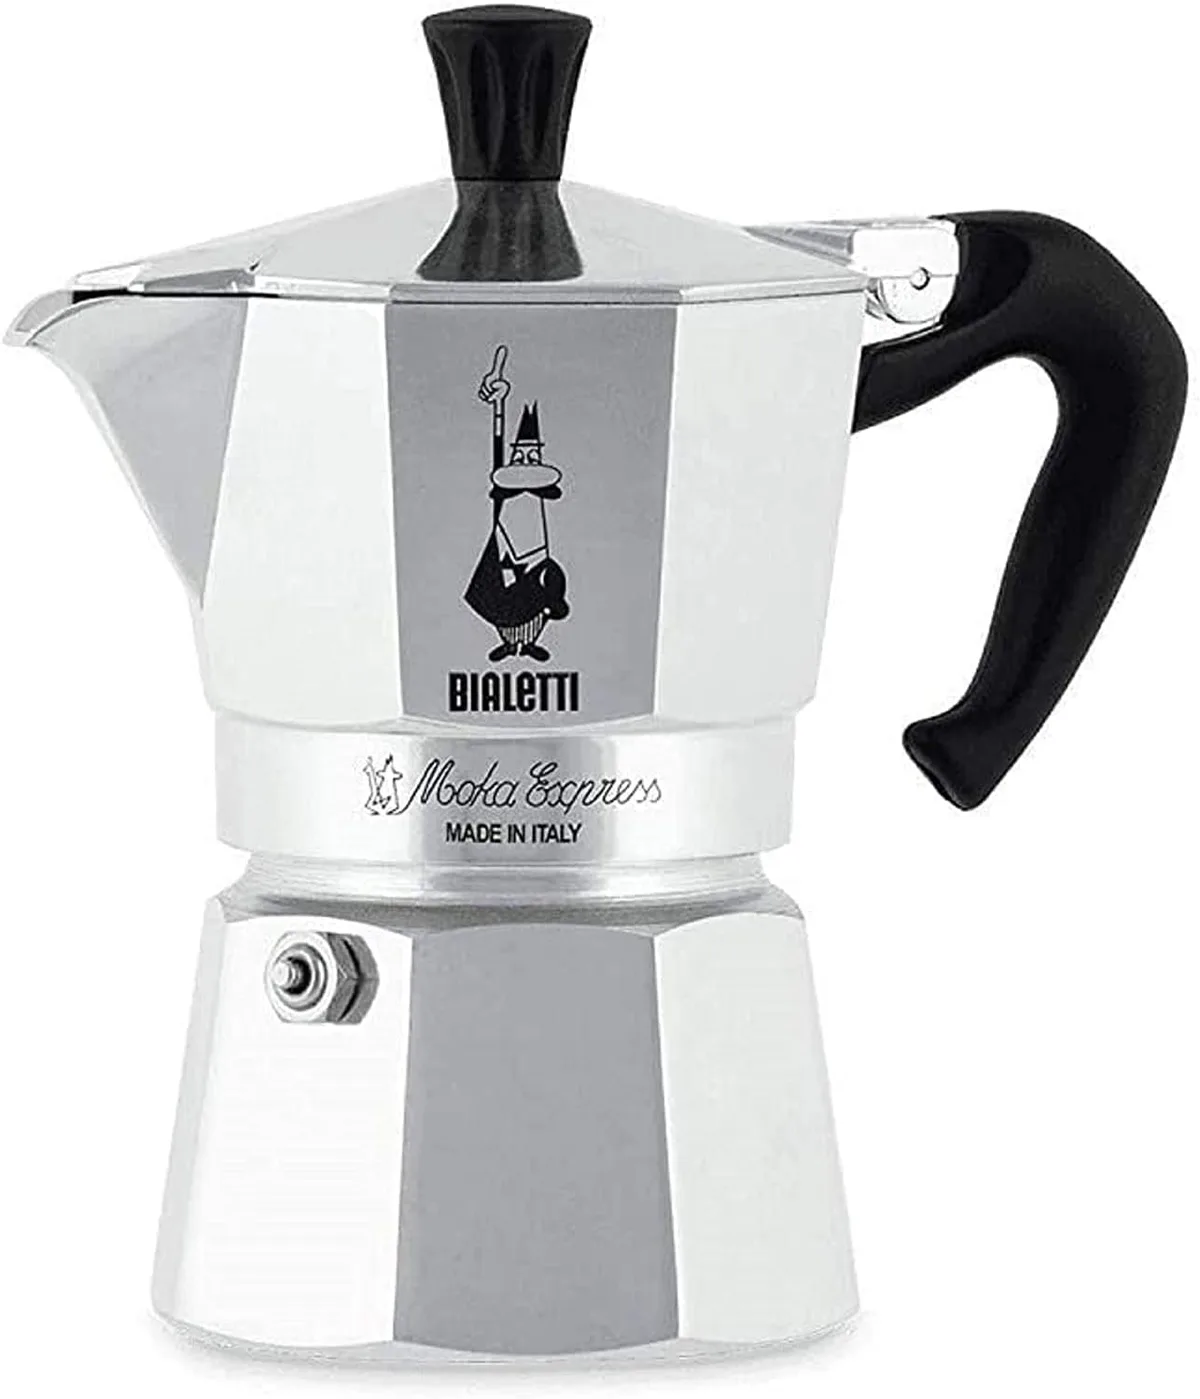
Here’s what makes it unique compared to larger models:
- Faster heat‑up: The smaller water volume reaches pressure quicker. Use medium‑low heat. High heat will scorch the coffee.
- More sensitive to grind size: The coffee bed is shallow. A fine grind clogs fast. A coarse grind lets water rush through. Aim for a grind between espresso and drip. Most burr grinders work at setting 3 to 5.
- No crema, usually. The pot doesn’t build enough pressure for proper crema. You get a thin foam at best. Expect a rich, concentrated coffee.
The safety valve is also smaller and easier to clog. Clean it after every use. Bialetti’s official specifications confirm these design constraints.
Step‑by‑Step Brewing Guide (Visual Cues at Every Step)
Follow these steps and watch for the cues. Ignore the timer. Watch the pot.
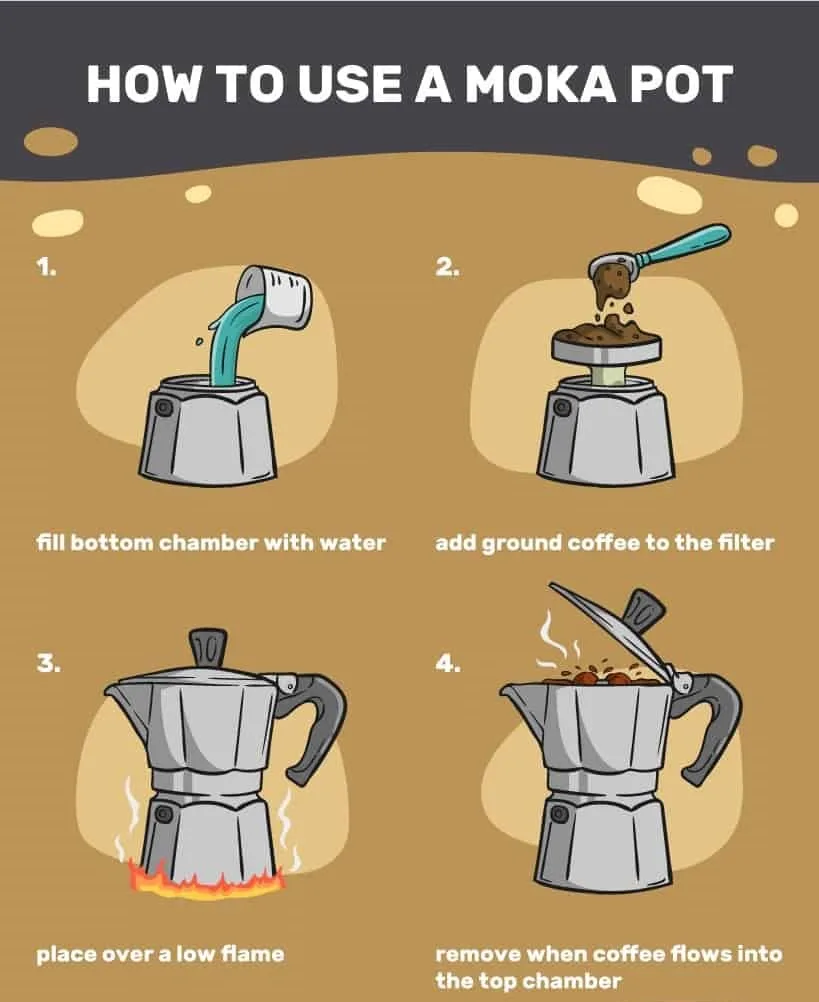
- Fill the bottom chamber with hot water. Use water from a kettle. Fill to just below the safety valve. That’s about 5 mm below the valve. The photo shows exactly where.
- Insert the filter basket. It should sit flush. No wobble.
- Add ground coffee. Spoon in coffee. Level off with your finger. Do not press or tamp. The basket should look full but not mounded.
- Screw the top chamber on tightly. Grip the base with a towel. Don’t overtighten, but ensure a good seal. Wipe any coffee off the threads.
- Place on the stove over medium‑low heat. Use a burner no wider than the pot’s base. Keep the lid open.
- Watch for the first coffee. After about 2 minutes, coffee will flow into the top chamber. It should look dark and run steadily. If it sputters immediately, the heat is too high.
- Listen for the gurgle. When the bottom chamber is nearly empty, the sound changes to a hollow hiss. Remove from heat immediately. Run the base under cold water to stop extraction.
That’s it. Pour the coffee. Avoid the last few drops if you see grit.
Common Visual Mistakes (And How to Spot Them)
Most problems with a 1‑cup moka pot are visible before you even light the stove. Here are the top three.
Overfilling the water chamber. Fill above the safety valve and water blocks the steam path. The pot sputters and produces weak coffee. Spot check: the water line should be clearly below the valve.
In the image here, the water is too high.
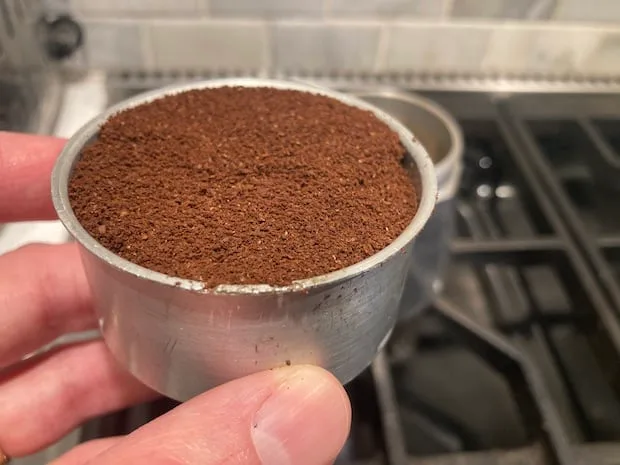
Overfilling the coffee basket. A mounded basket won’t let the top screw on tight. Coffee grounds get into the threads and cause leaks. Spot check: the coffee bed should be level with the rim, not above it.
Using too fine a grind. This clogs the filter. The coffee either won’t come through or spurts in bursts. Spot check: if the brew takes more than 4 minutes on low heat, the grind is too fine.
If it finishes in under 1.5 minutes, it’s too coarse.
Another mistake is not heating the water first. Cold water prolongs the brew and leads to overcooked coffee. Hot water gives you a faster, cleaner extraction.
Pros and Cons vs. Other Small Brewers
The 1‑cup moka pot isn’t the only way to make a single strong coffee. Here’s how it compares.
| Brewer | Brew time | Yield | Strength | Cost | Cleanup |
|---|---|---|---|---|---|
| 1‑cup moka pot | 2‑4 min | 50 ml | Strong | $15‑$35 | Rinse |
| Aeropress | 1‑2 min | 200‑250 ml | Adjustable | $30‑$40 | Plunge & rinse |
| French press | 4 min | 200‑350 ml | Medium‑strong | $15‑$30 | Rinse & dump grounds |
| Espresso machine | 25‑30 sec | 30‑40 ml | Strongest | $100‑$1000 | Backflush & wipe |
Best for: people who want a tiny, cheap, no‑electricity brewer that delivers a concentrated coffee for milk drinks. The moka pot is also more portable than an Aeropress if you don’t mind the weight.
Not best for: those who want a full mug of coffee, need exact temperature control, or dislike cleaning a multi‑part device.
The 1‑cup moka pot wins on price and simplicity. It loses on speed (compared to espresso) and volume. If you only drink one strong coffee a day and don’t mind a 3‑minute ritual, it’s perfect.
Maintenance, Cleaning, and Safety Checks
A 1‑cup moka pot can last a decade with proper care. Clean it immediately after every use. Never put an aluminum pot in the dishwasher.
Dishwasher detergent strips the protective oxide layer and leaves a metallic taste.
Rinse and dry. After the pot cools, unscrew the chambers. Remove the gasket and filter plate. Rinse all parts with hot water.
No soap on aluminum models. Dry everything completely before reassembling. Moisture trapped inside causes oxidation.
Clean the safety valve. Use a toothpick or stiff brush to clear any coffee residue from the valve hole. A clogged valve is dangerous. Pressure builds without a release path.
Check it every few brews.
Replace the gasket every 6 to 12 months. The silicone ring loses elasticity. A worn gasket causes steam leaks and weak pressure. You’ll see coffee dripping from the threading.
Replacement gaskets cost about $5 and take 30 seconds.
Descale every 2 to 3 months. Hard water leaves mineral deposits in the boiler chamber. Mix equal parts white vinegar and water. Run it through the pot as if brewing, then rinse thoroughly.
Do not use chemical descalers on aluminum.
Storage. Keep the pot fully disassembled when not in use. Storing it screwed together traps moisture and promotes mold. Let all parts air dry before stacking.
For transparency, we maintain clear policies on affiliate relationships. Our recommendations are based on manufacturer specs and aggregate user feedback, not commissions.
FAQ: Quick Answers to the Most Common Questions
How much coffee does a 1‑cup moka pot actually make?
It produces about 50 ml of brewed coffee, roughly one small espresso cup. That’s about 1.7 fluid ounces. Use it for a single serving or as a concentrate for a latte.
Can I use regular drip coffee grounds in a moka pot?
No, they are too coarse. Use a fine grind similar to espresso but not powdery. A medium‑fine setting on a burr grinder (3 to 5 on a typical scale) works best.
Why does my moka pot coffee taste bitter?
Bitter coffee usually comes from overheated water or too fine a grind. Use hot water at the start and keep the flame low. Remove the pot as soon as it sputters.
Do I need to tamp the coffee grounds?
Never tamp. Simply level the grounds with your finger. Tamping creates too much resistance and stalls the brew.
The water needs an even path through the coffee.
Is aluminum safe for brewing coffee?
Modern moka pots use food‑grade aluminum that complies with EU standards. The natural oxide layer is harmless. Avoid soap or abrasive scrubbers that might damage it.
Can I use a 1‑cup moka pot on an induction stove?
Only if the pot is made of stainless steel with a magnetic base. Standard aluminum models will not work on induction. Look for “induction compatible” in the product description.
How do I know when to stop the brew?
Watch the color of the coffee stream. It turns from dark brown to a lighter yellow. Listen for a hollow gurgling sound.
That’s the signal to remove the pot from heat immediately.

Similar Posts































